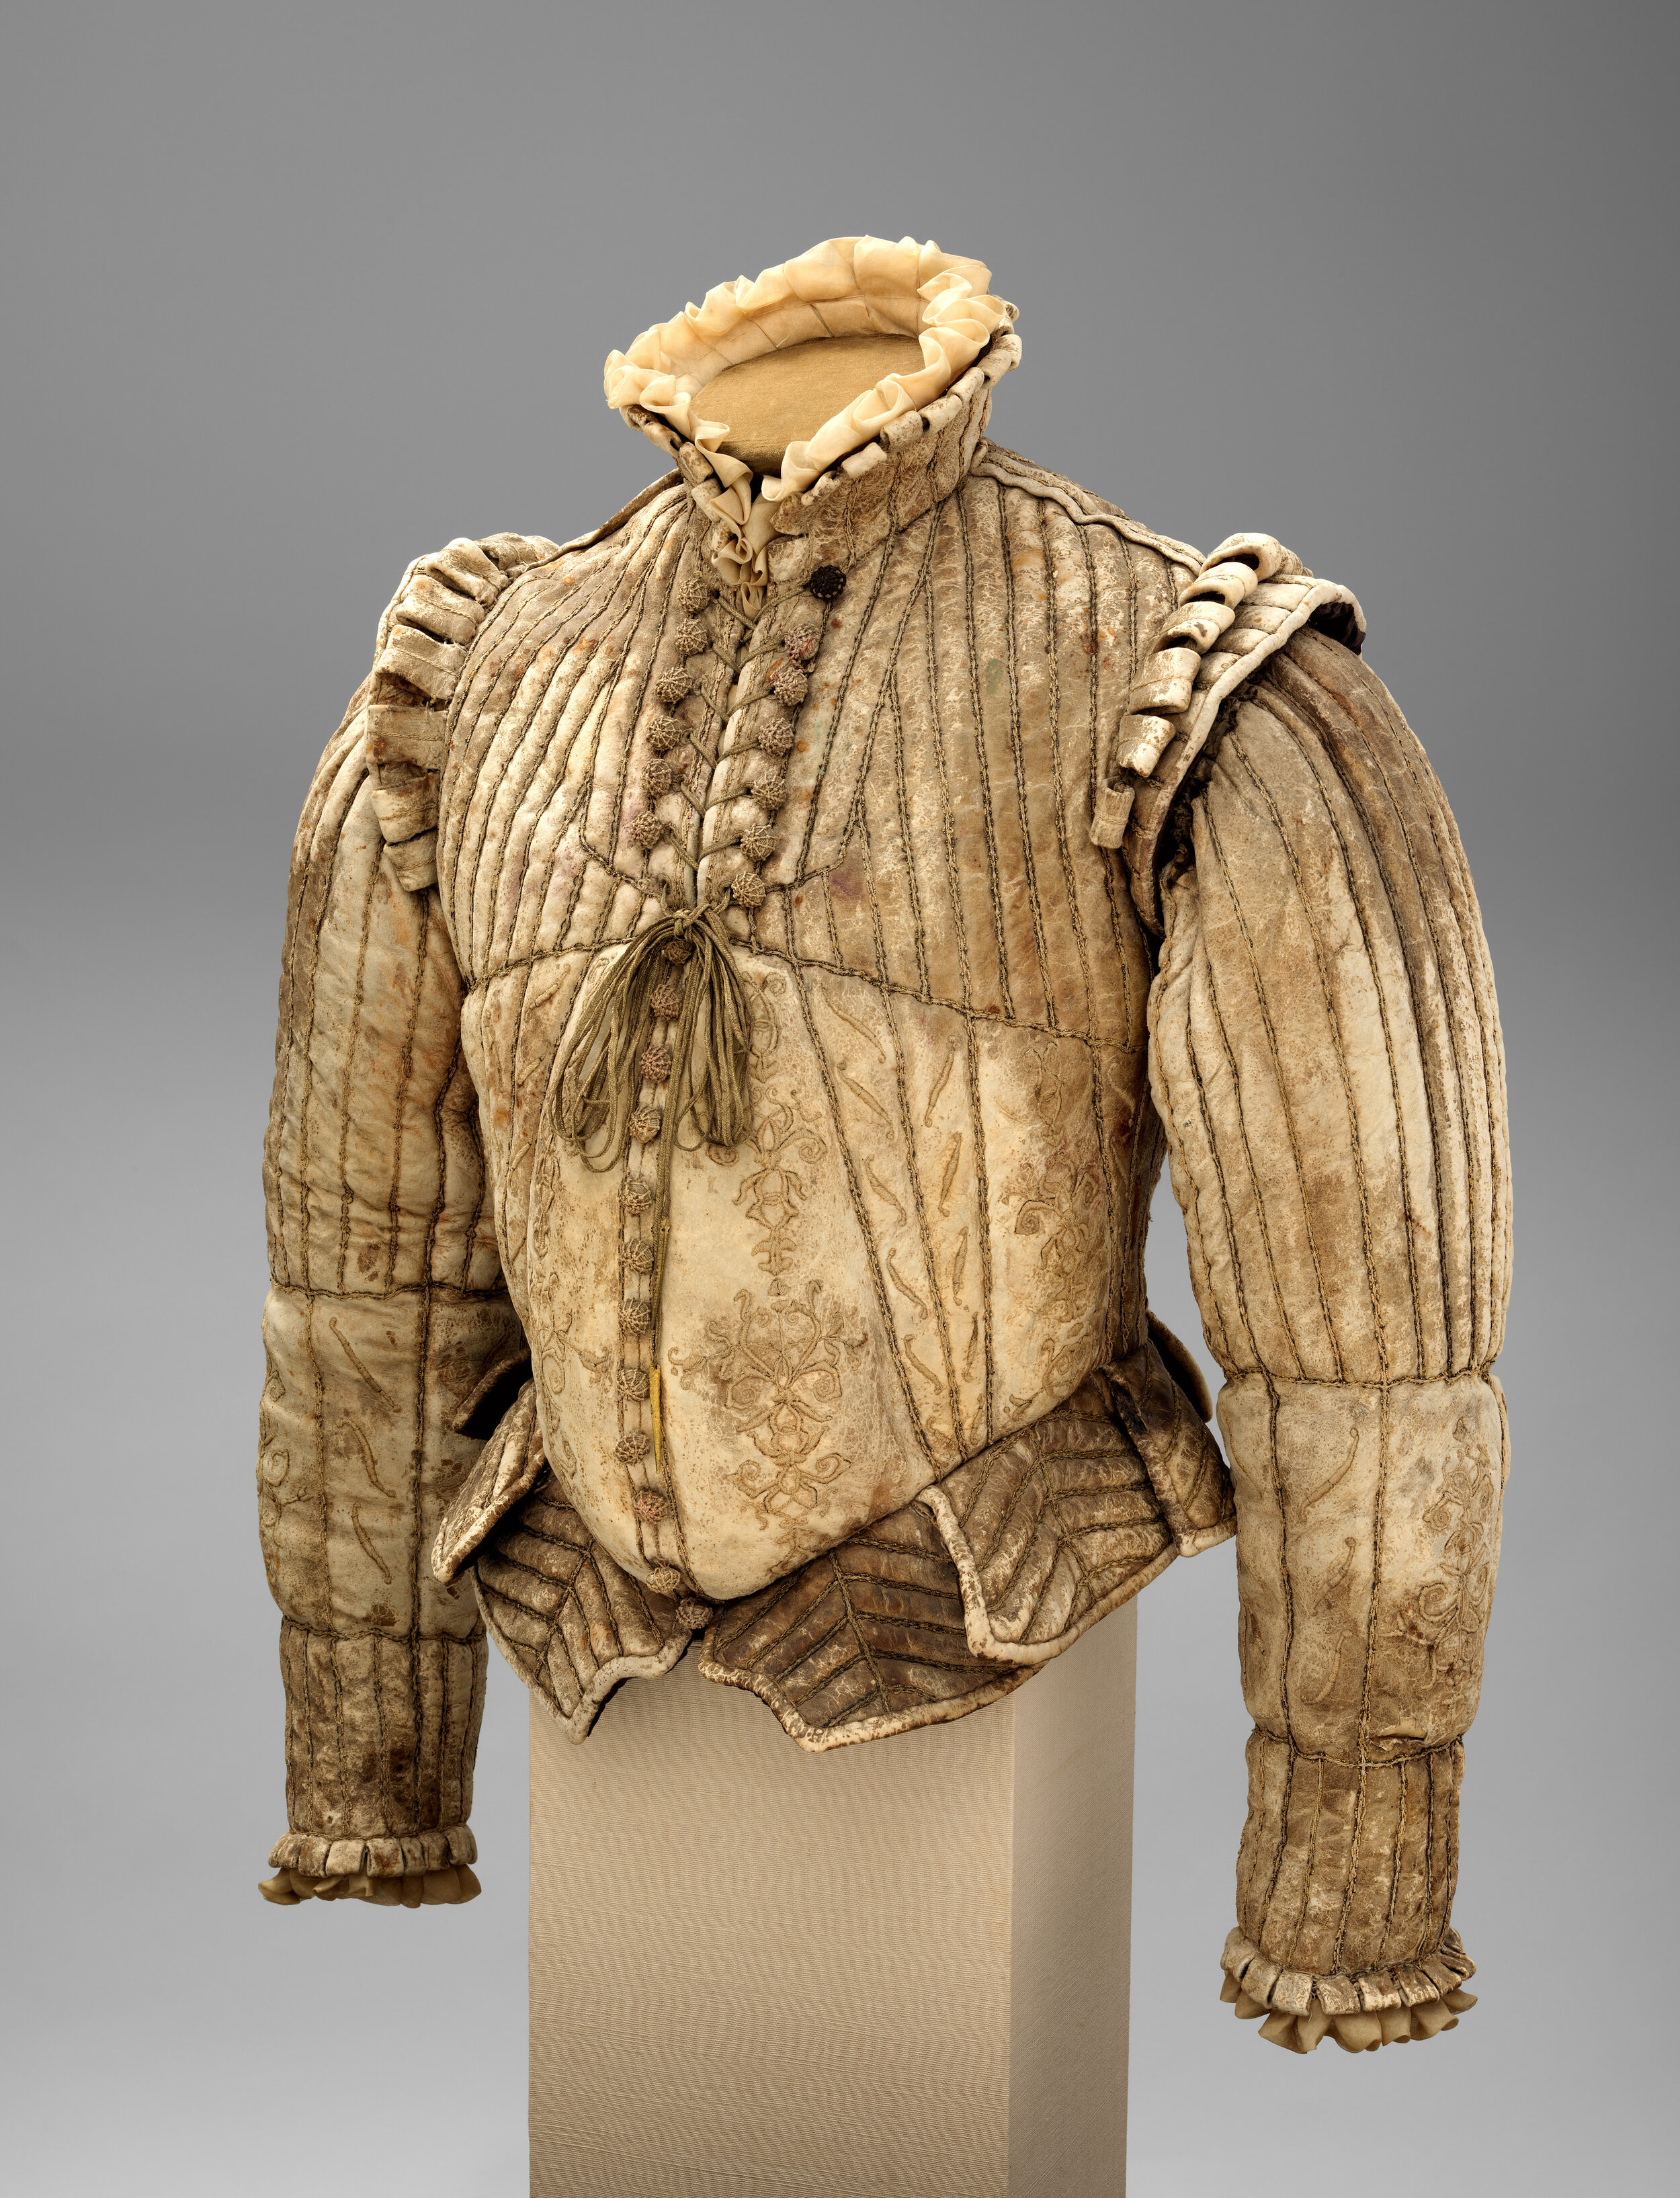
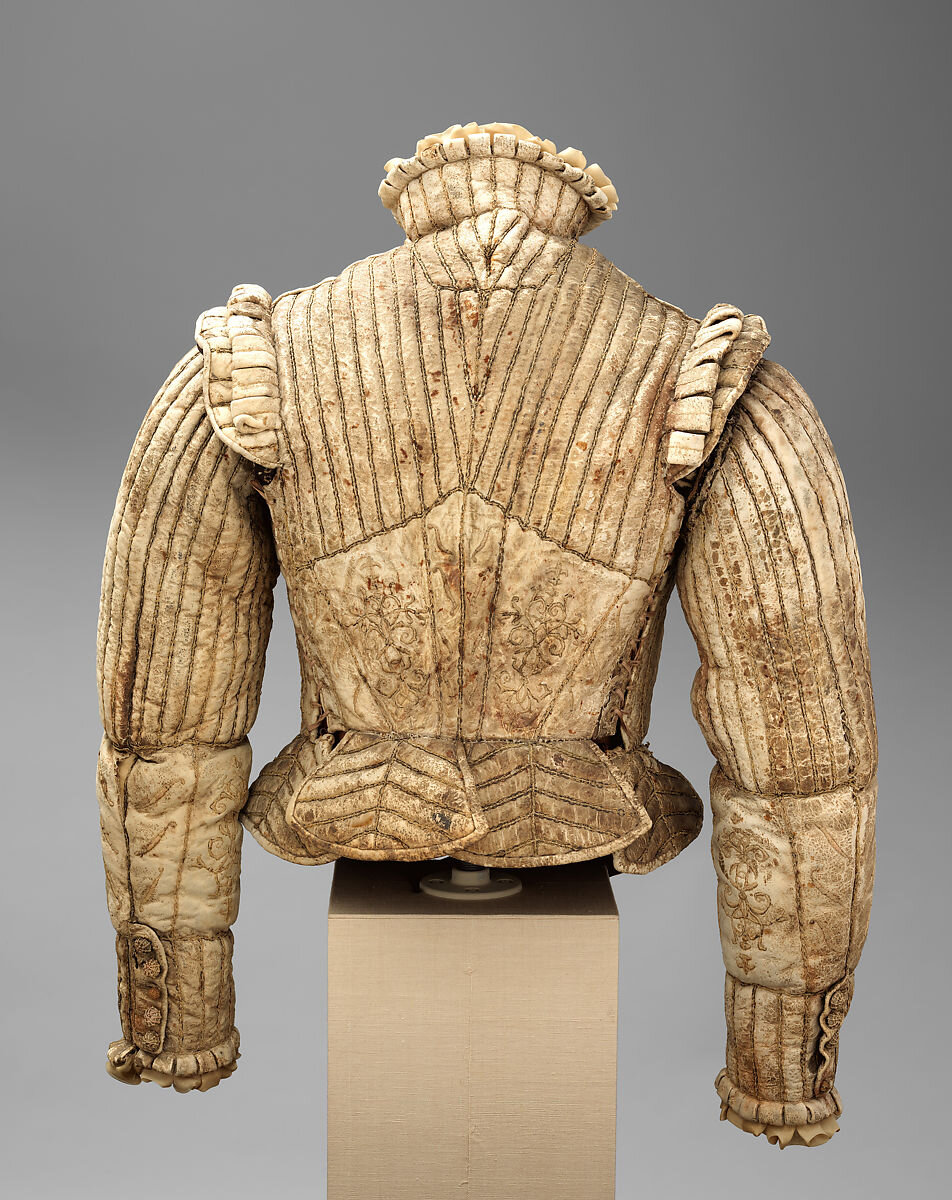
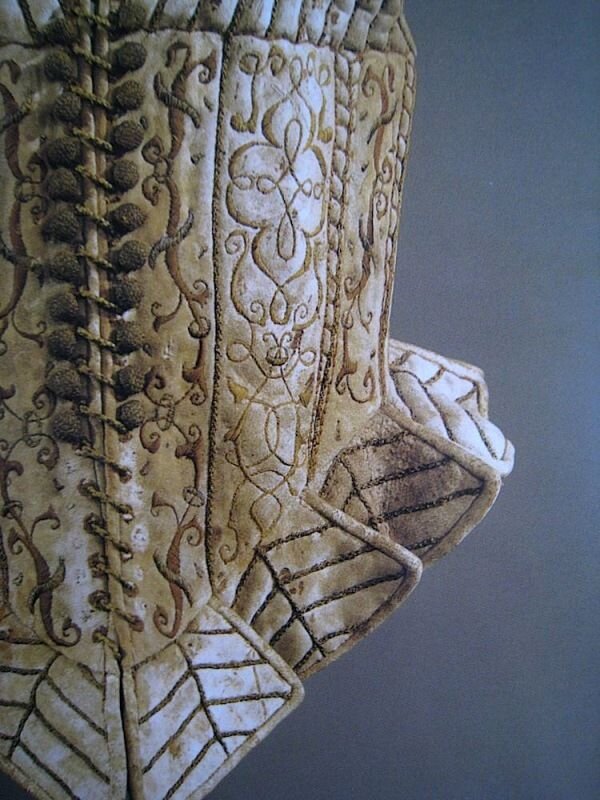
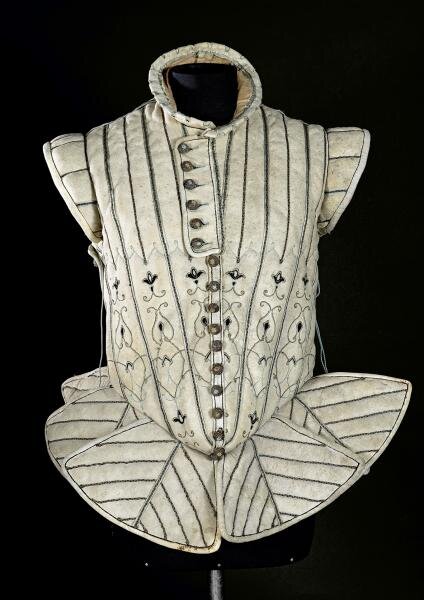
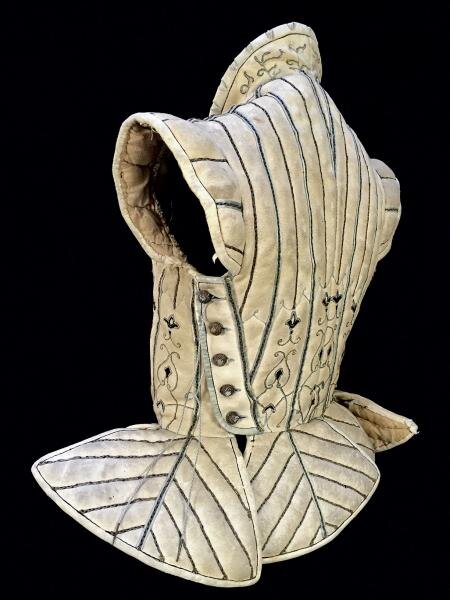
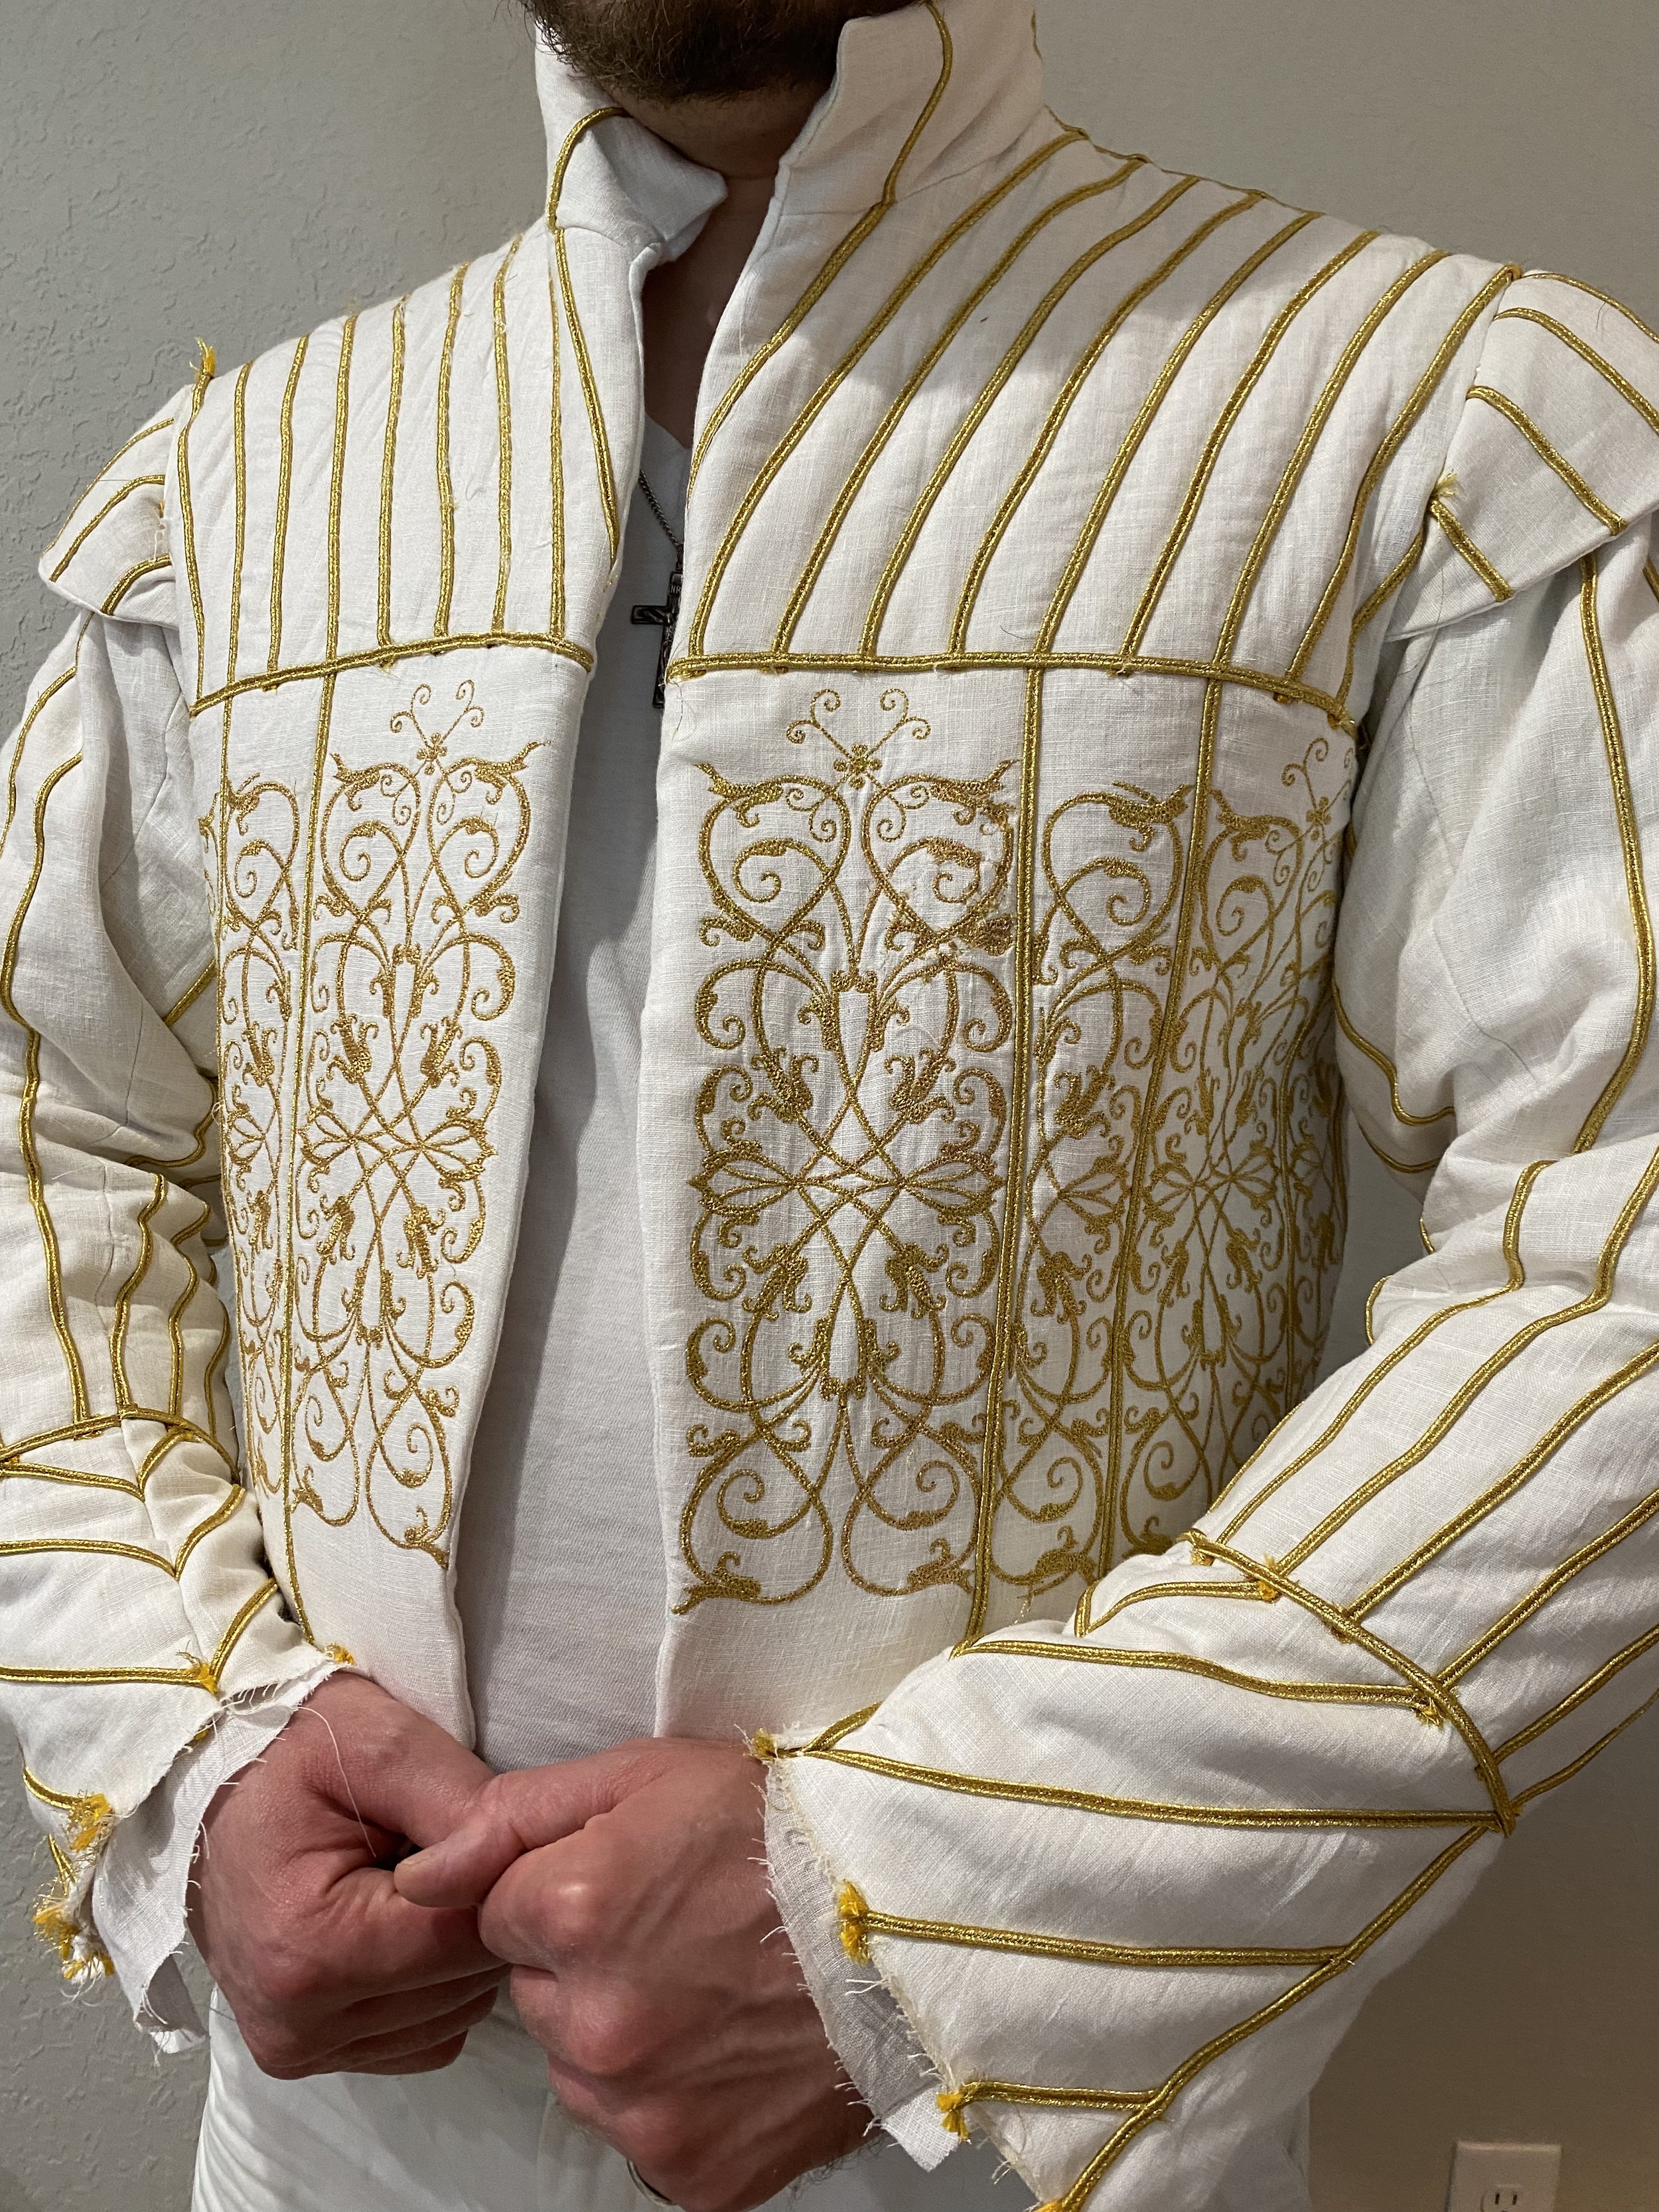
A noble garment for the sportier courtier a proper embroidered fencing doublet has been in planning for some time now. Used in both training and under later plate armor as a lighter replacement for the gambeson the giubbone di scherma was styled more in the fashion of civilian counterparts. As the aim was to be more fashionable the embellishment and trim that was more commonly reserved for court attire extended its artistry to the fencing doublets as well.
Ispirazione del Progetto
There are quite a few embroidered fencing doublets that show the amount of detail that was put into these garments.
Facendo il Progetto
Construction Methods
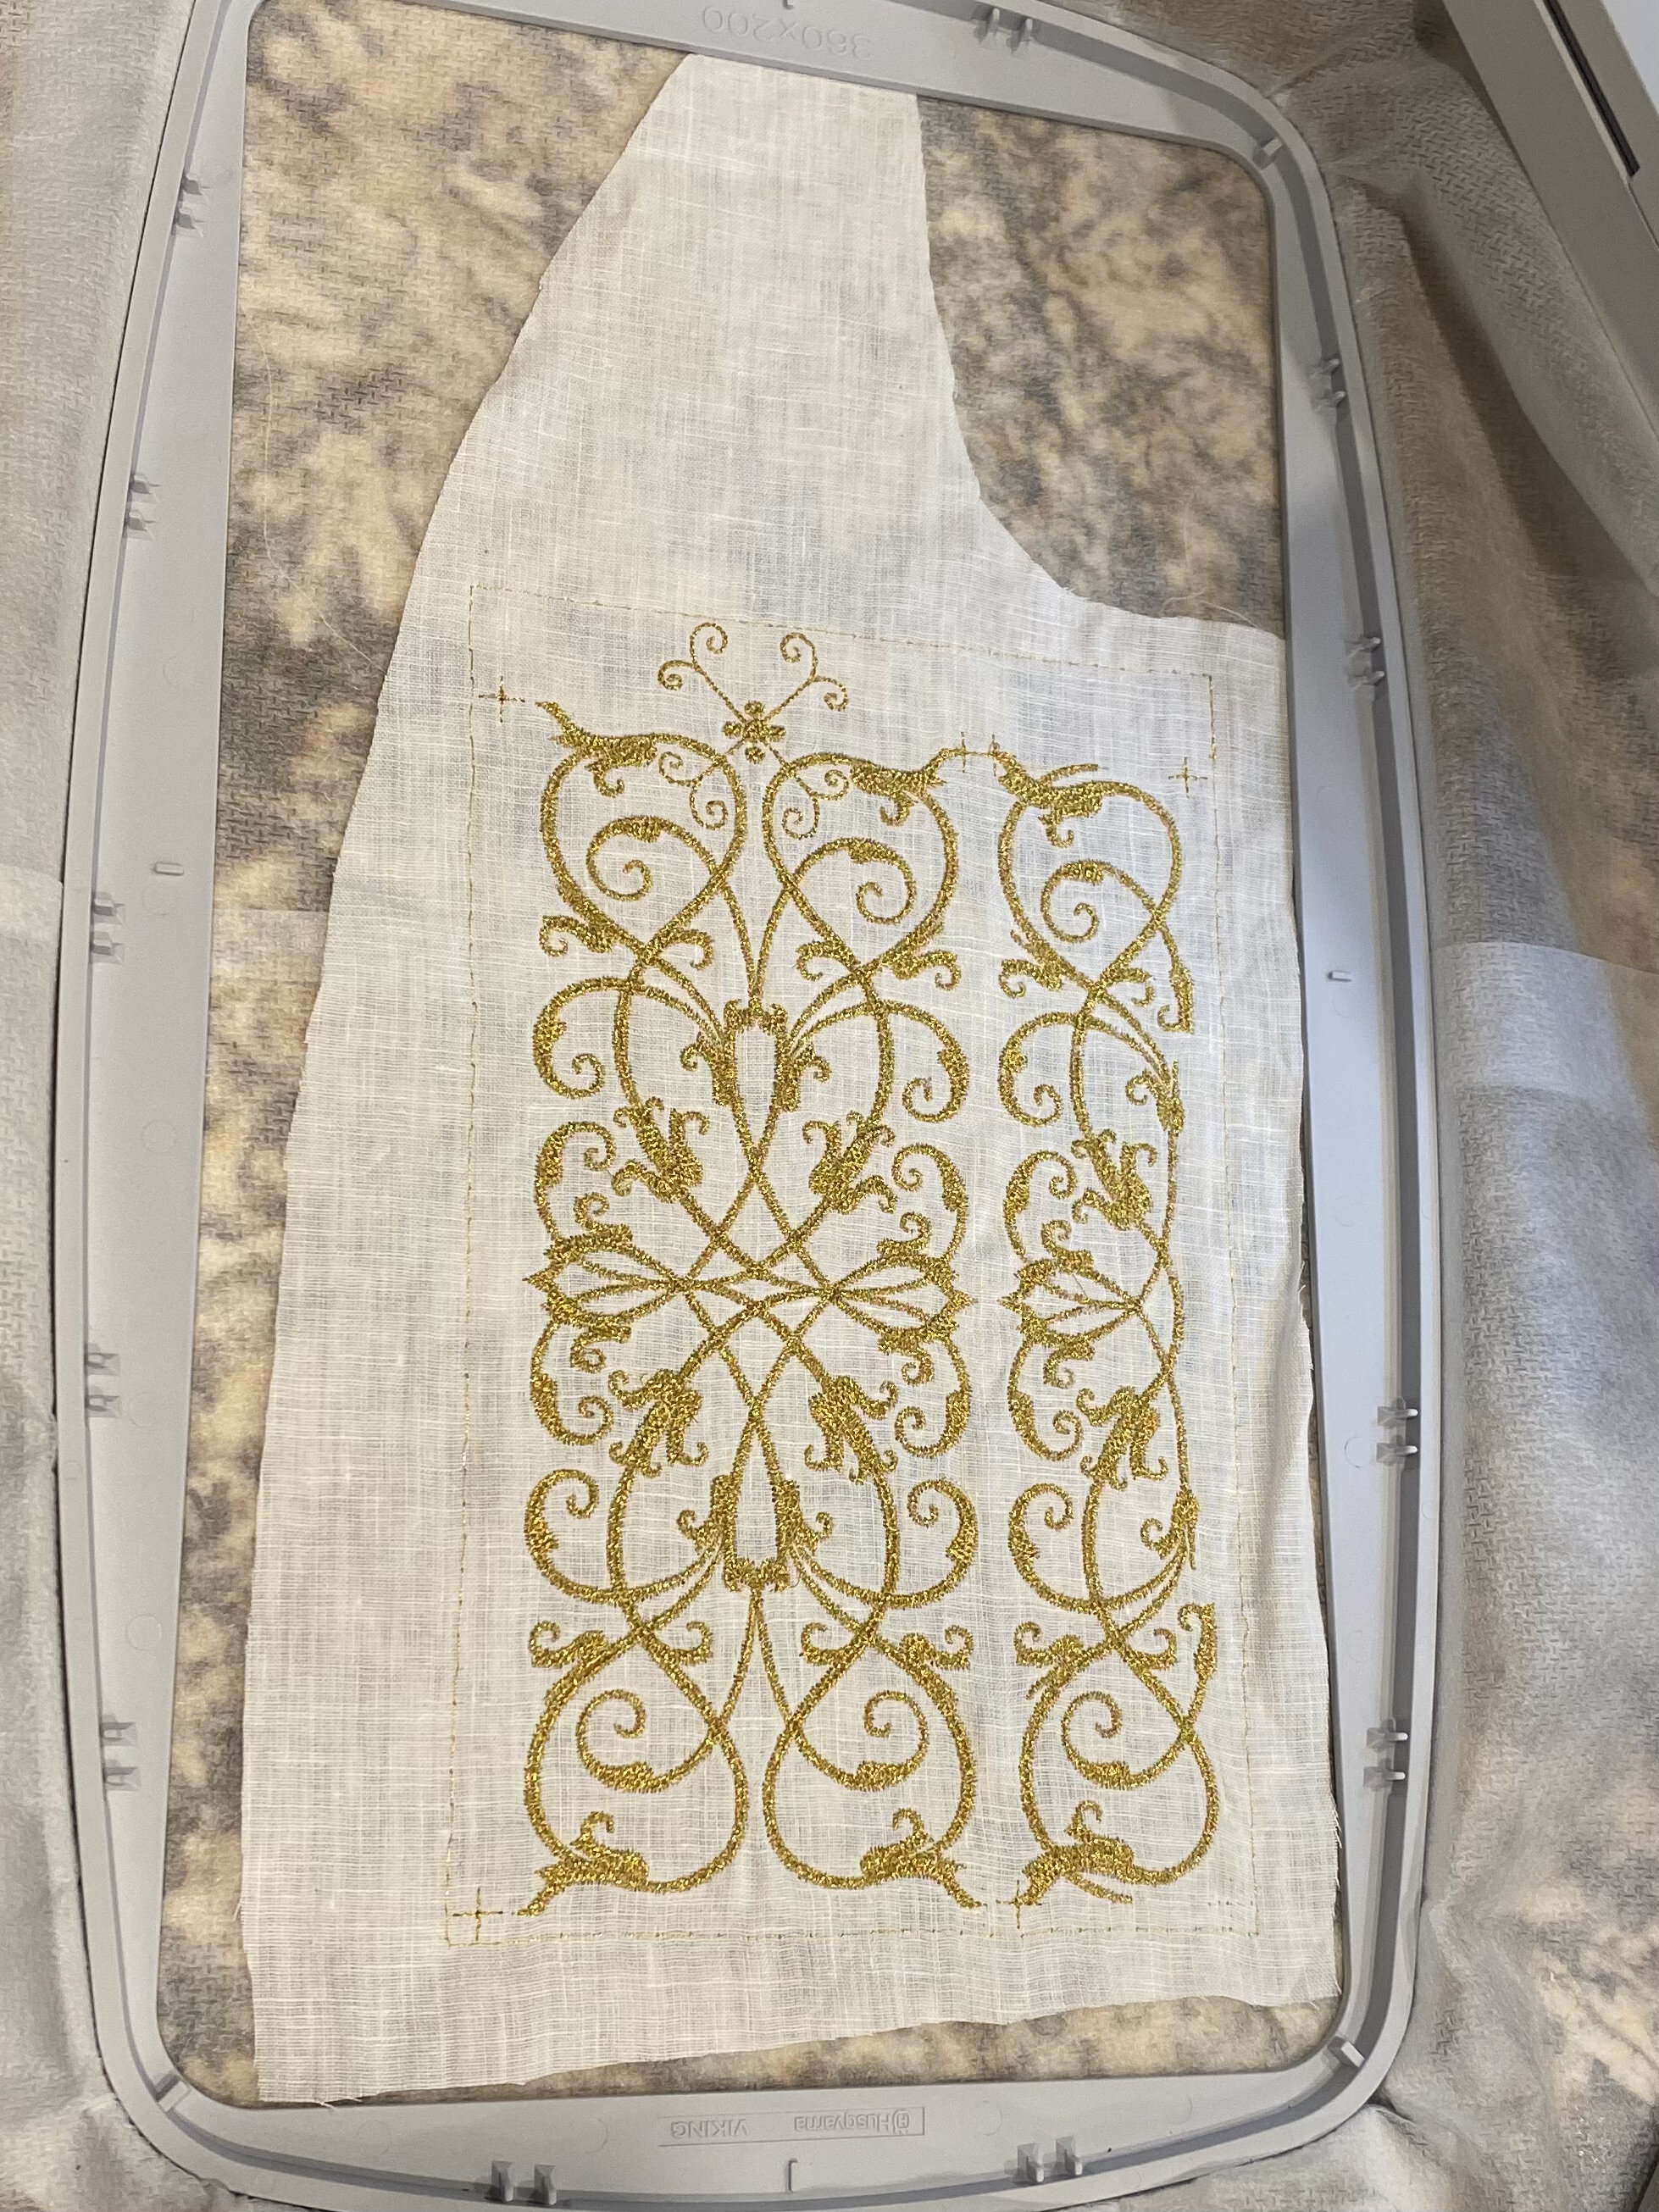
This embroidered giubbone di scherma is made on a practical linen that has been pre washed and ironed. The embellishment of the “thread of gold” was done through machine to created a similar look to the doublets through which the progetto was inspired.
Before getting started, here is a quick word about doublet construction. While there are many considerations in how the garment should be constructed; weight, weather, and the wearer, it is equally important to create a garment that will adequately service its purpose for a presumably extended period.
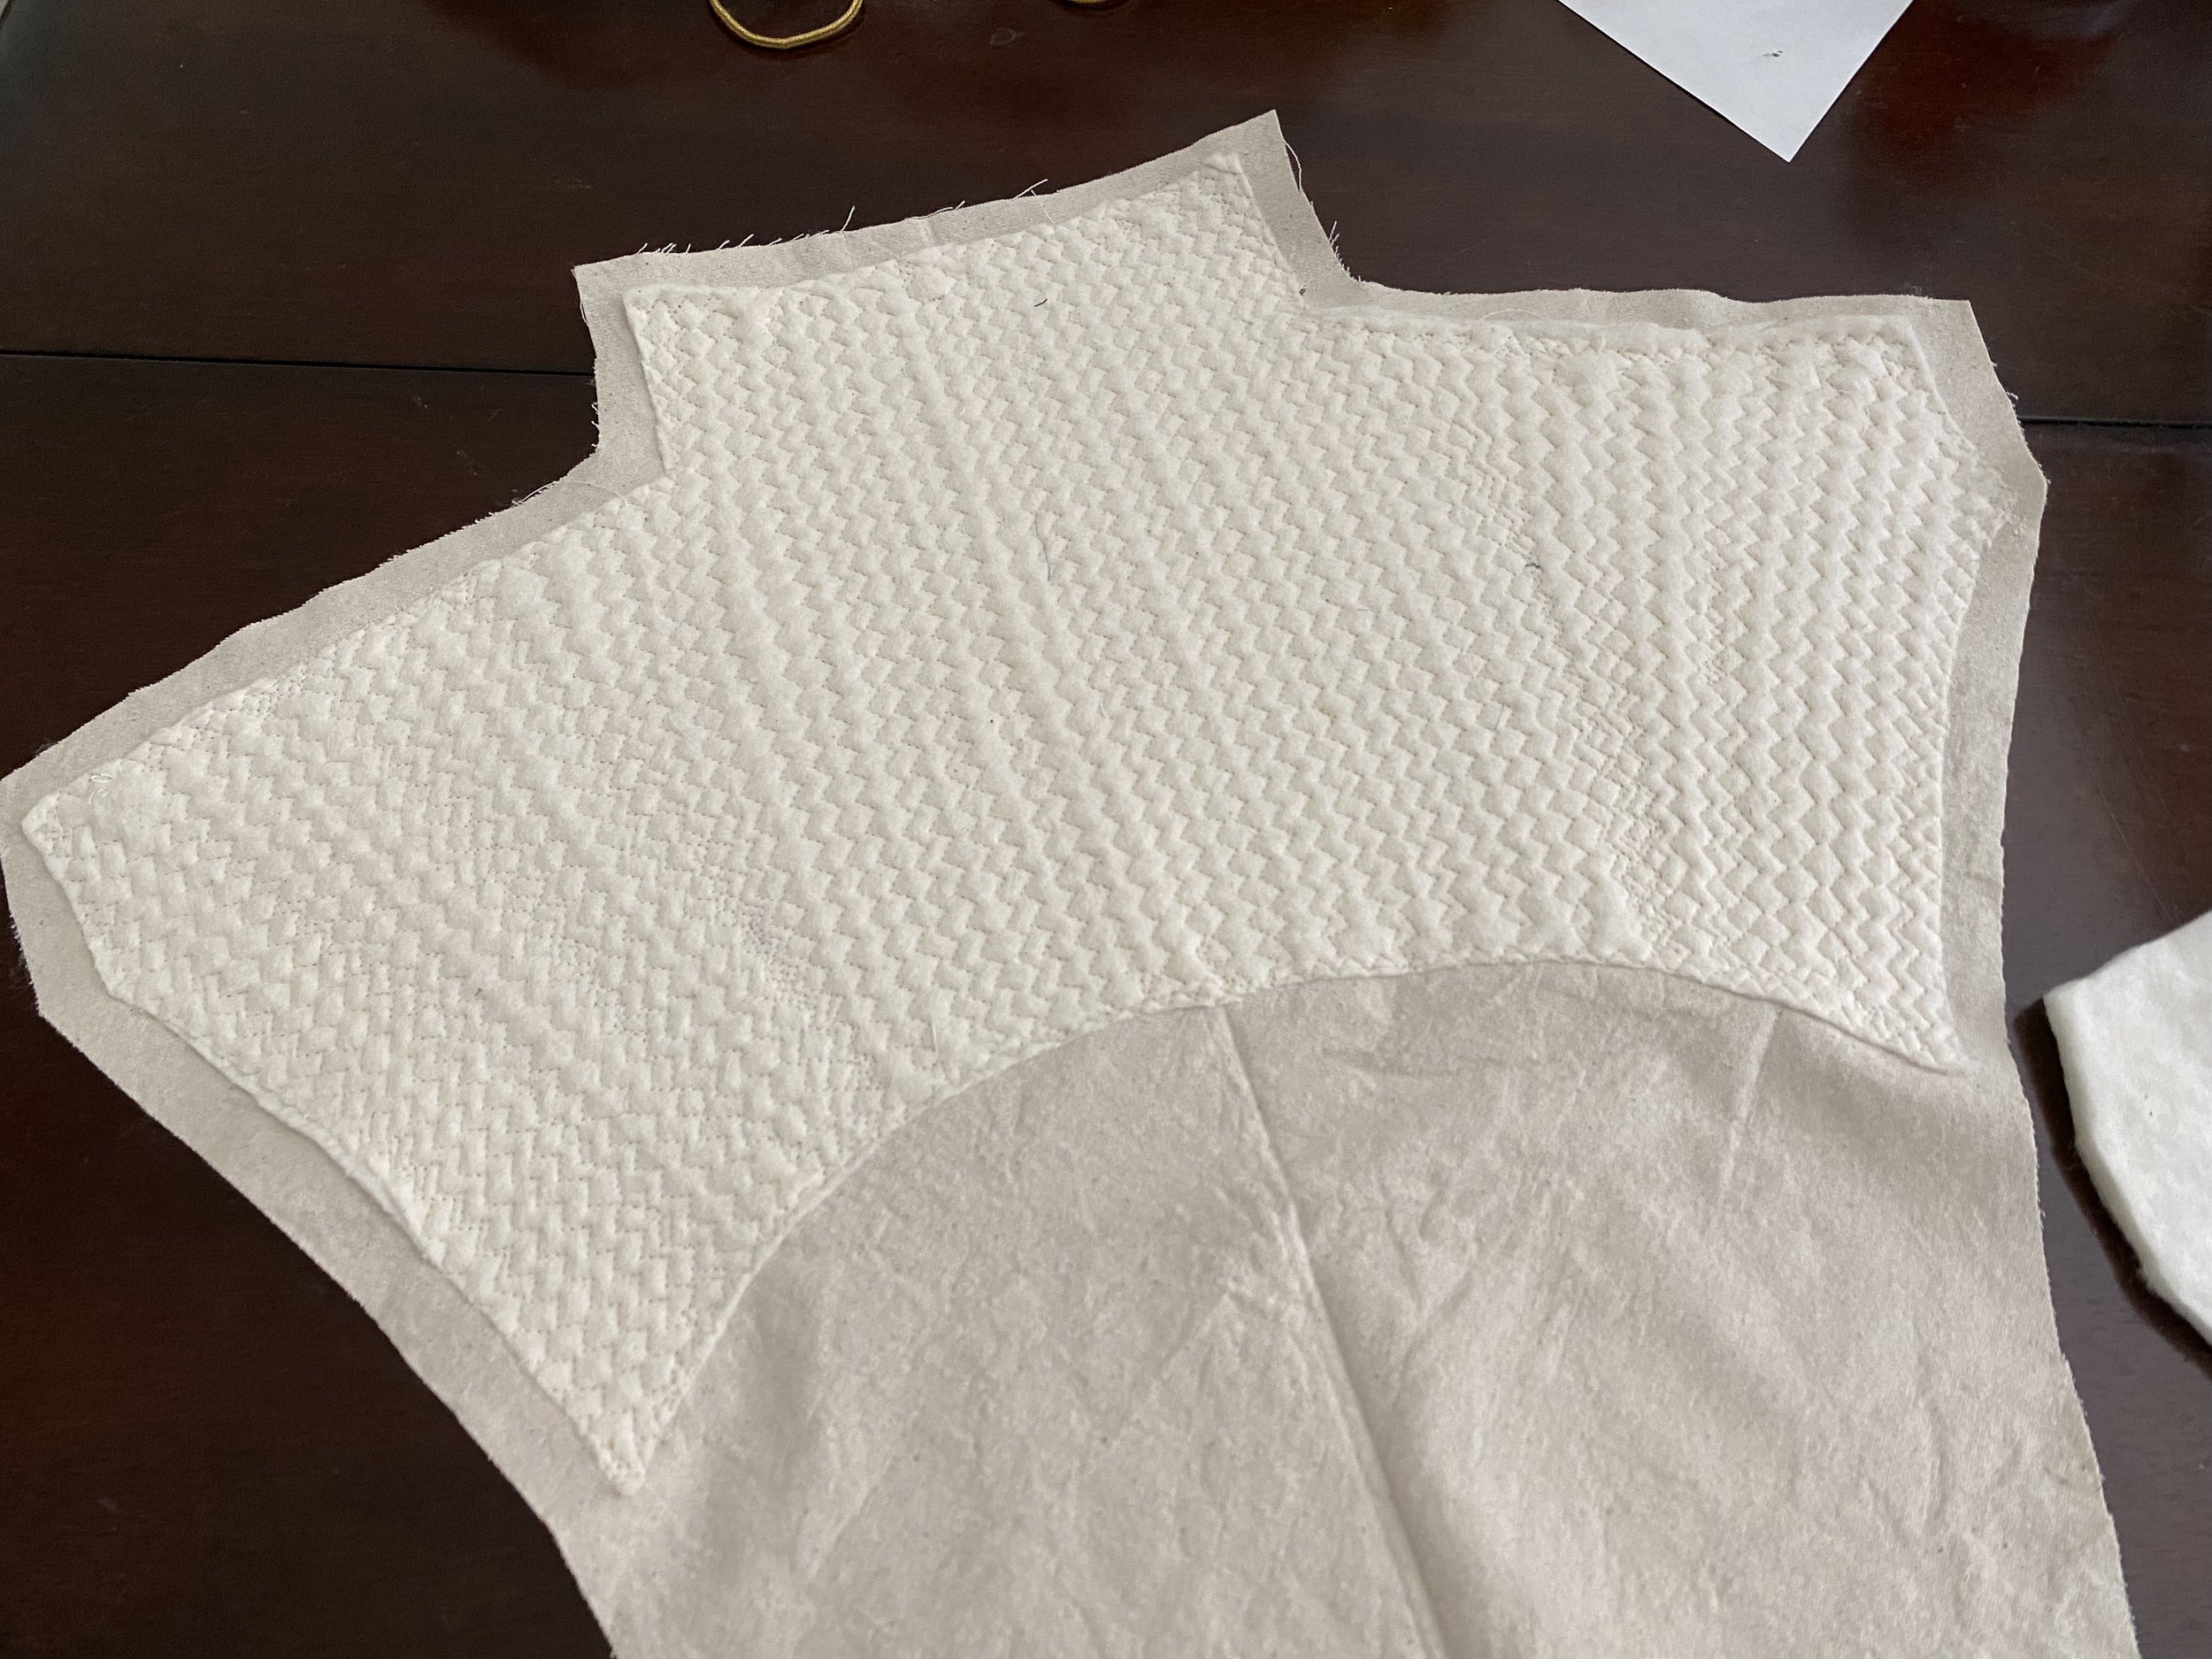
As a general rule all of our doublets are always made with a full canvas liner and horsehair canvas interfacing to give the correct structure to to the garment. This was done in period and we continue the practice, though we substitute some modern materials and methods to increase the lifespan of our garments.
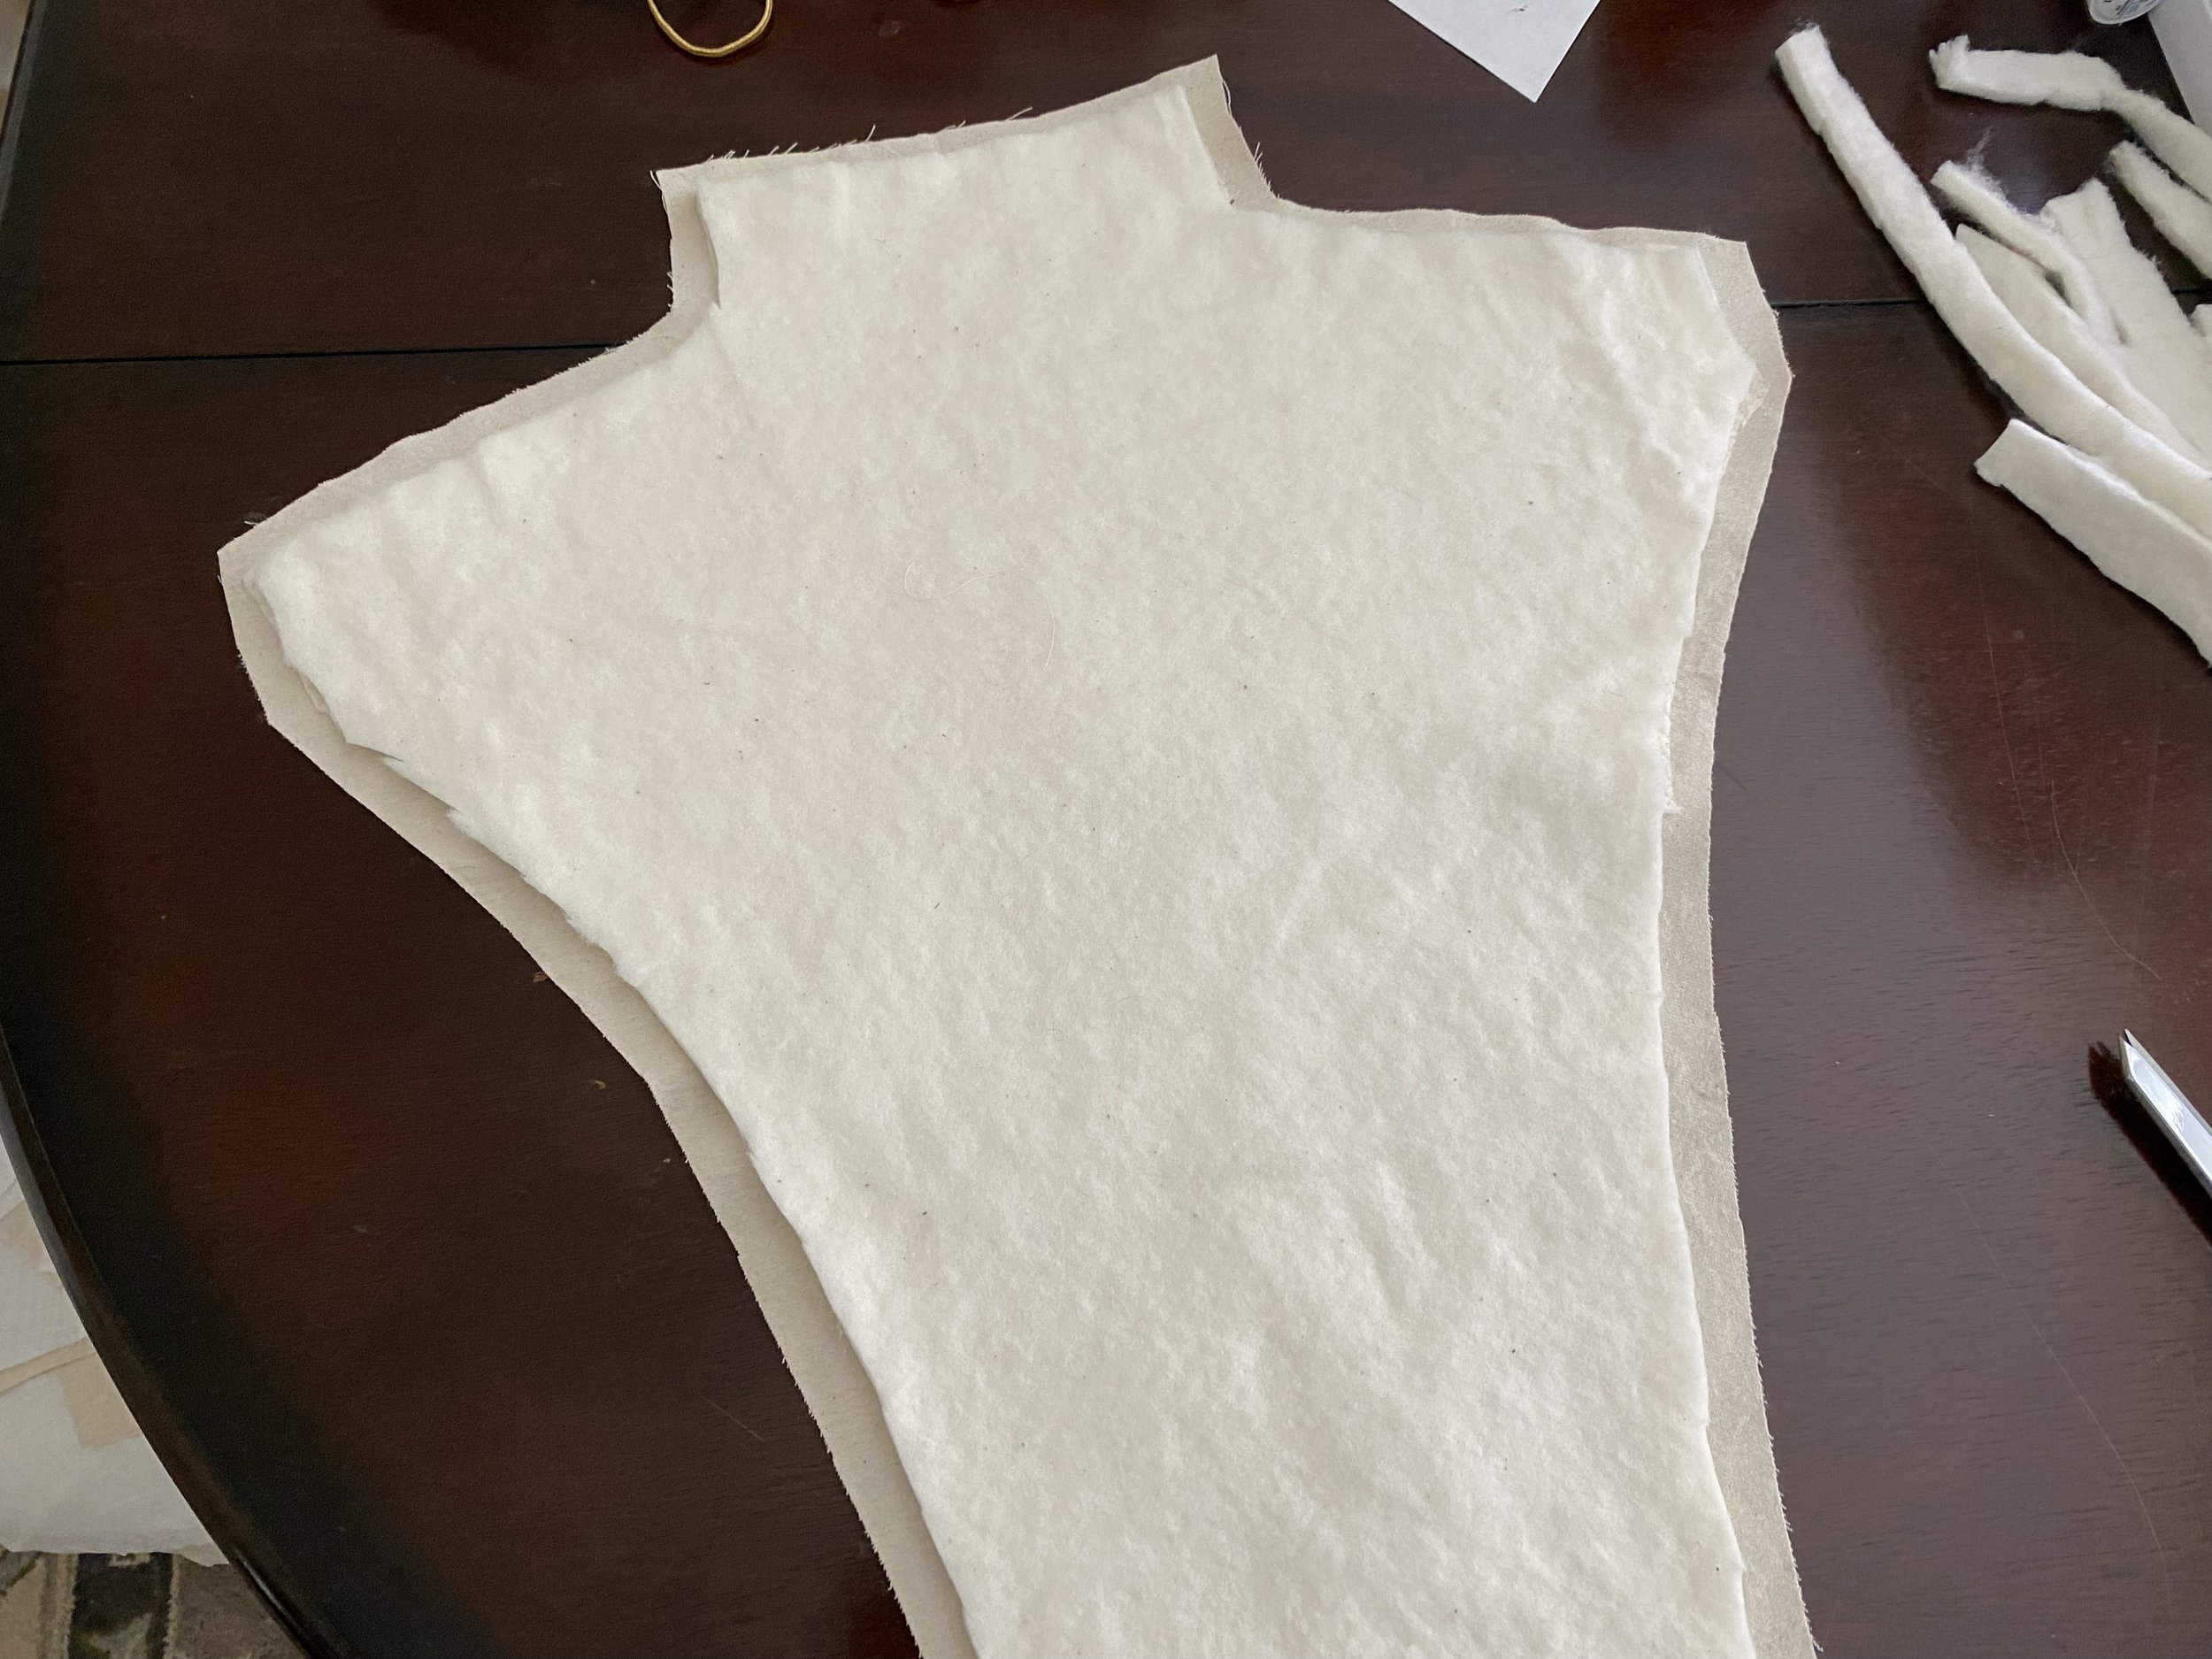
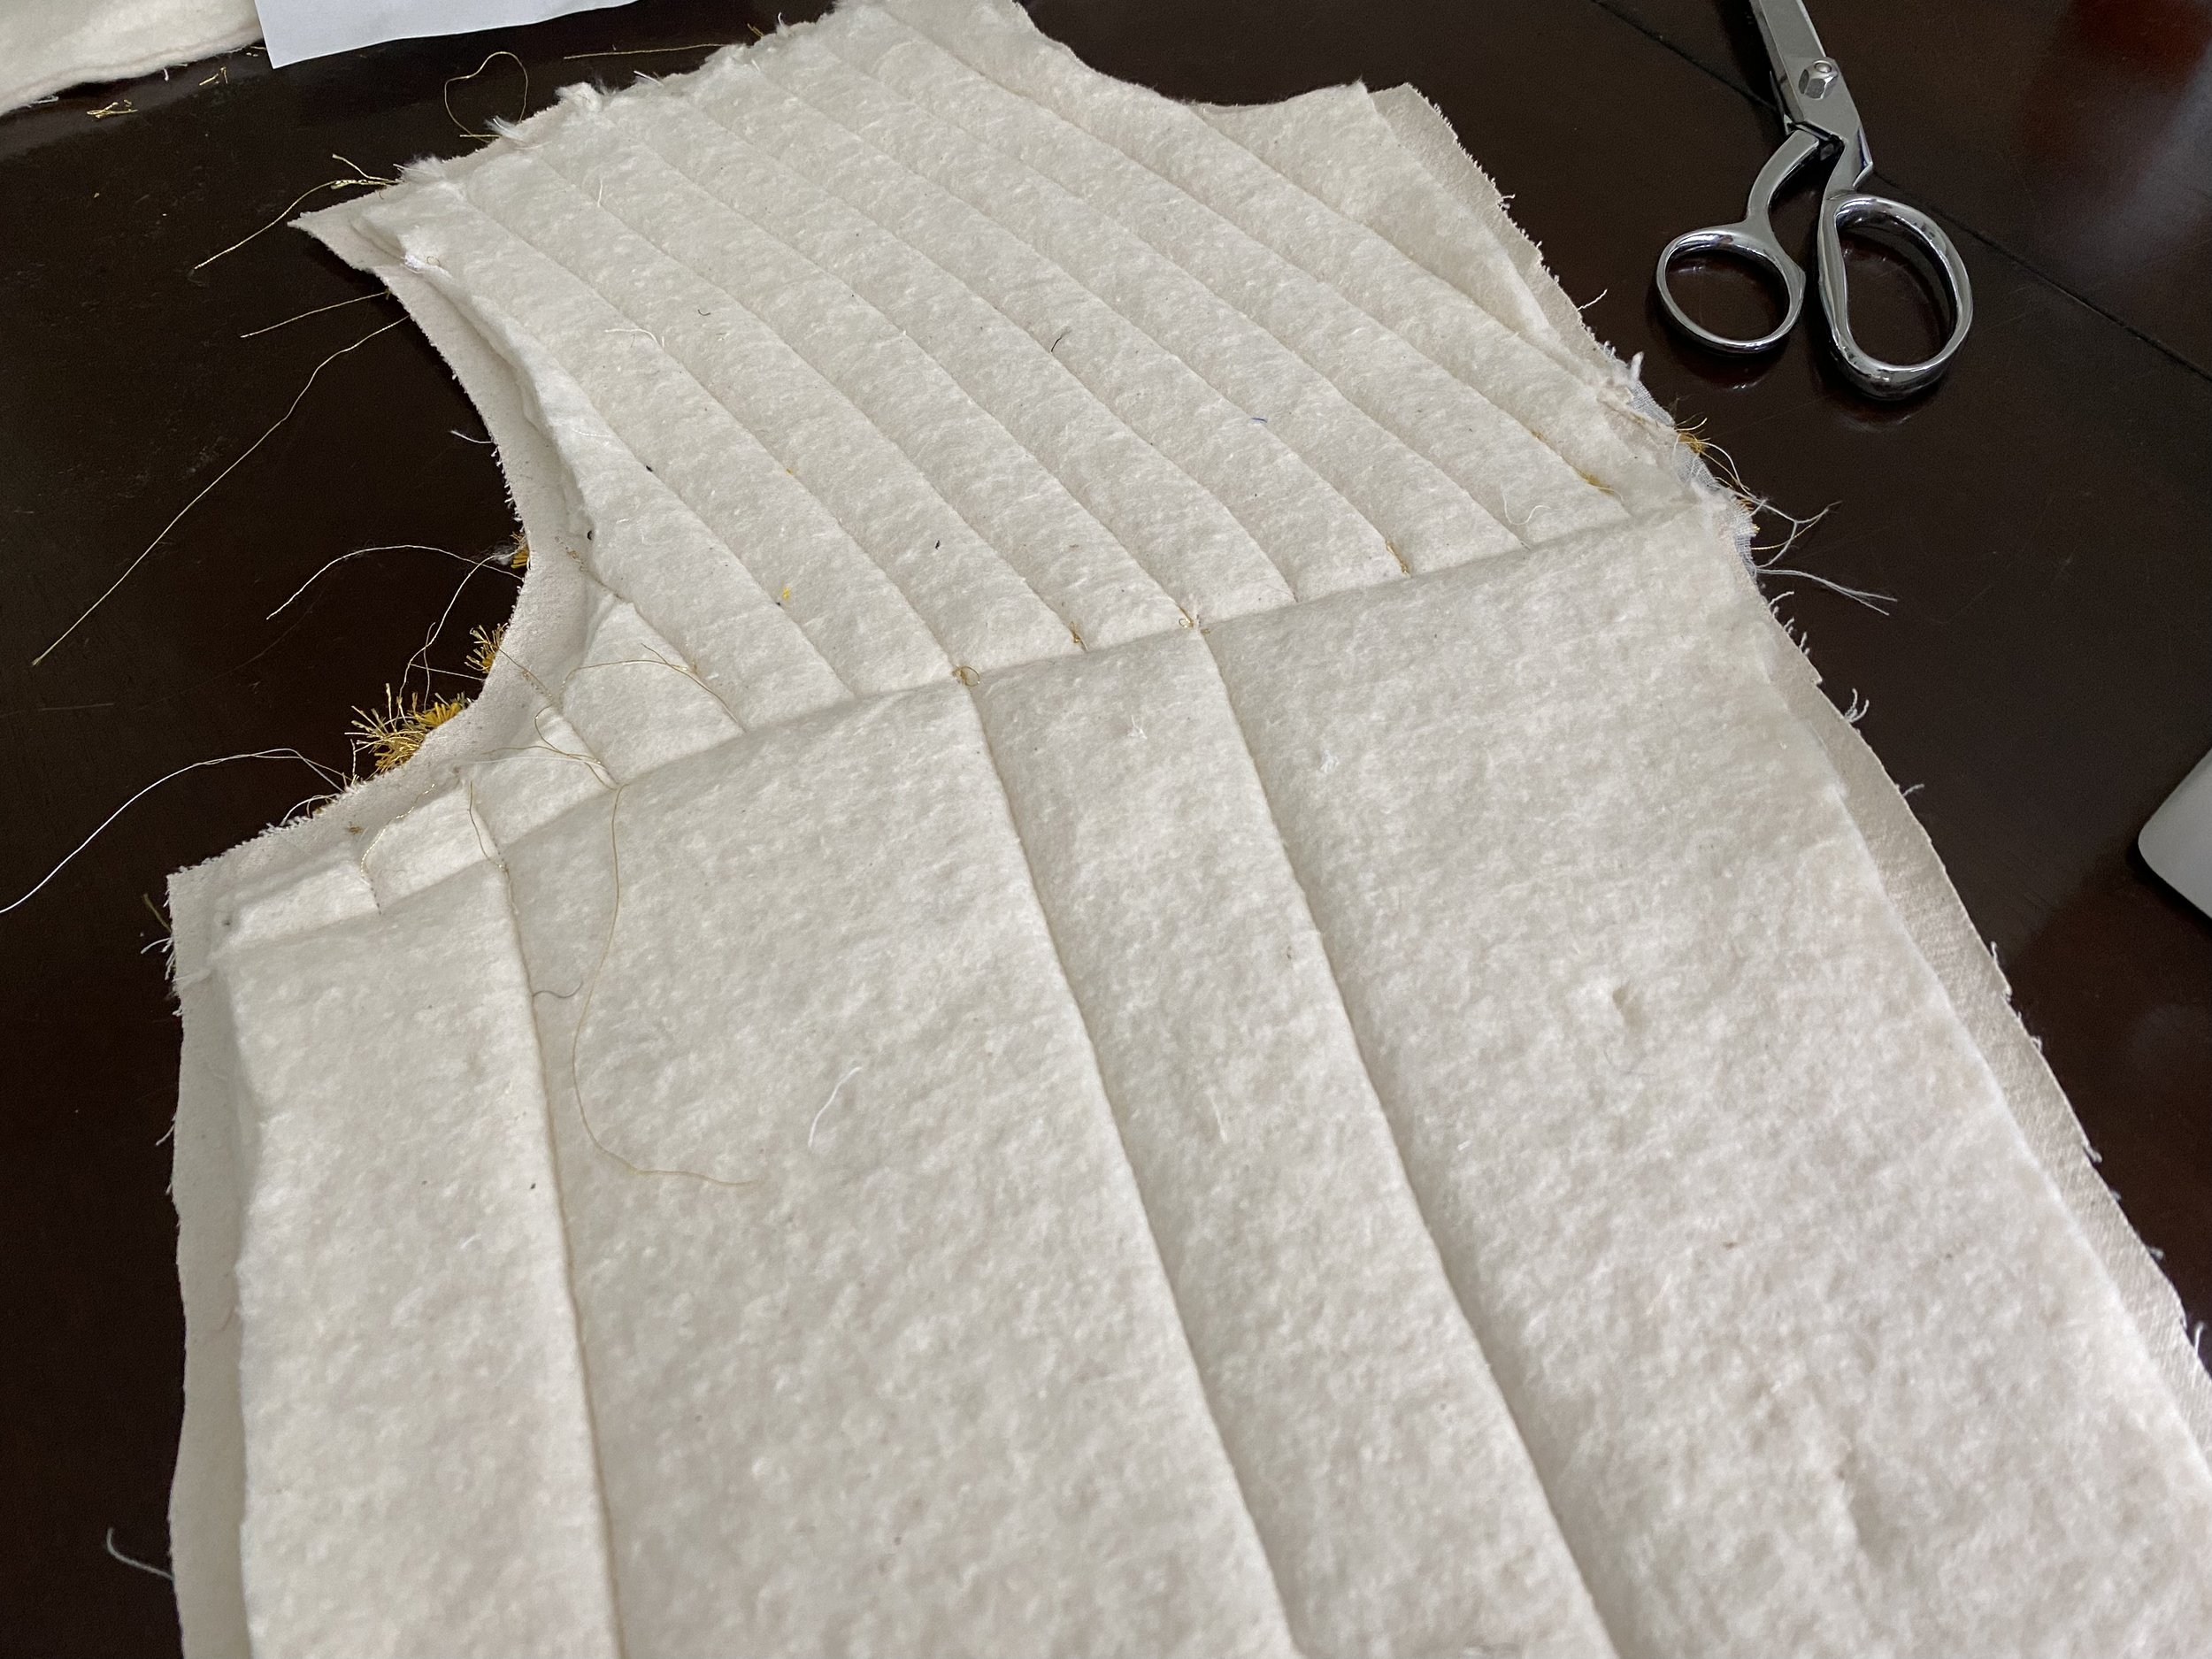
Since this doublet is being made for the specific intention of sport fighting, in addition to the standard layers doublet construction we will add layers of batting to provide the correct amount of padding for the wearer.
Cutting and Sewing
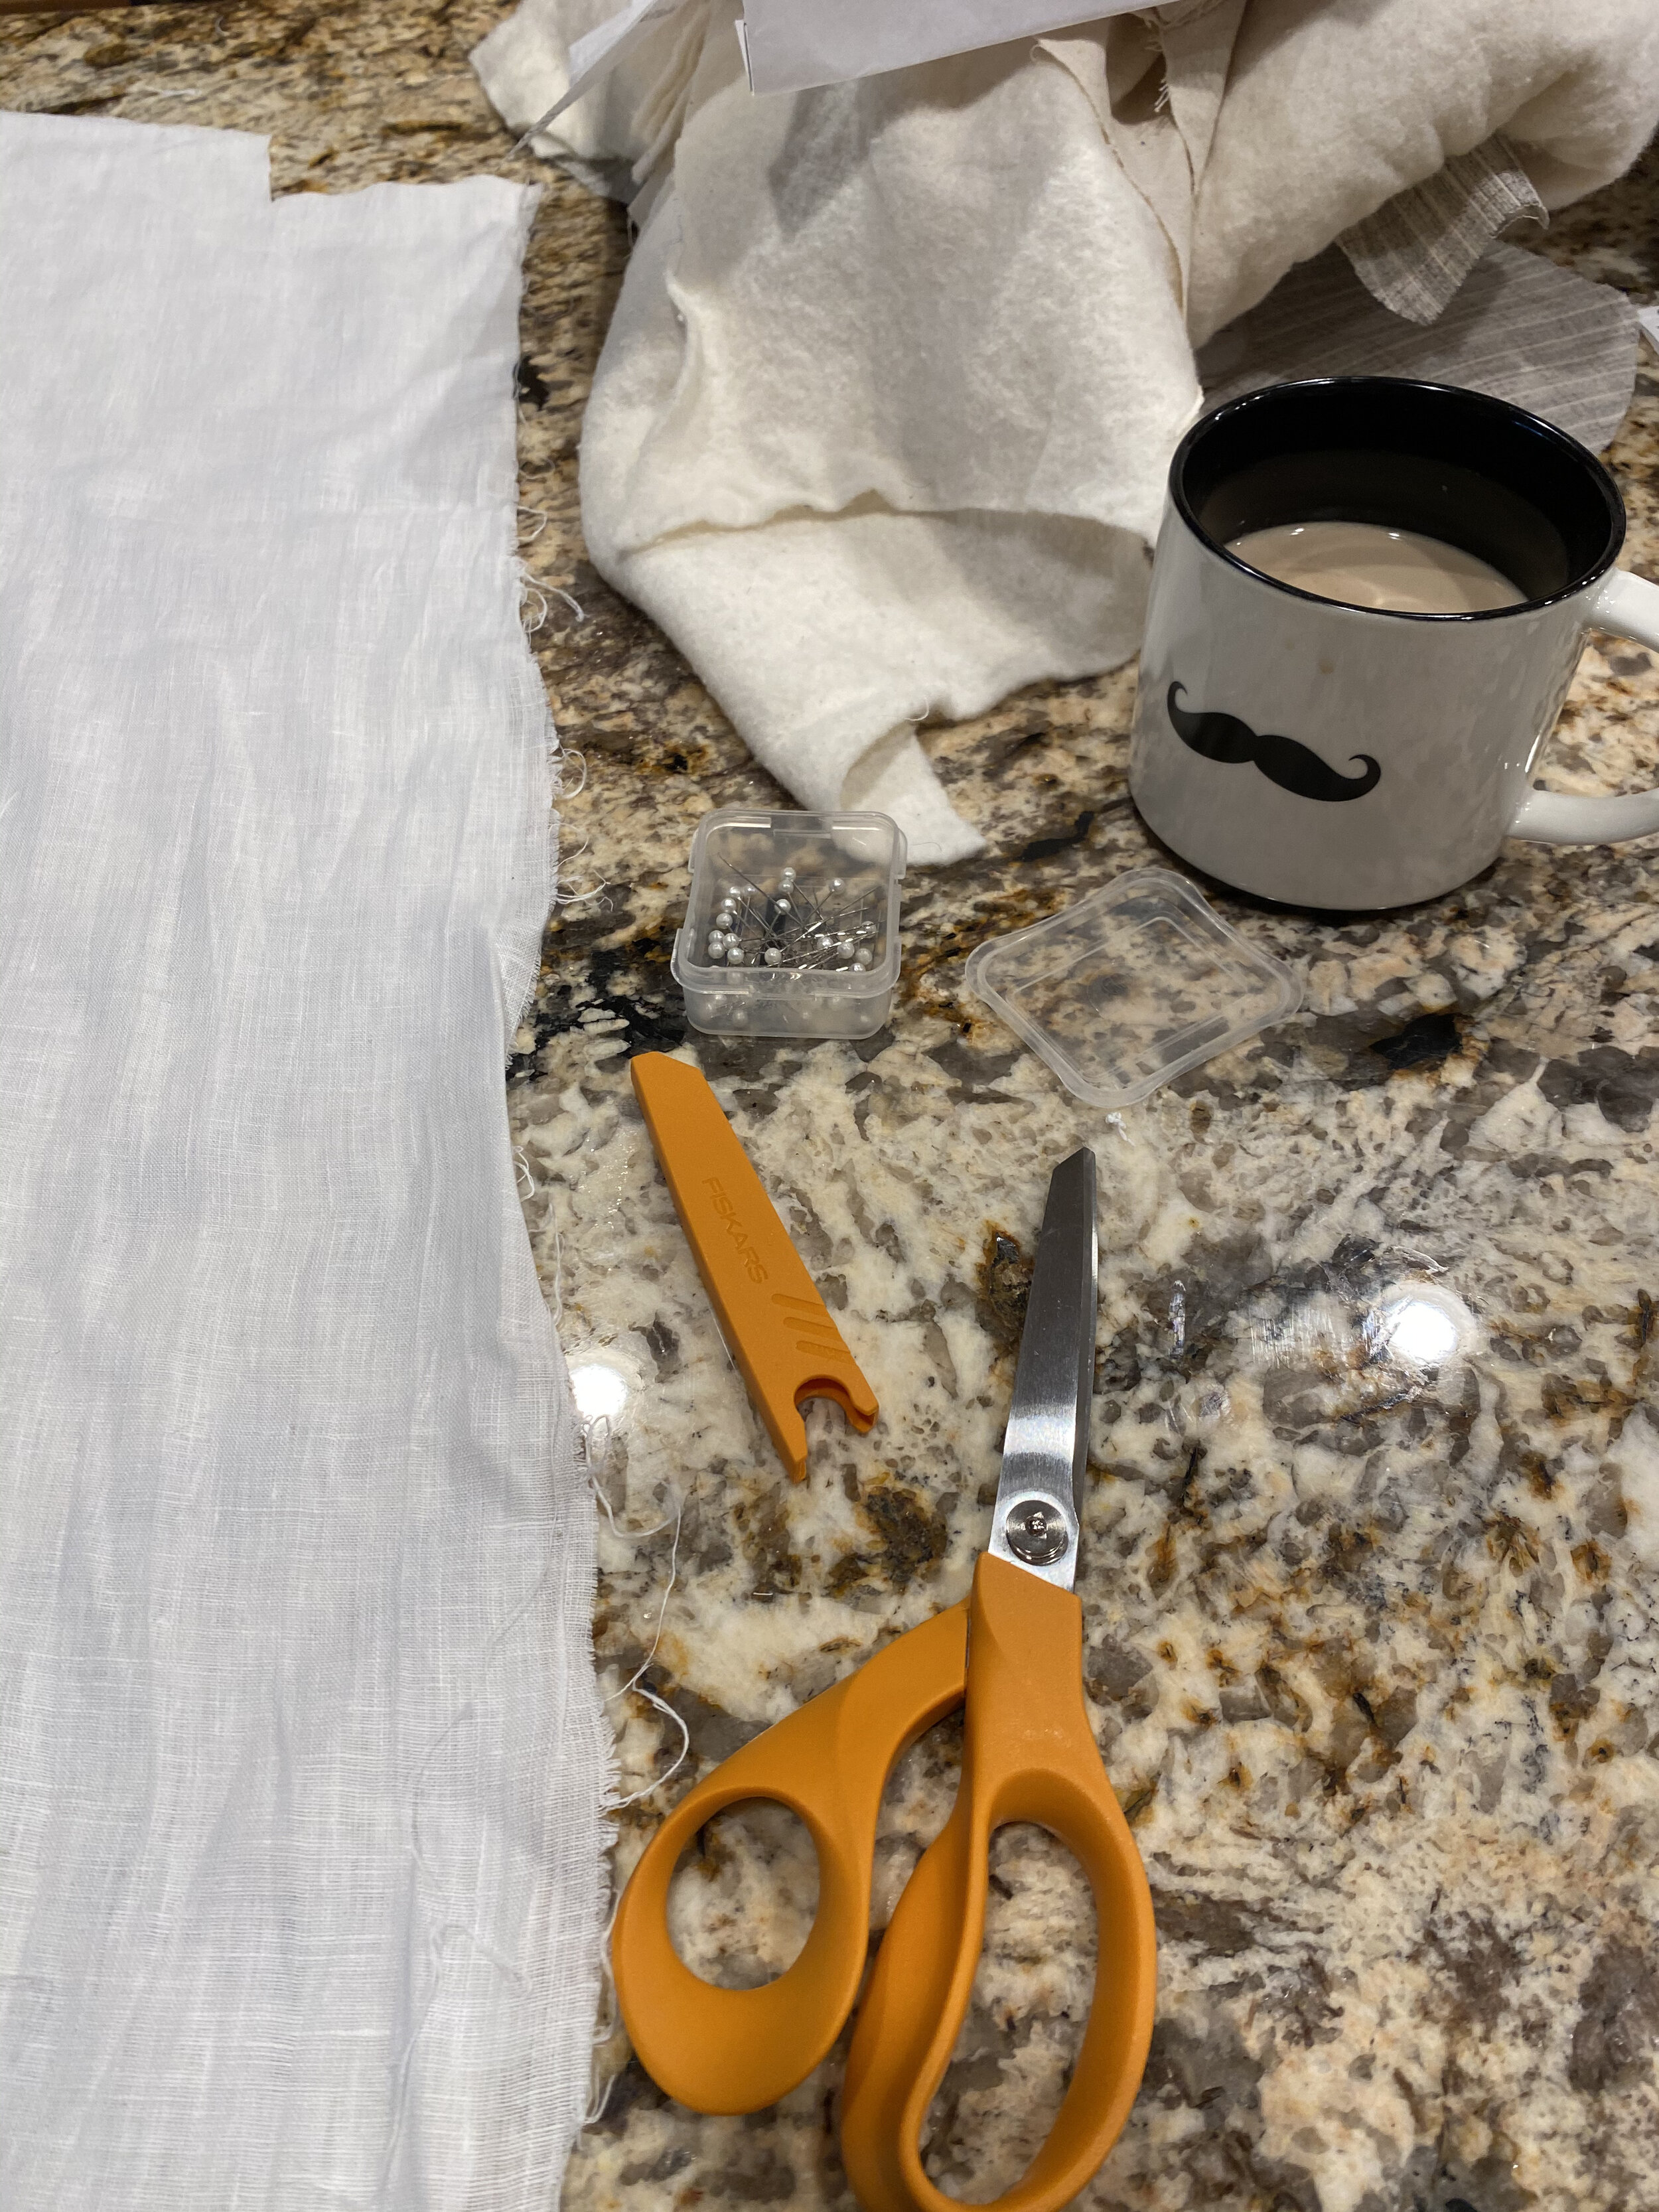
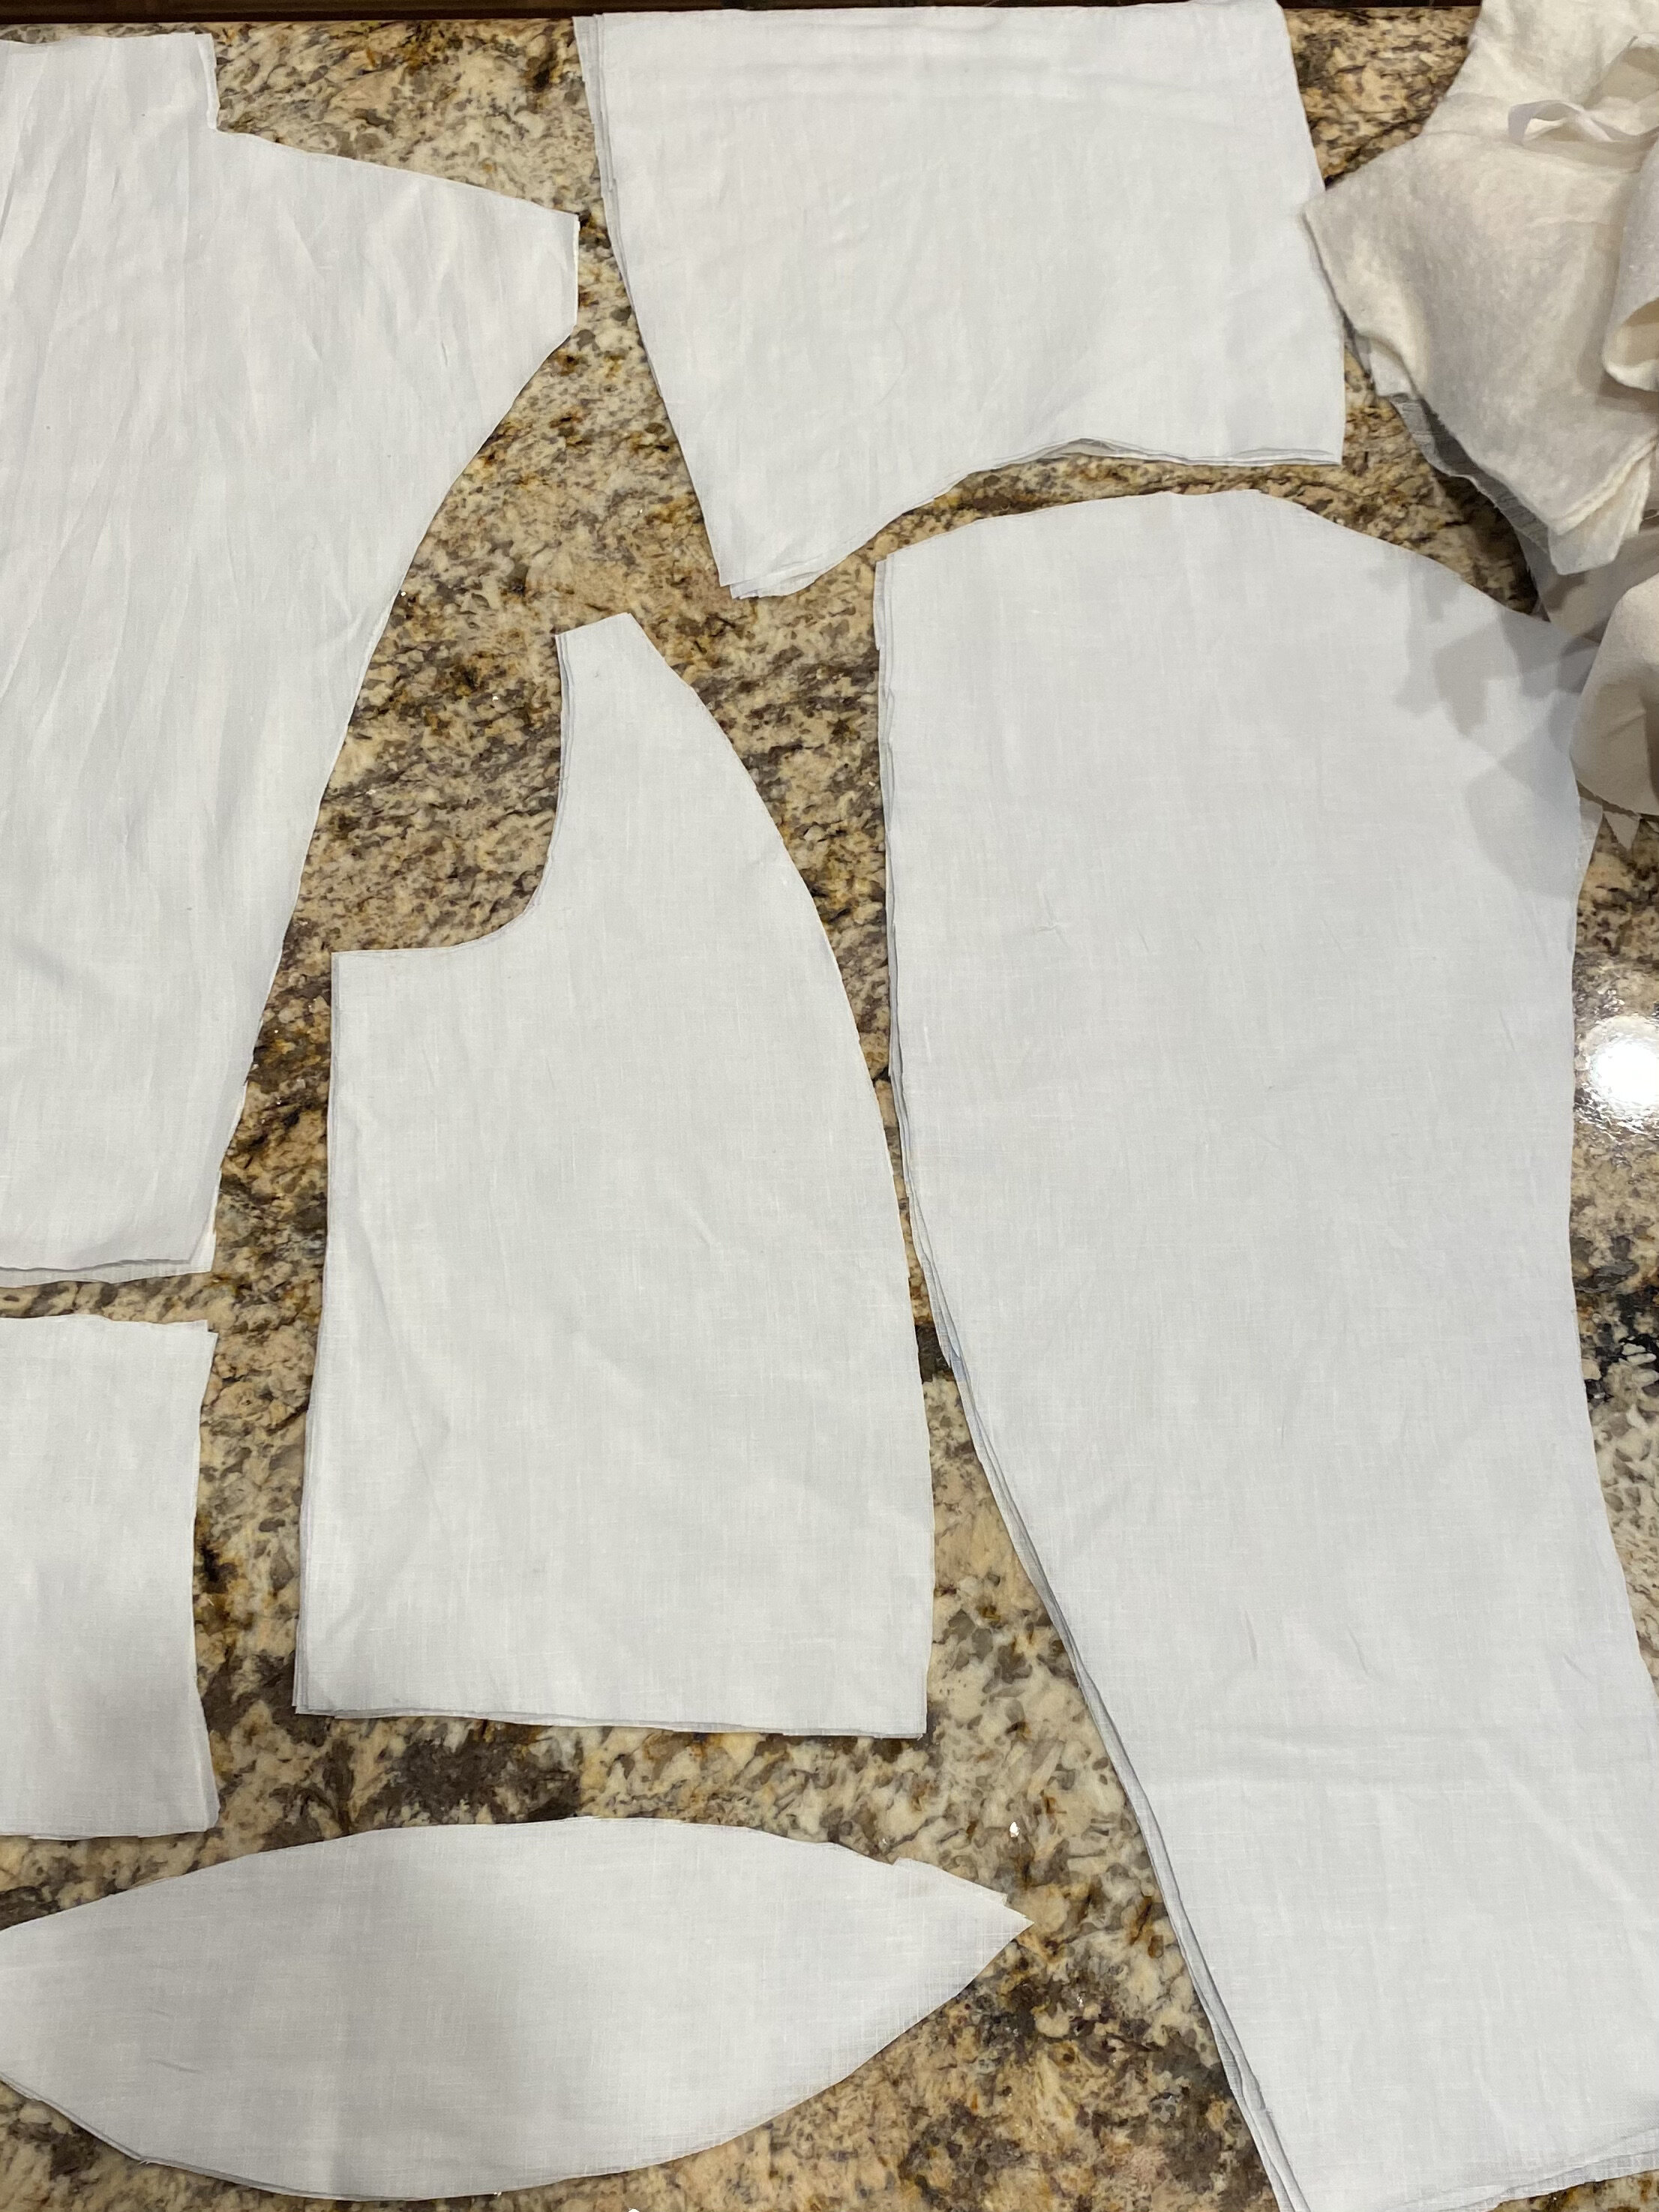
We used a doublet pattern that was previously drafted to cut out all the pieces, however, there are many good doublet patterns widely available. After cutting out all the pieces of the facing, lining, batting, canvas, and horsehair canvas it is time to prep the facing.
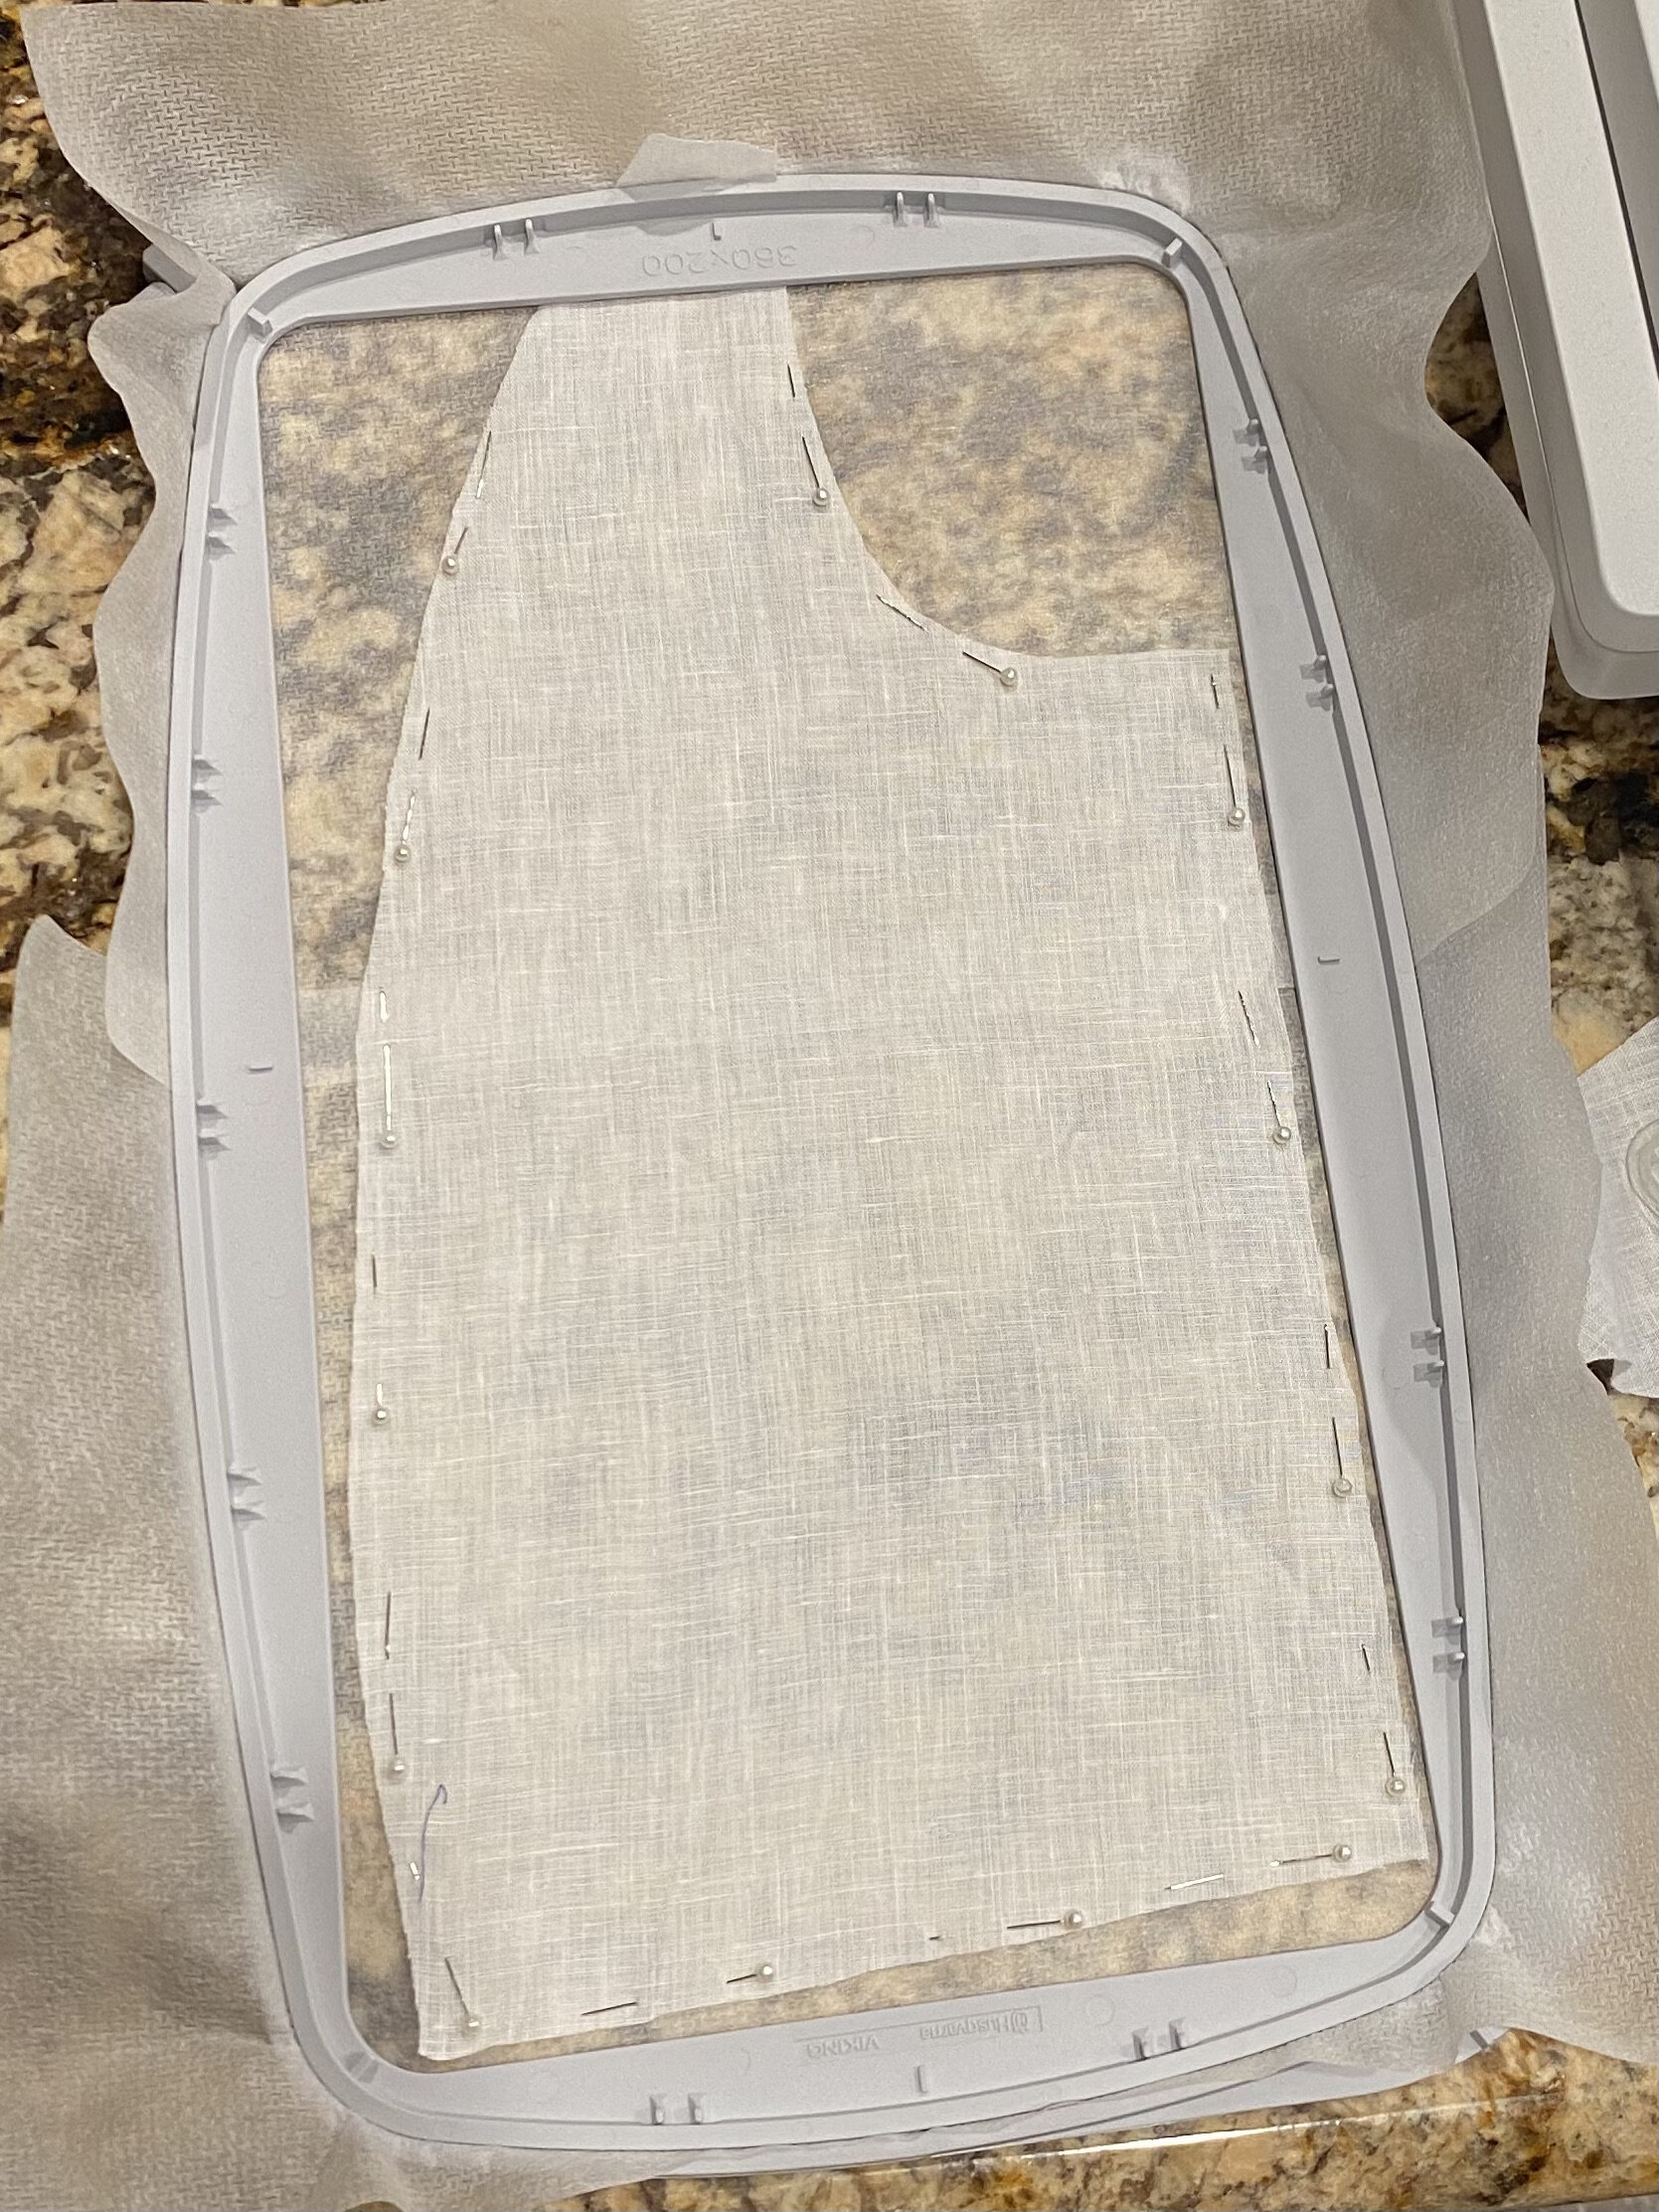
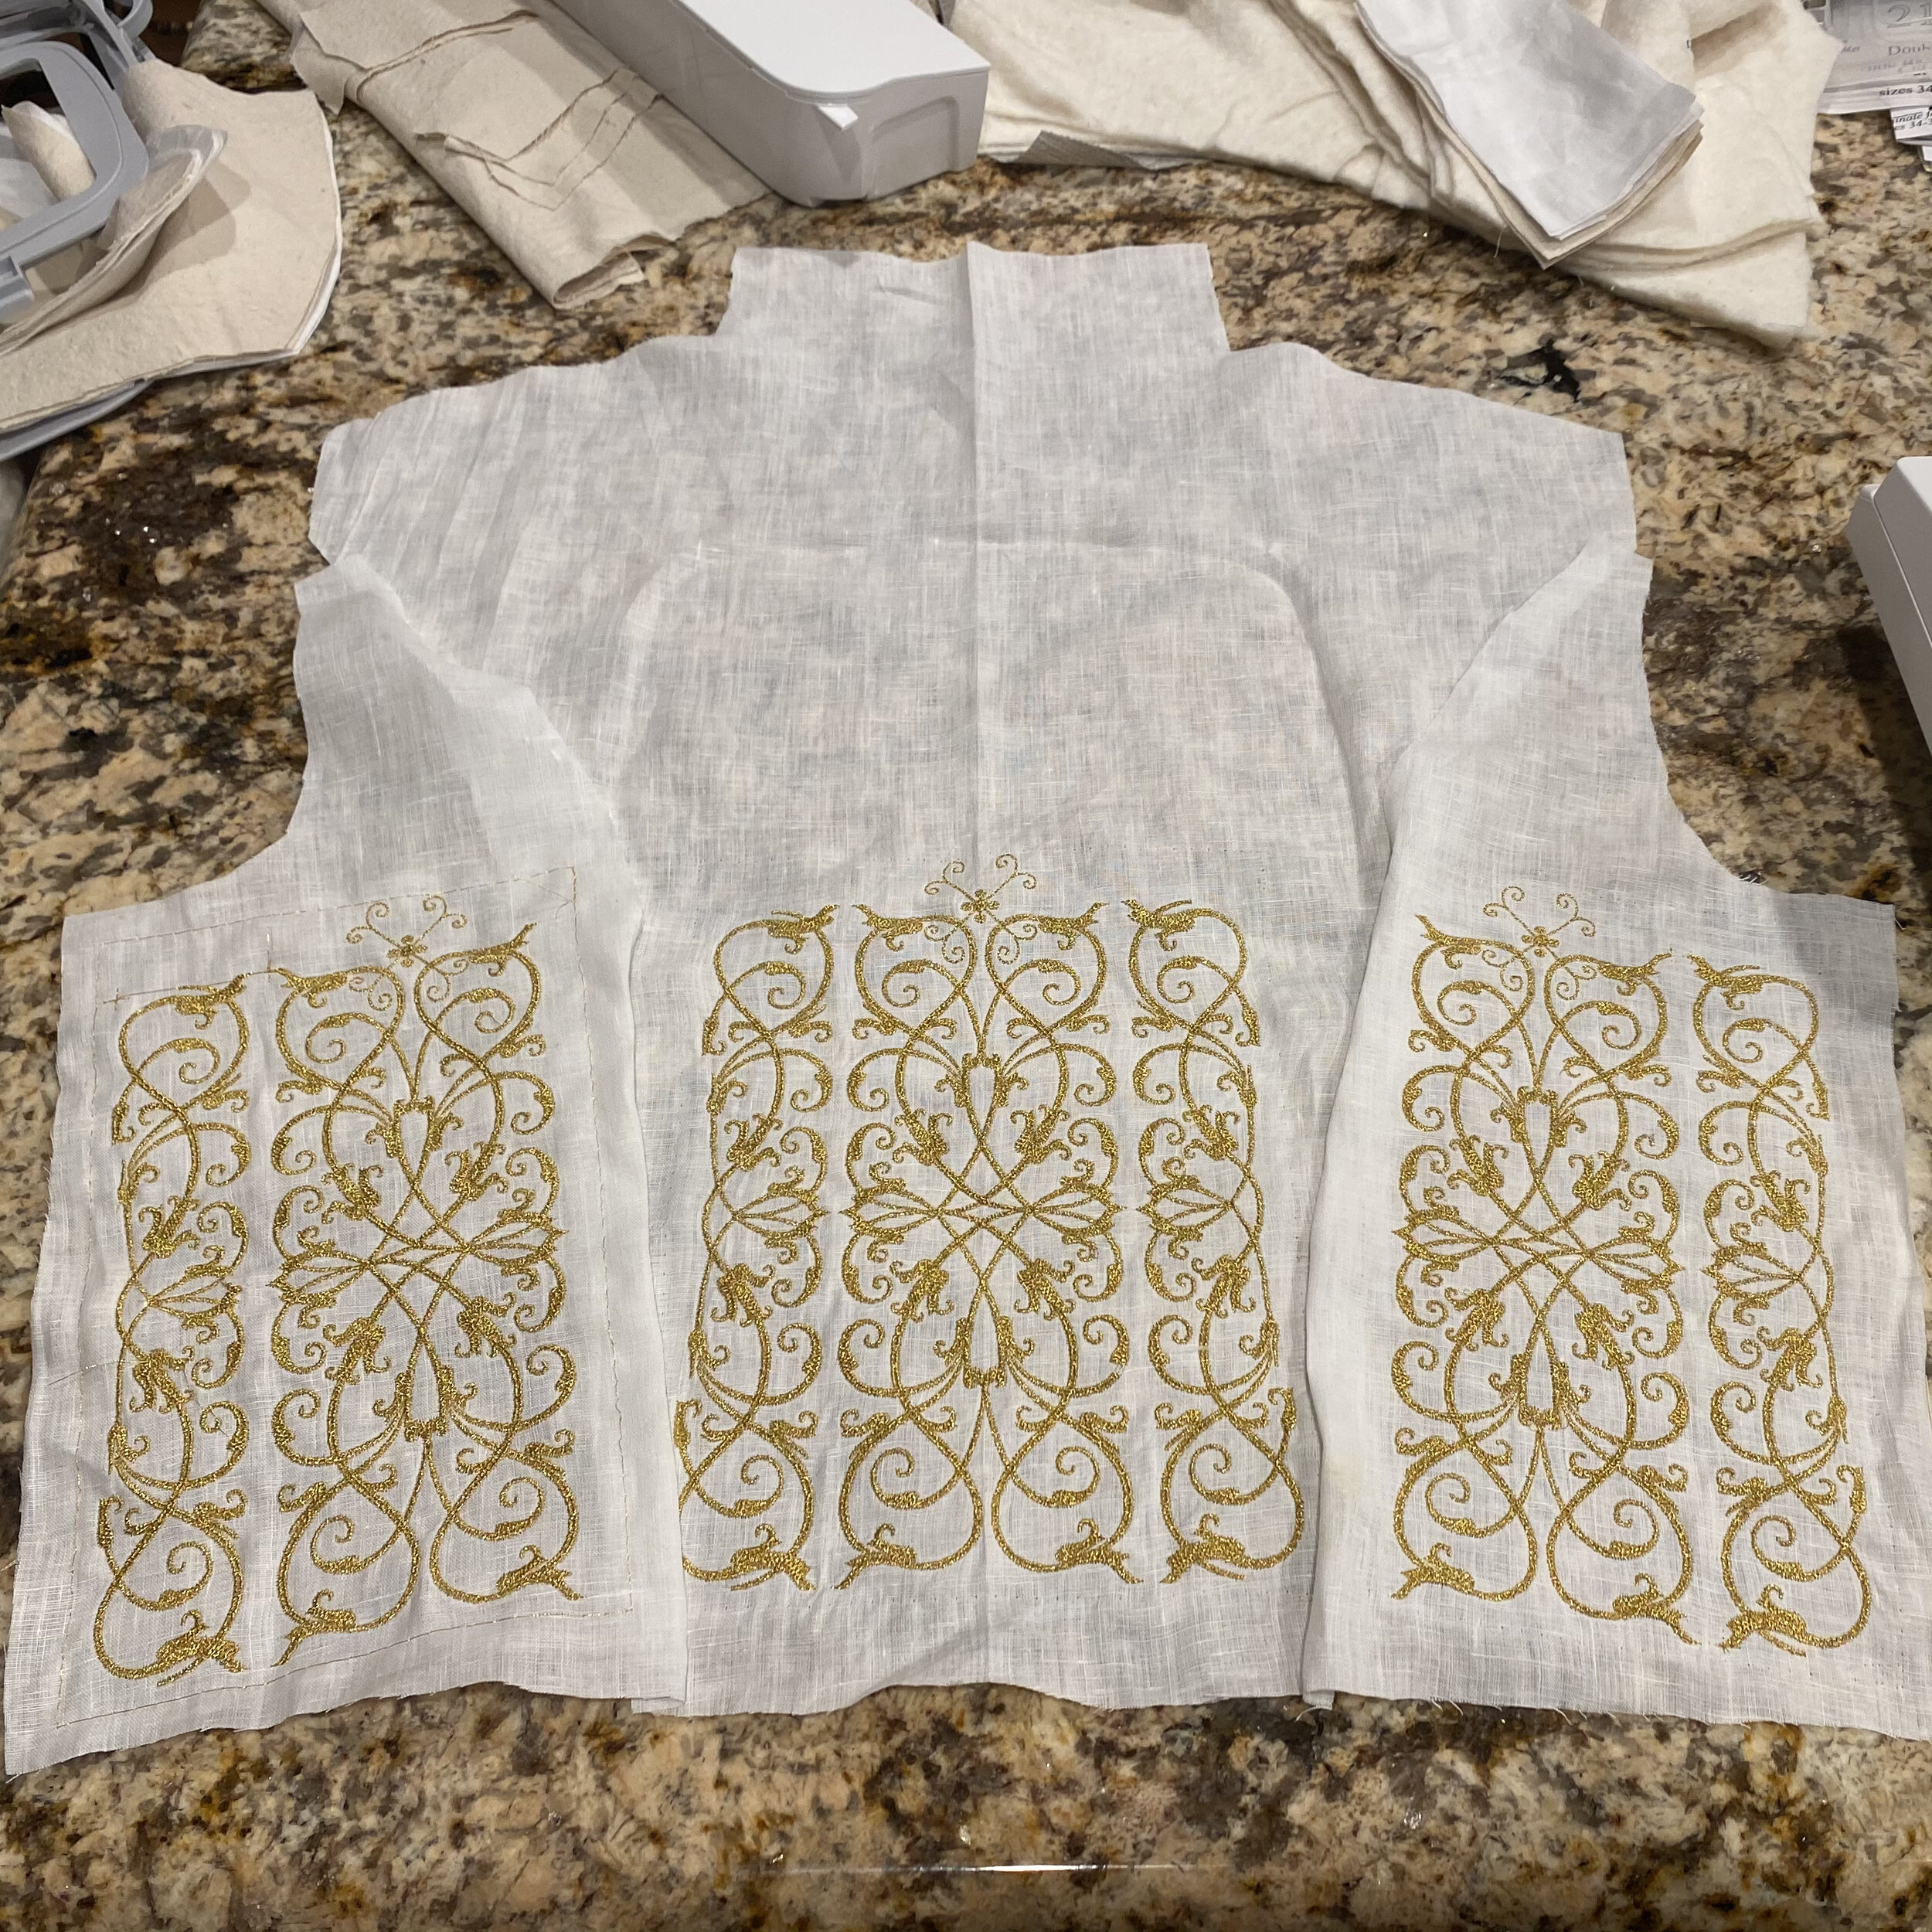
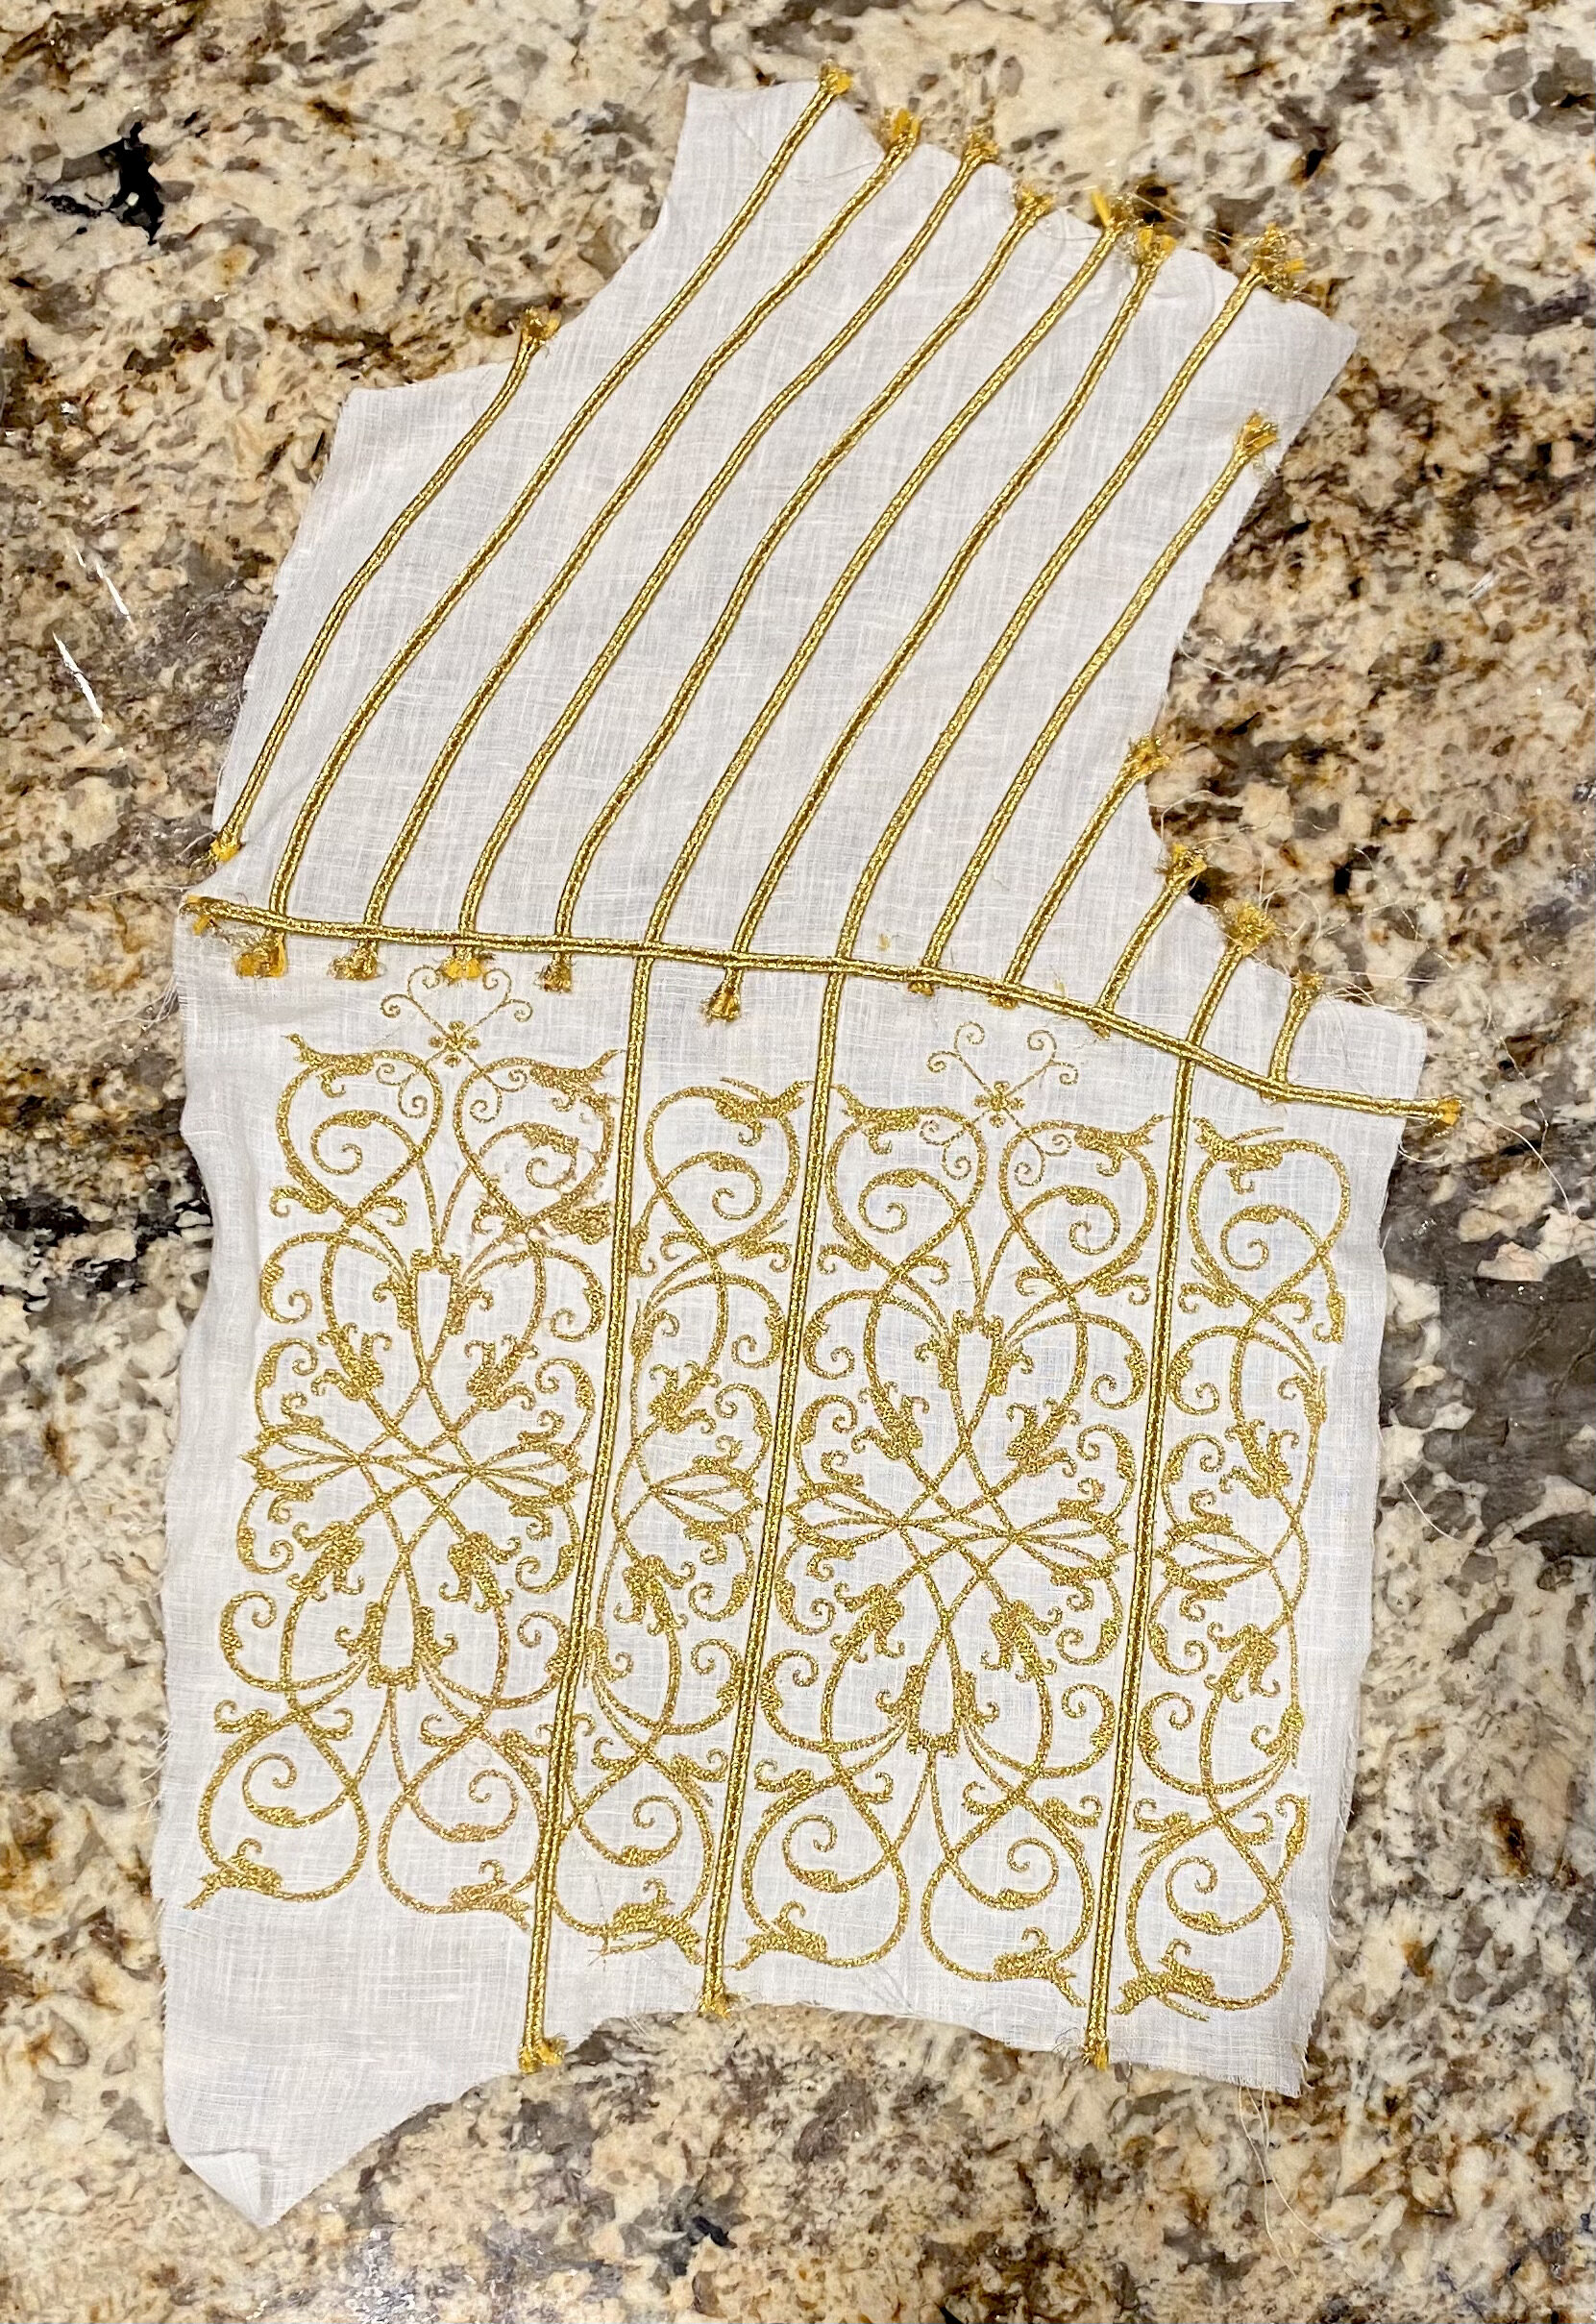
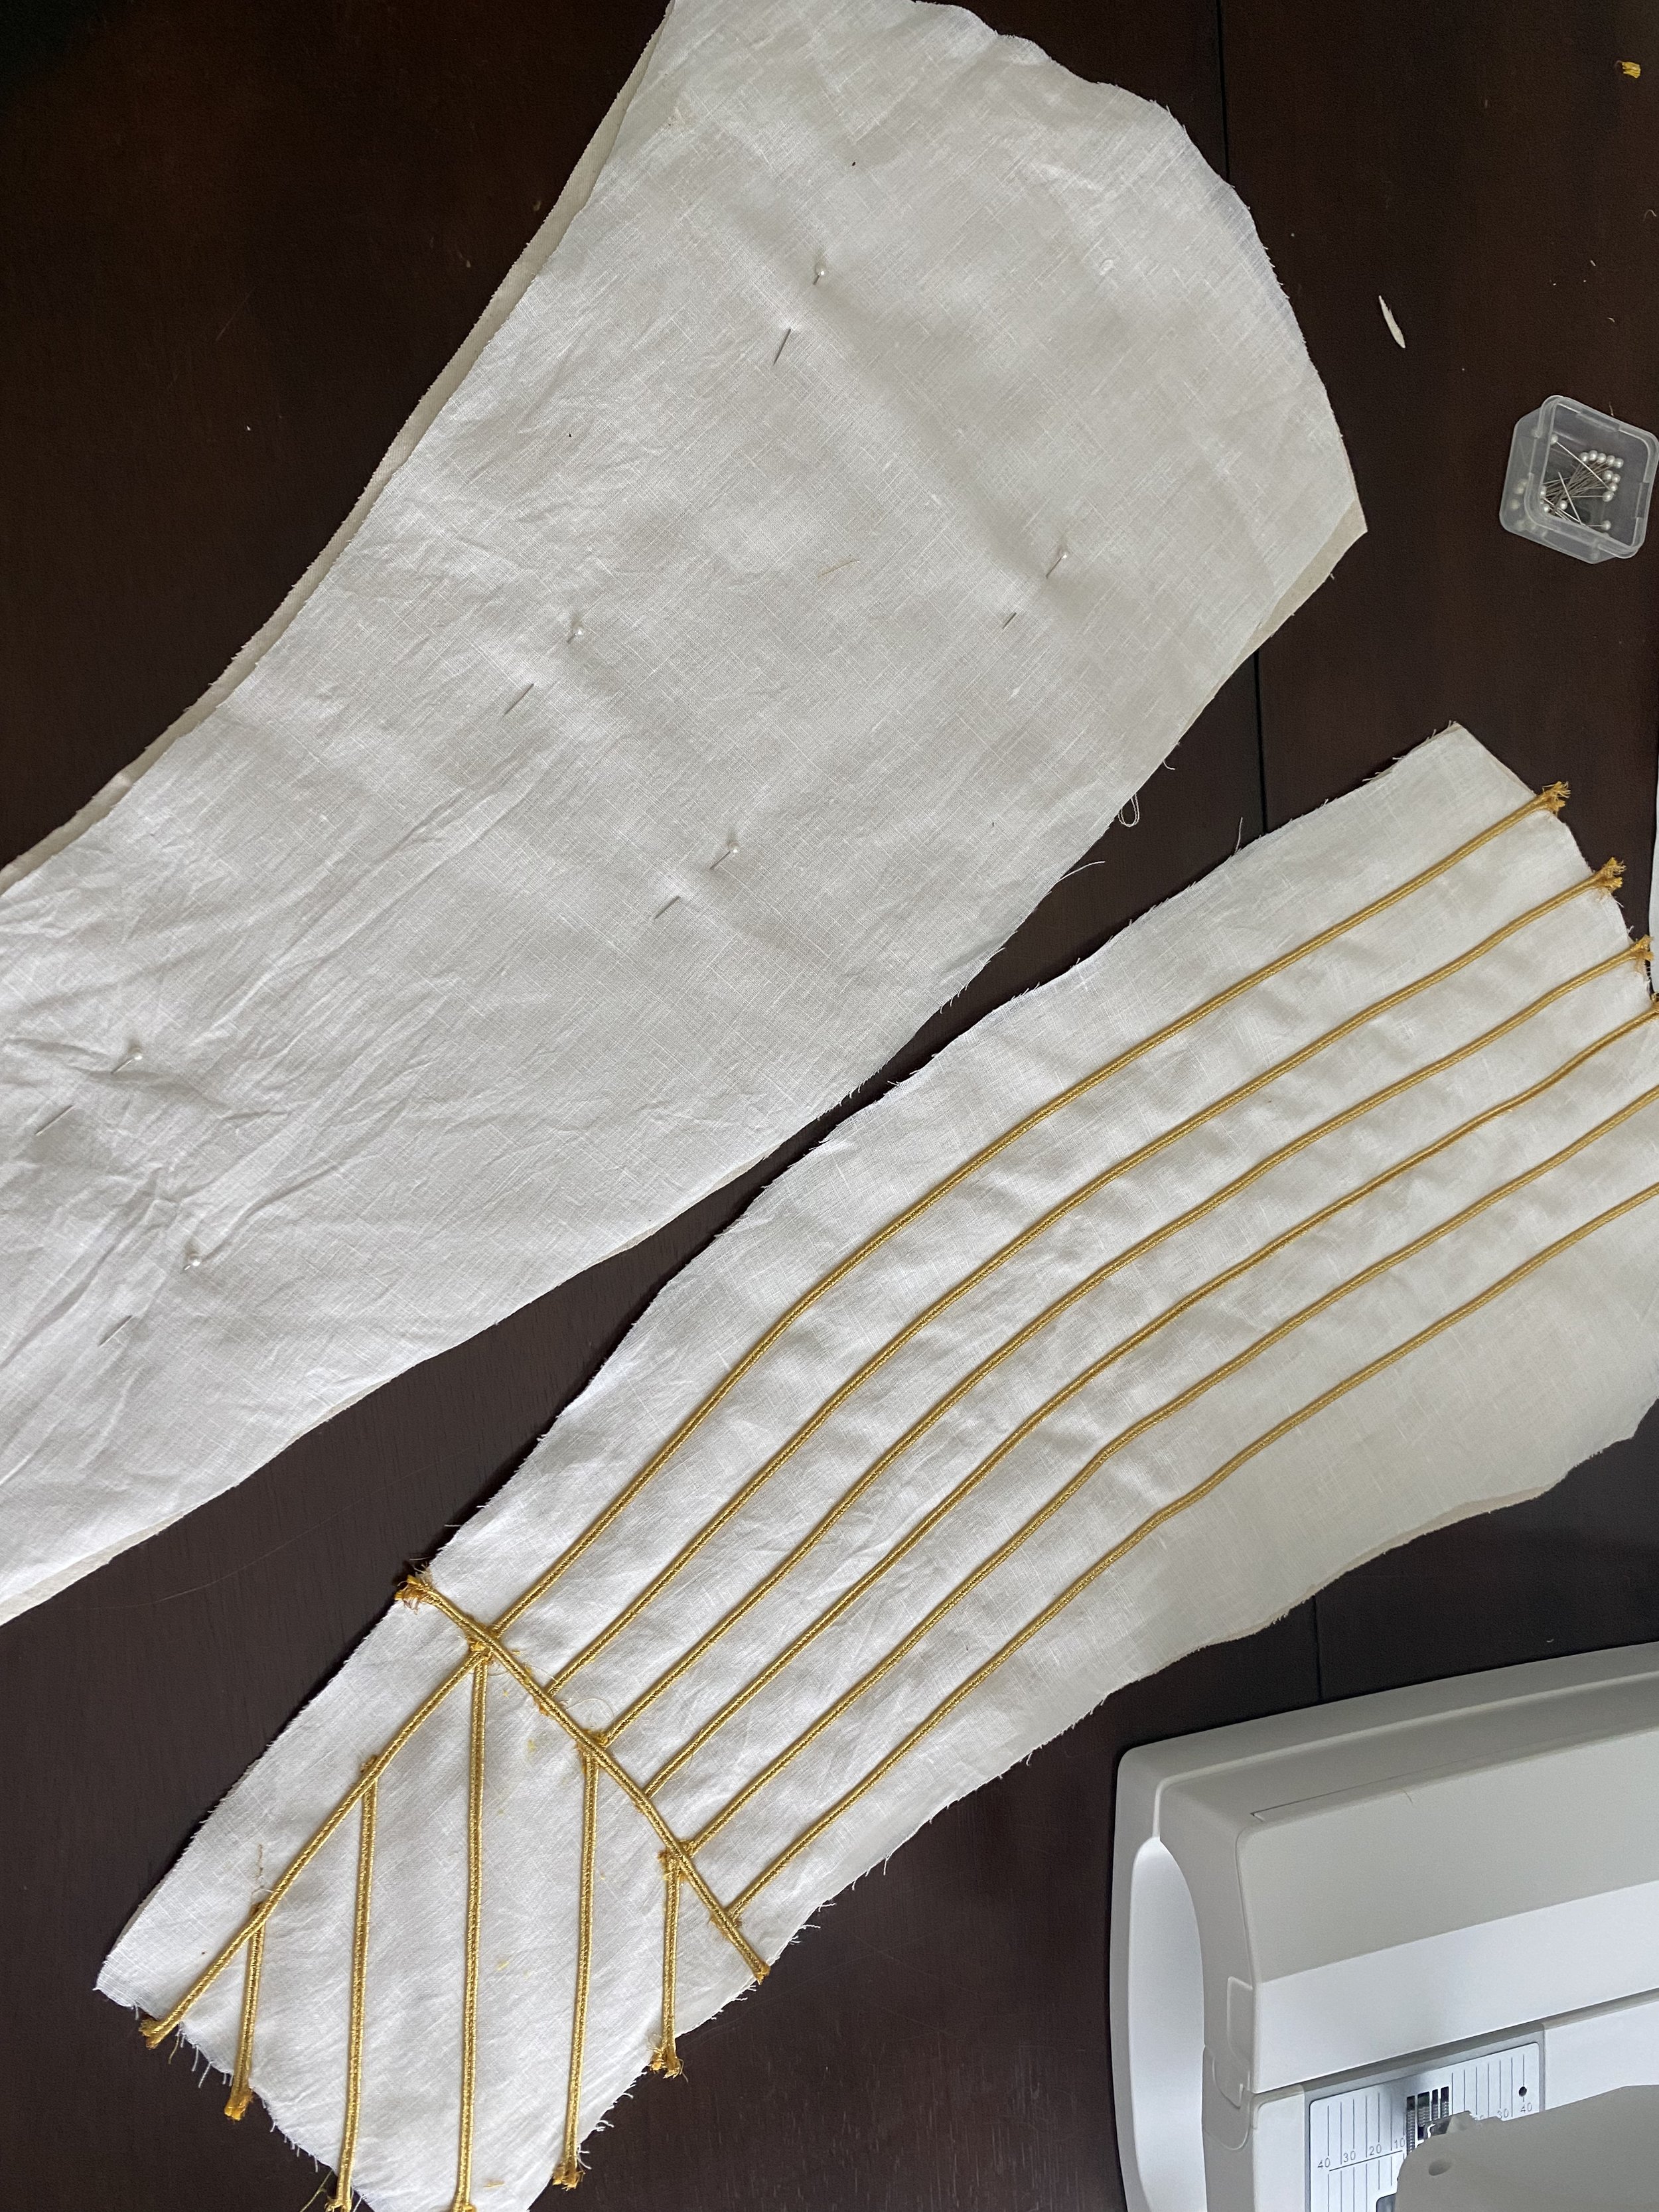
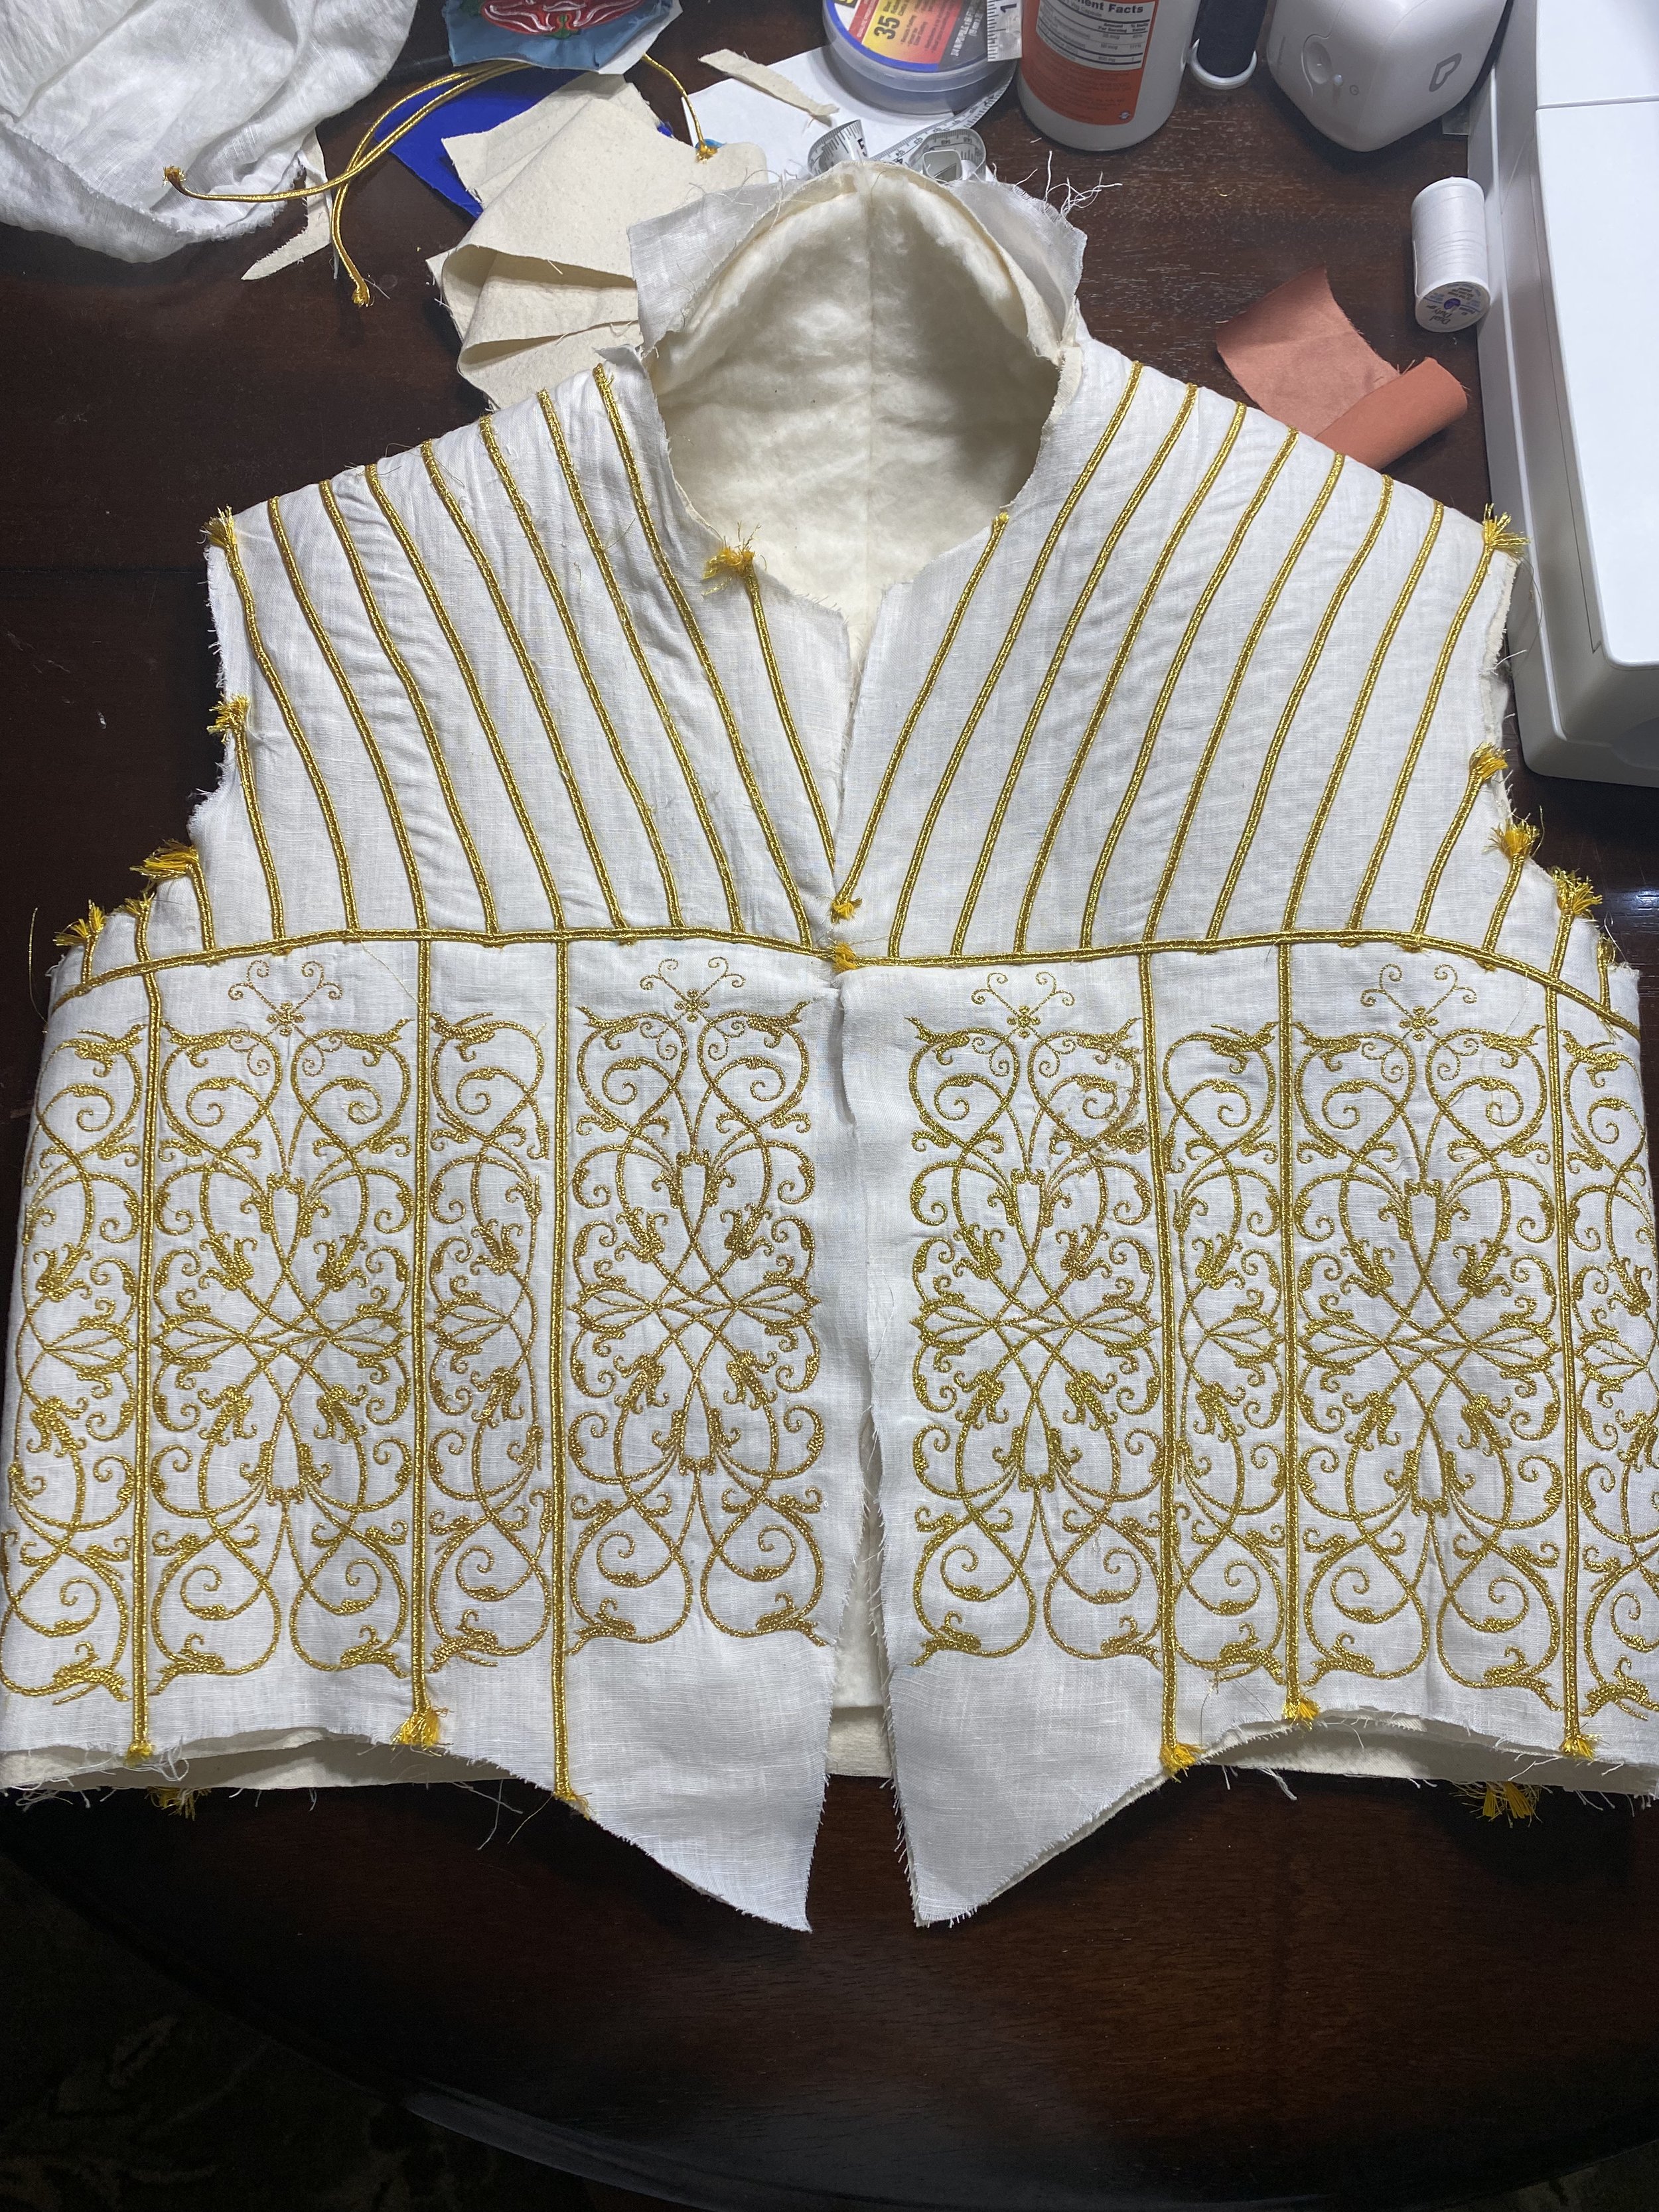
The facing on this doublet is comprised of embroidered sections and lines of gold soutache. While the embroidery can be completed by hand, we elected the use of our sewing/embroidery machine to complete these sections. Each section was about 45,000 to 65,000 stitches. The average machine stitch approximately 600 stitches per minute so each panel took about one to two hours to complete accounting for thread changes, bobbin changes, re-hooping, positioning, et cetera, and were completed one panel at a time over a few days.
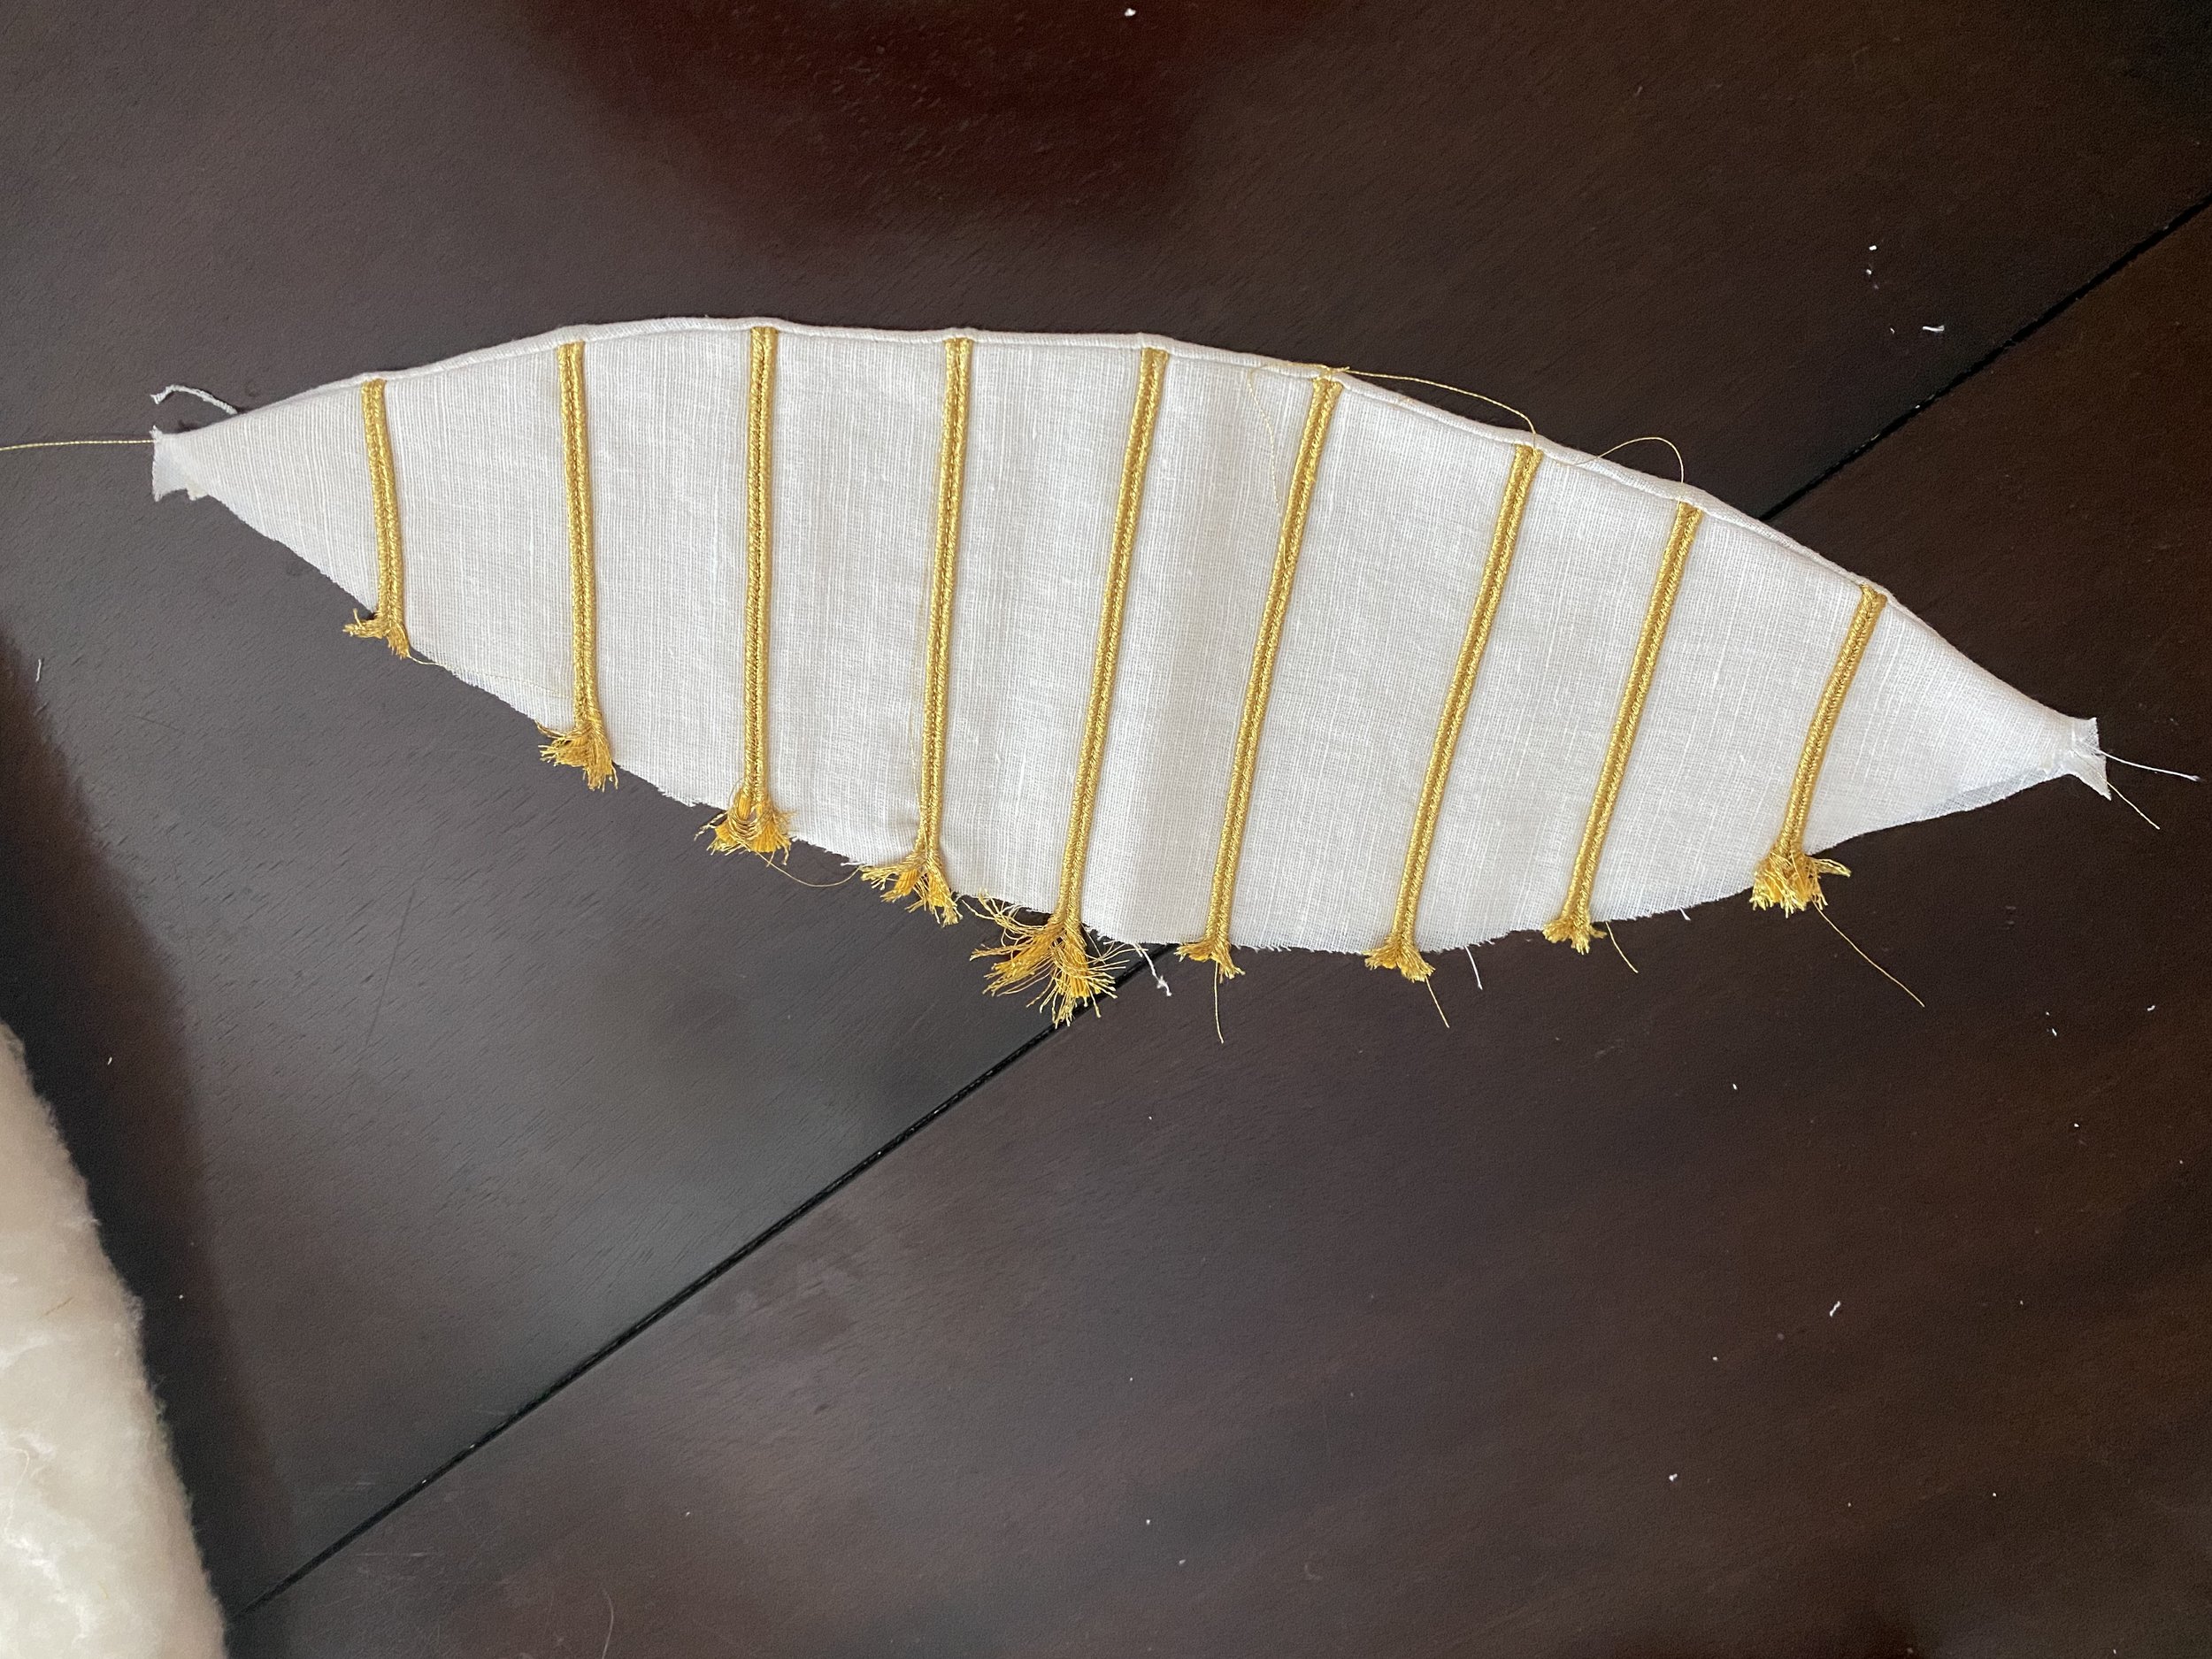
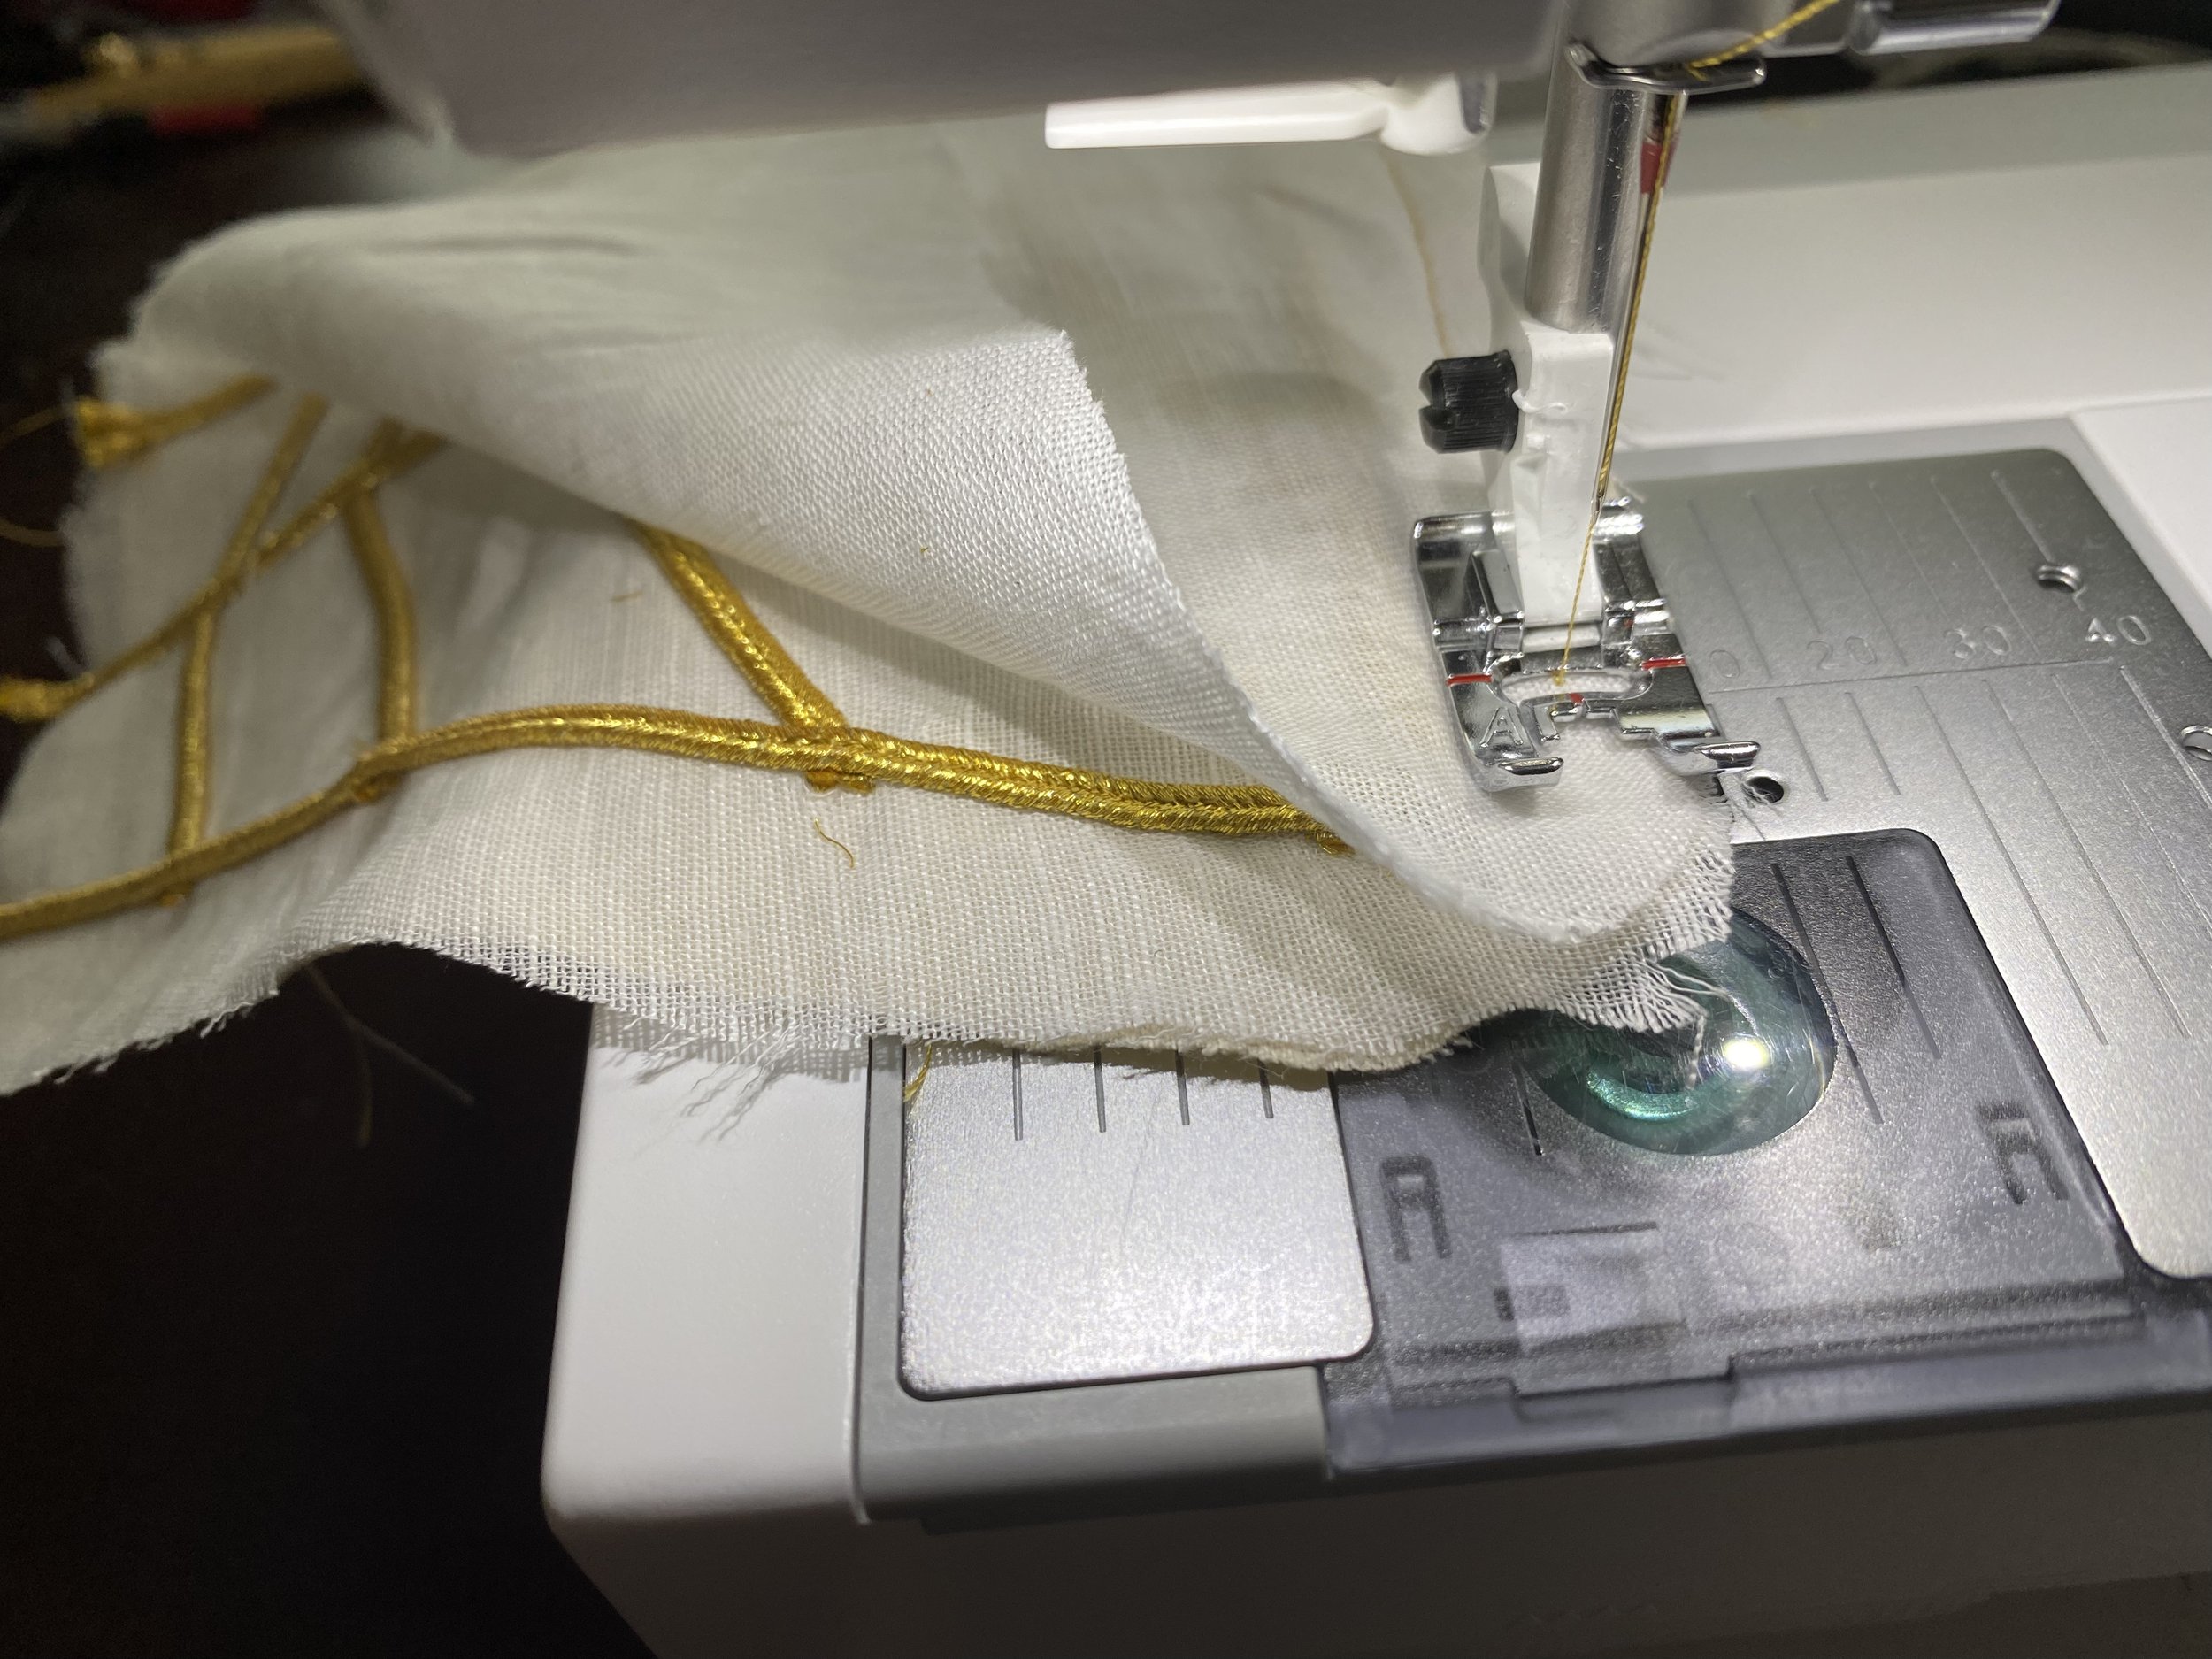
Once the embroidery of all the panels was completed, the soutache was laid out and stitch into place using a zig-zag stitch. While period garments usually show stitch on thinner trim being prick stitched or backstitched, because this is a doublet that will see some action, we elected to use first the zig-zag stitch to hold the trim flat against the garment. We will later run a straight stitch down the center of the trim to create the padding between the layers.
Next we move on to the collar of the doublet. Many period patterns show that the back of the colar is part of the cut of the center back piece which gives the collar structure. We start by stitching the edge that connect the collar to the matching the top edges on the collar with the top edge of the neck on the center back peice. Then we stitch around the curved edge of the collar lining up the front edge with the fornt edge of the doublet. Repeat this for the lining.
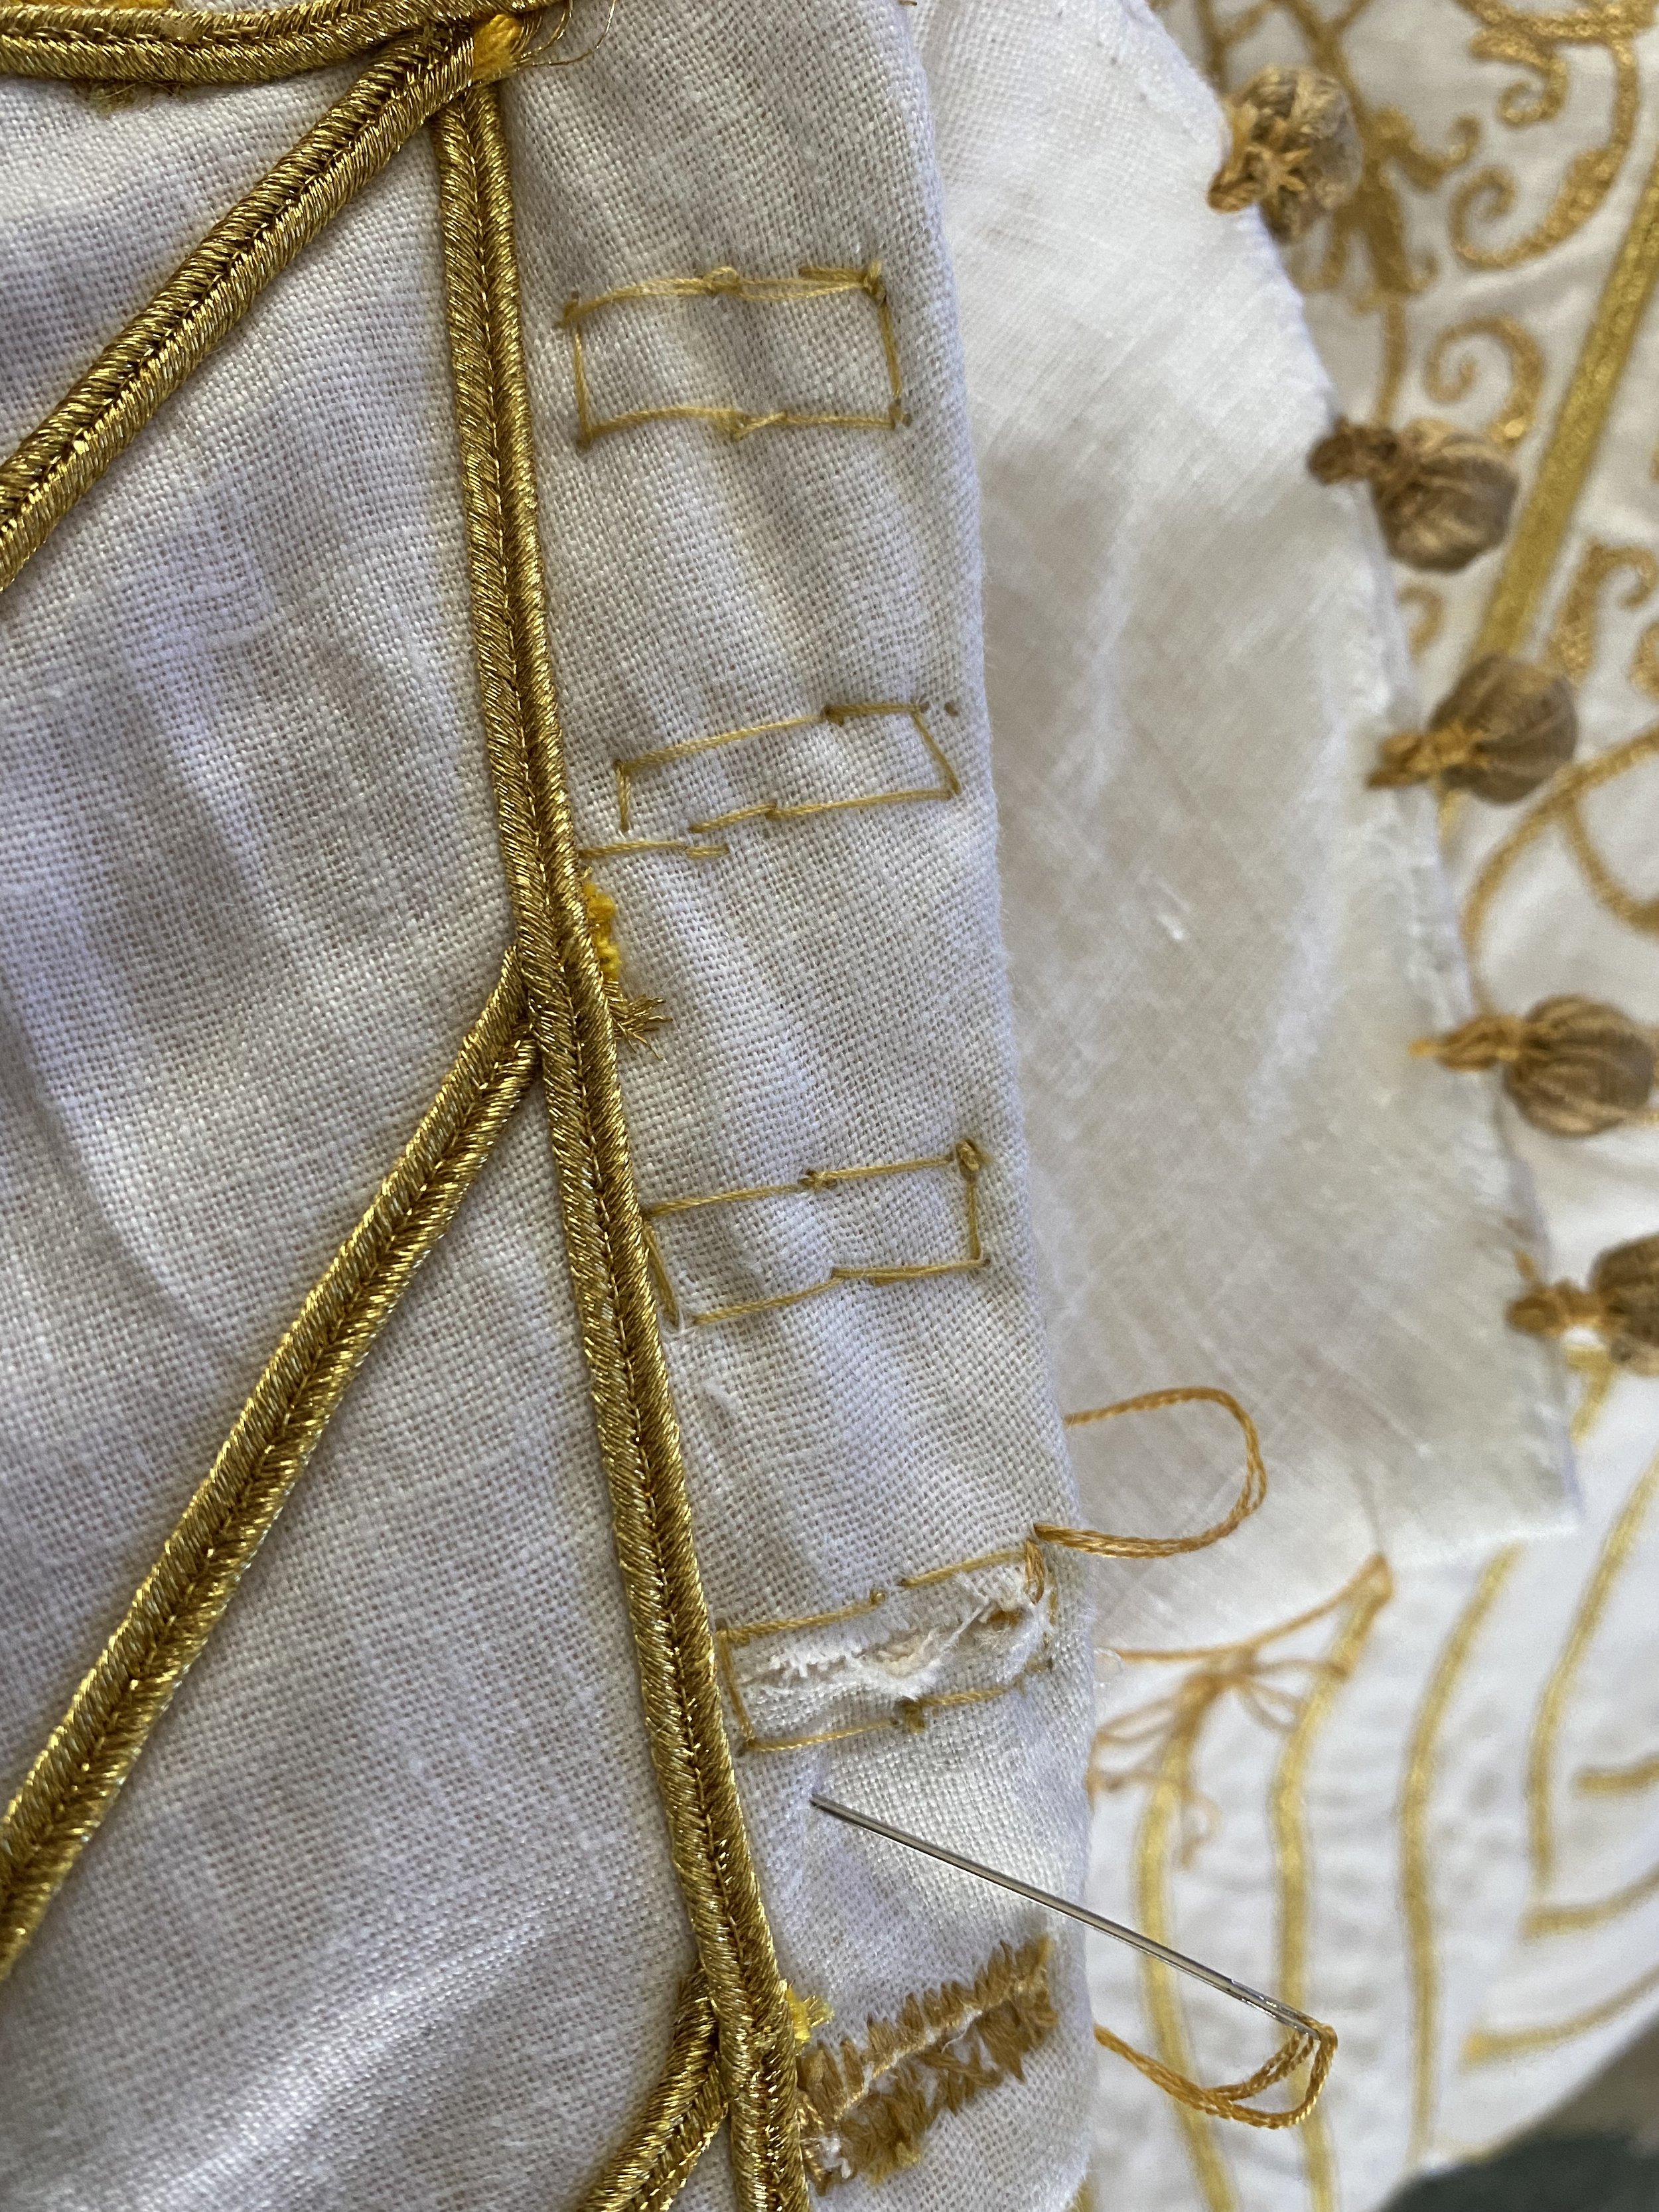
Since we are using more modern constuction methods, the peices of the facing with the embrodery and trim were sewn together followed by the lining pieces sewn together as a separate piece. Next we sew the completed facing an lining together with right side together starting at the center neckline and around the collar and down the front opening of the doublet matching seam as we go along. When then do the same thing starting at the center of neckline and going down the other side of the garment. We leave the armsye and the bottom open so that we can add the skirting and lacing strip later. The bottom will later we closed with a whipstich. In effect we will be using the “bag lining” technique to secure the lining to the facing.

