


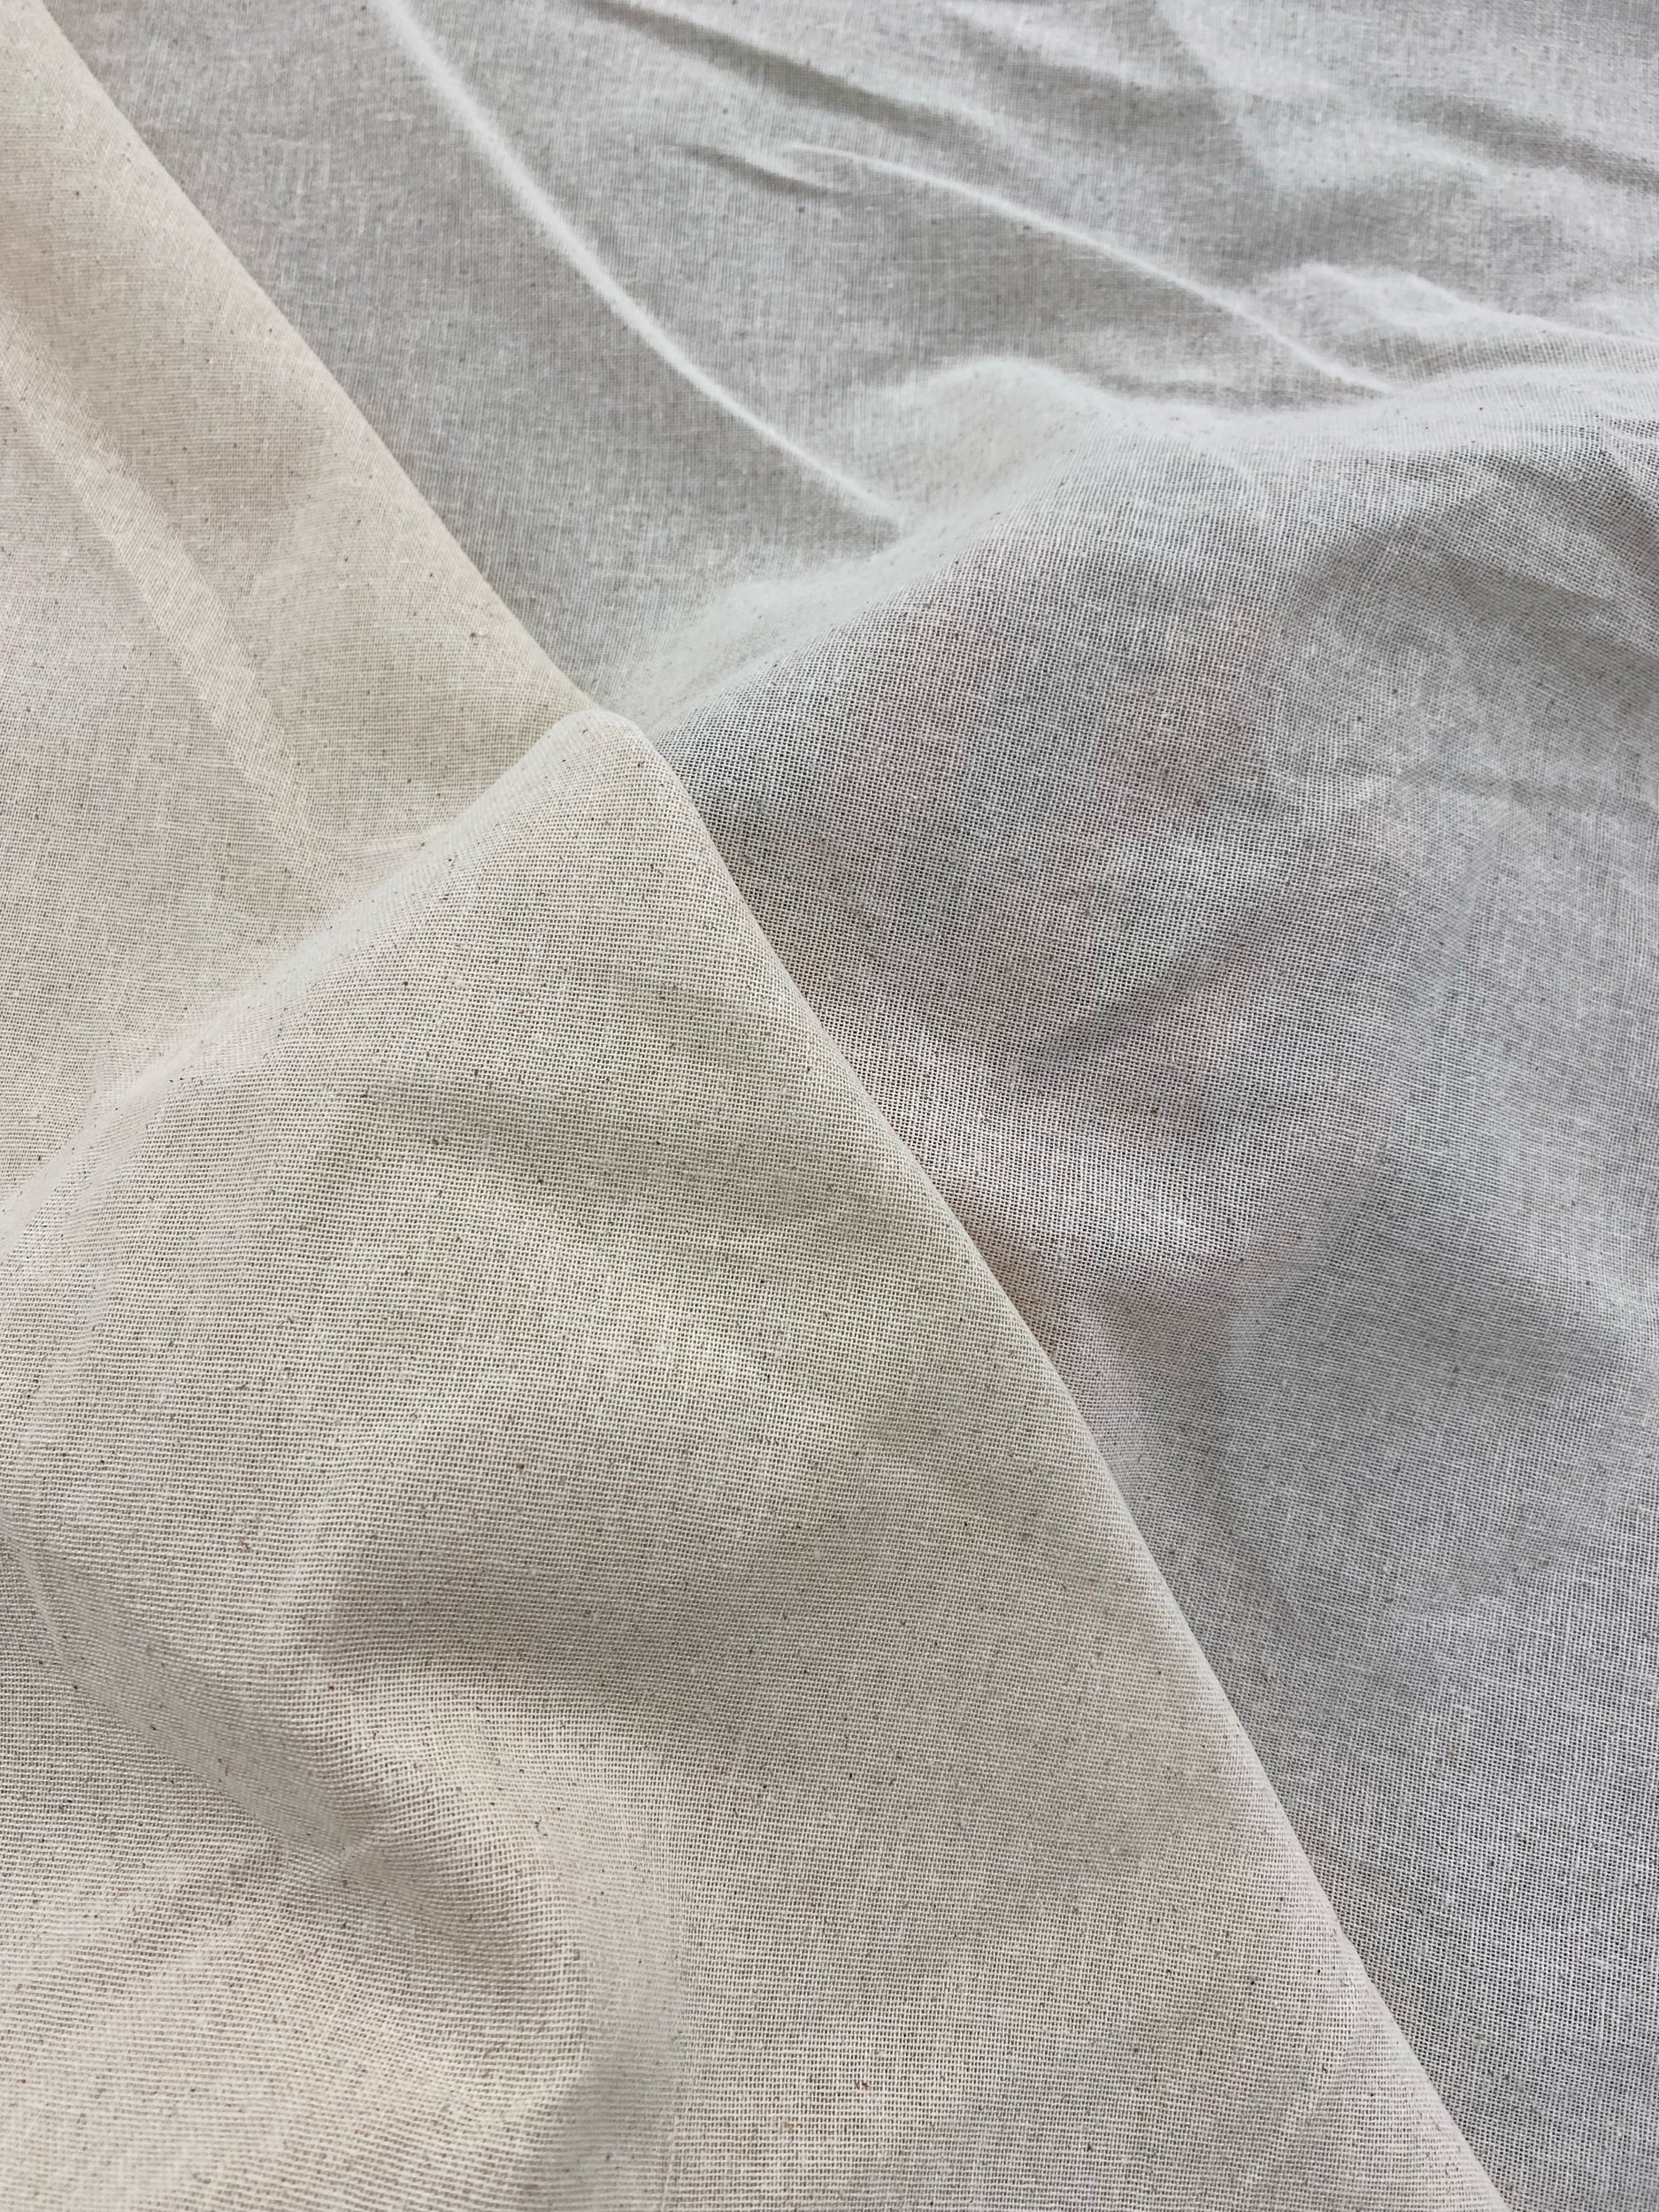
Cotton Linen


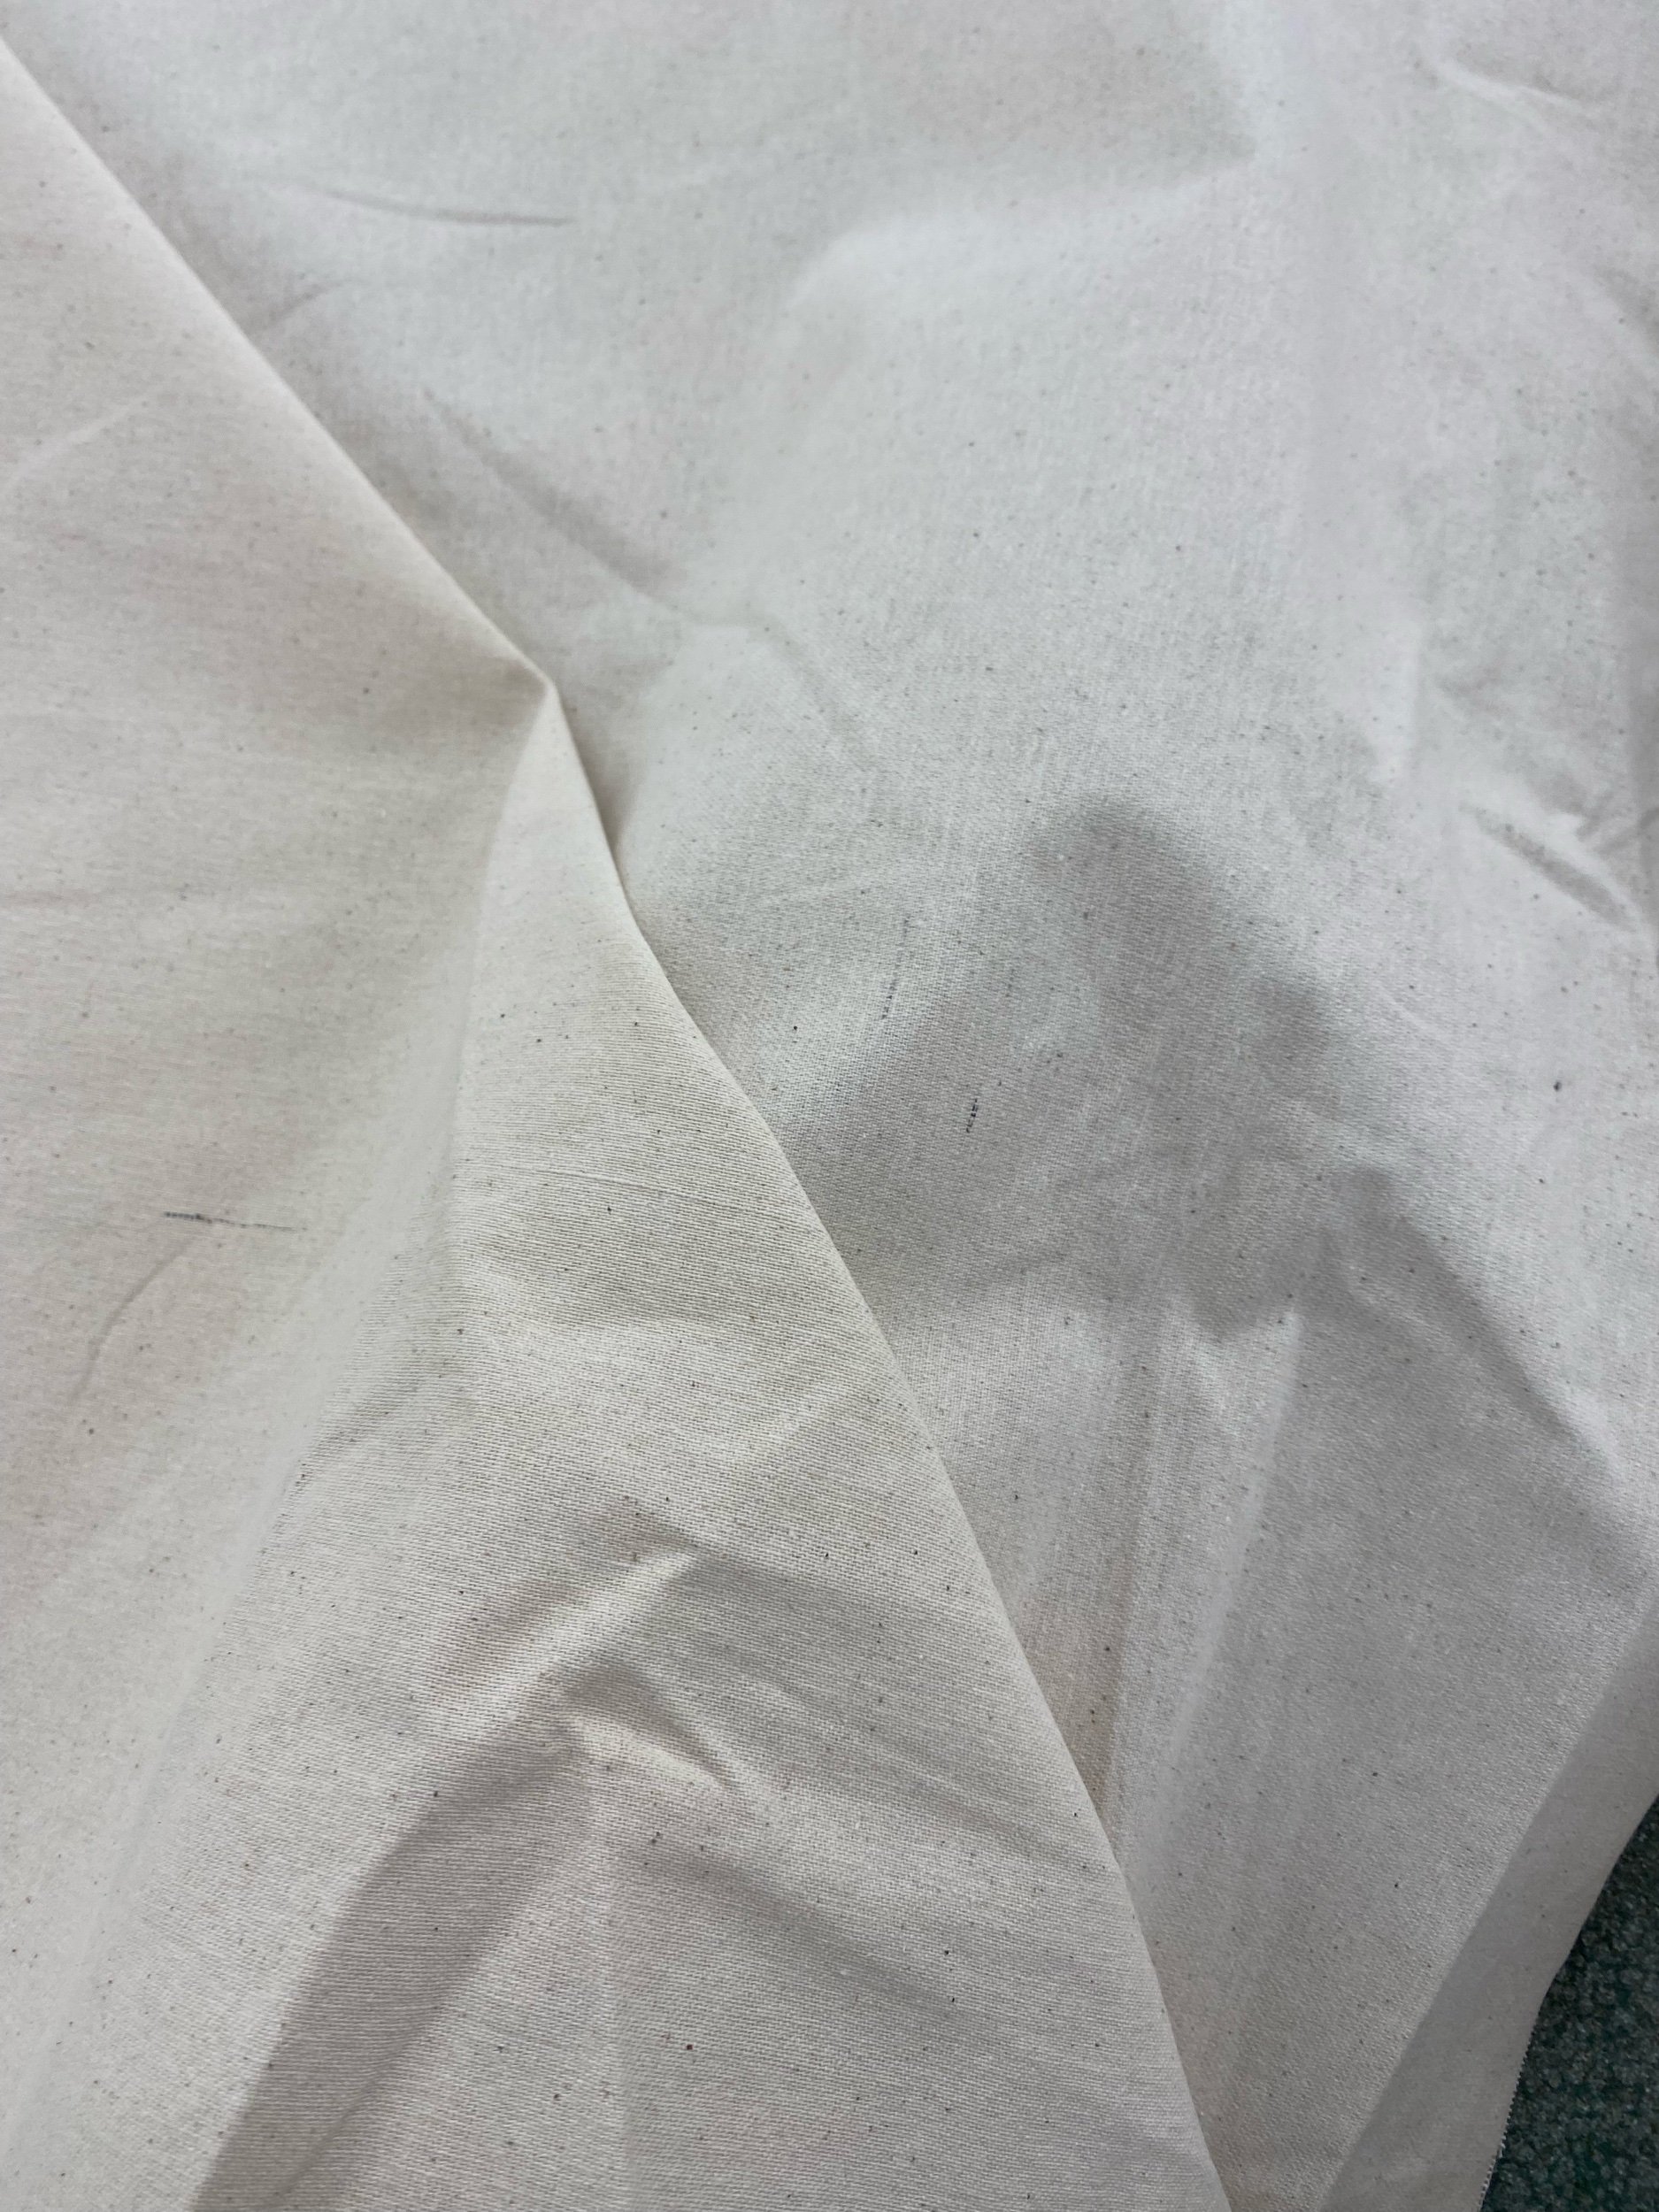
White Cotton Sateen

Layout
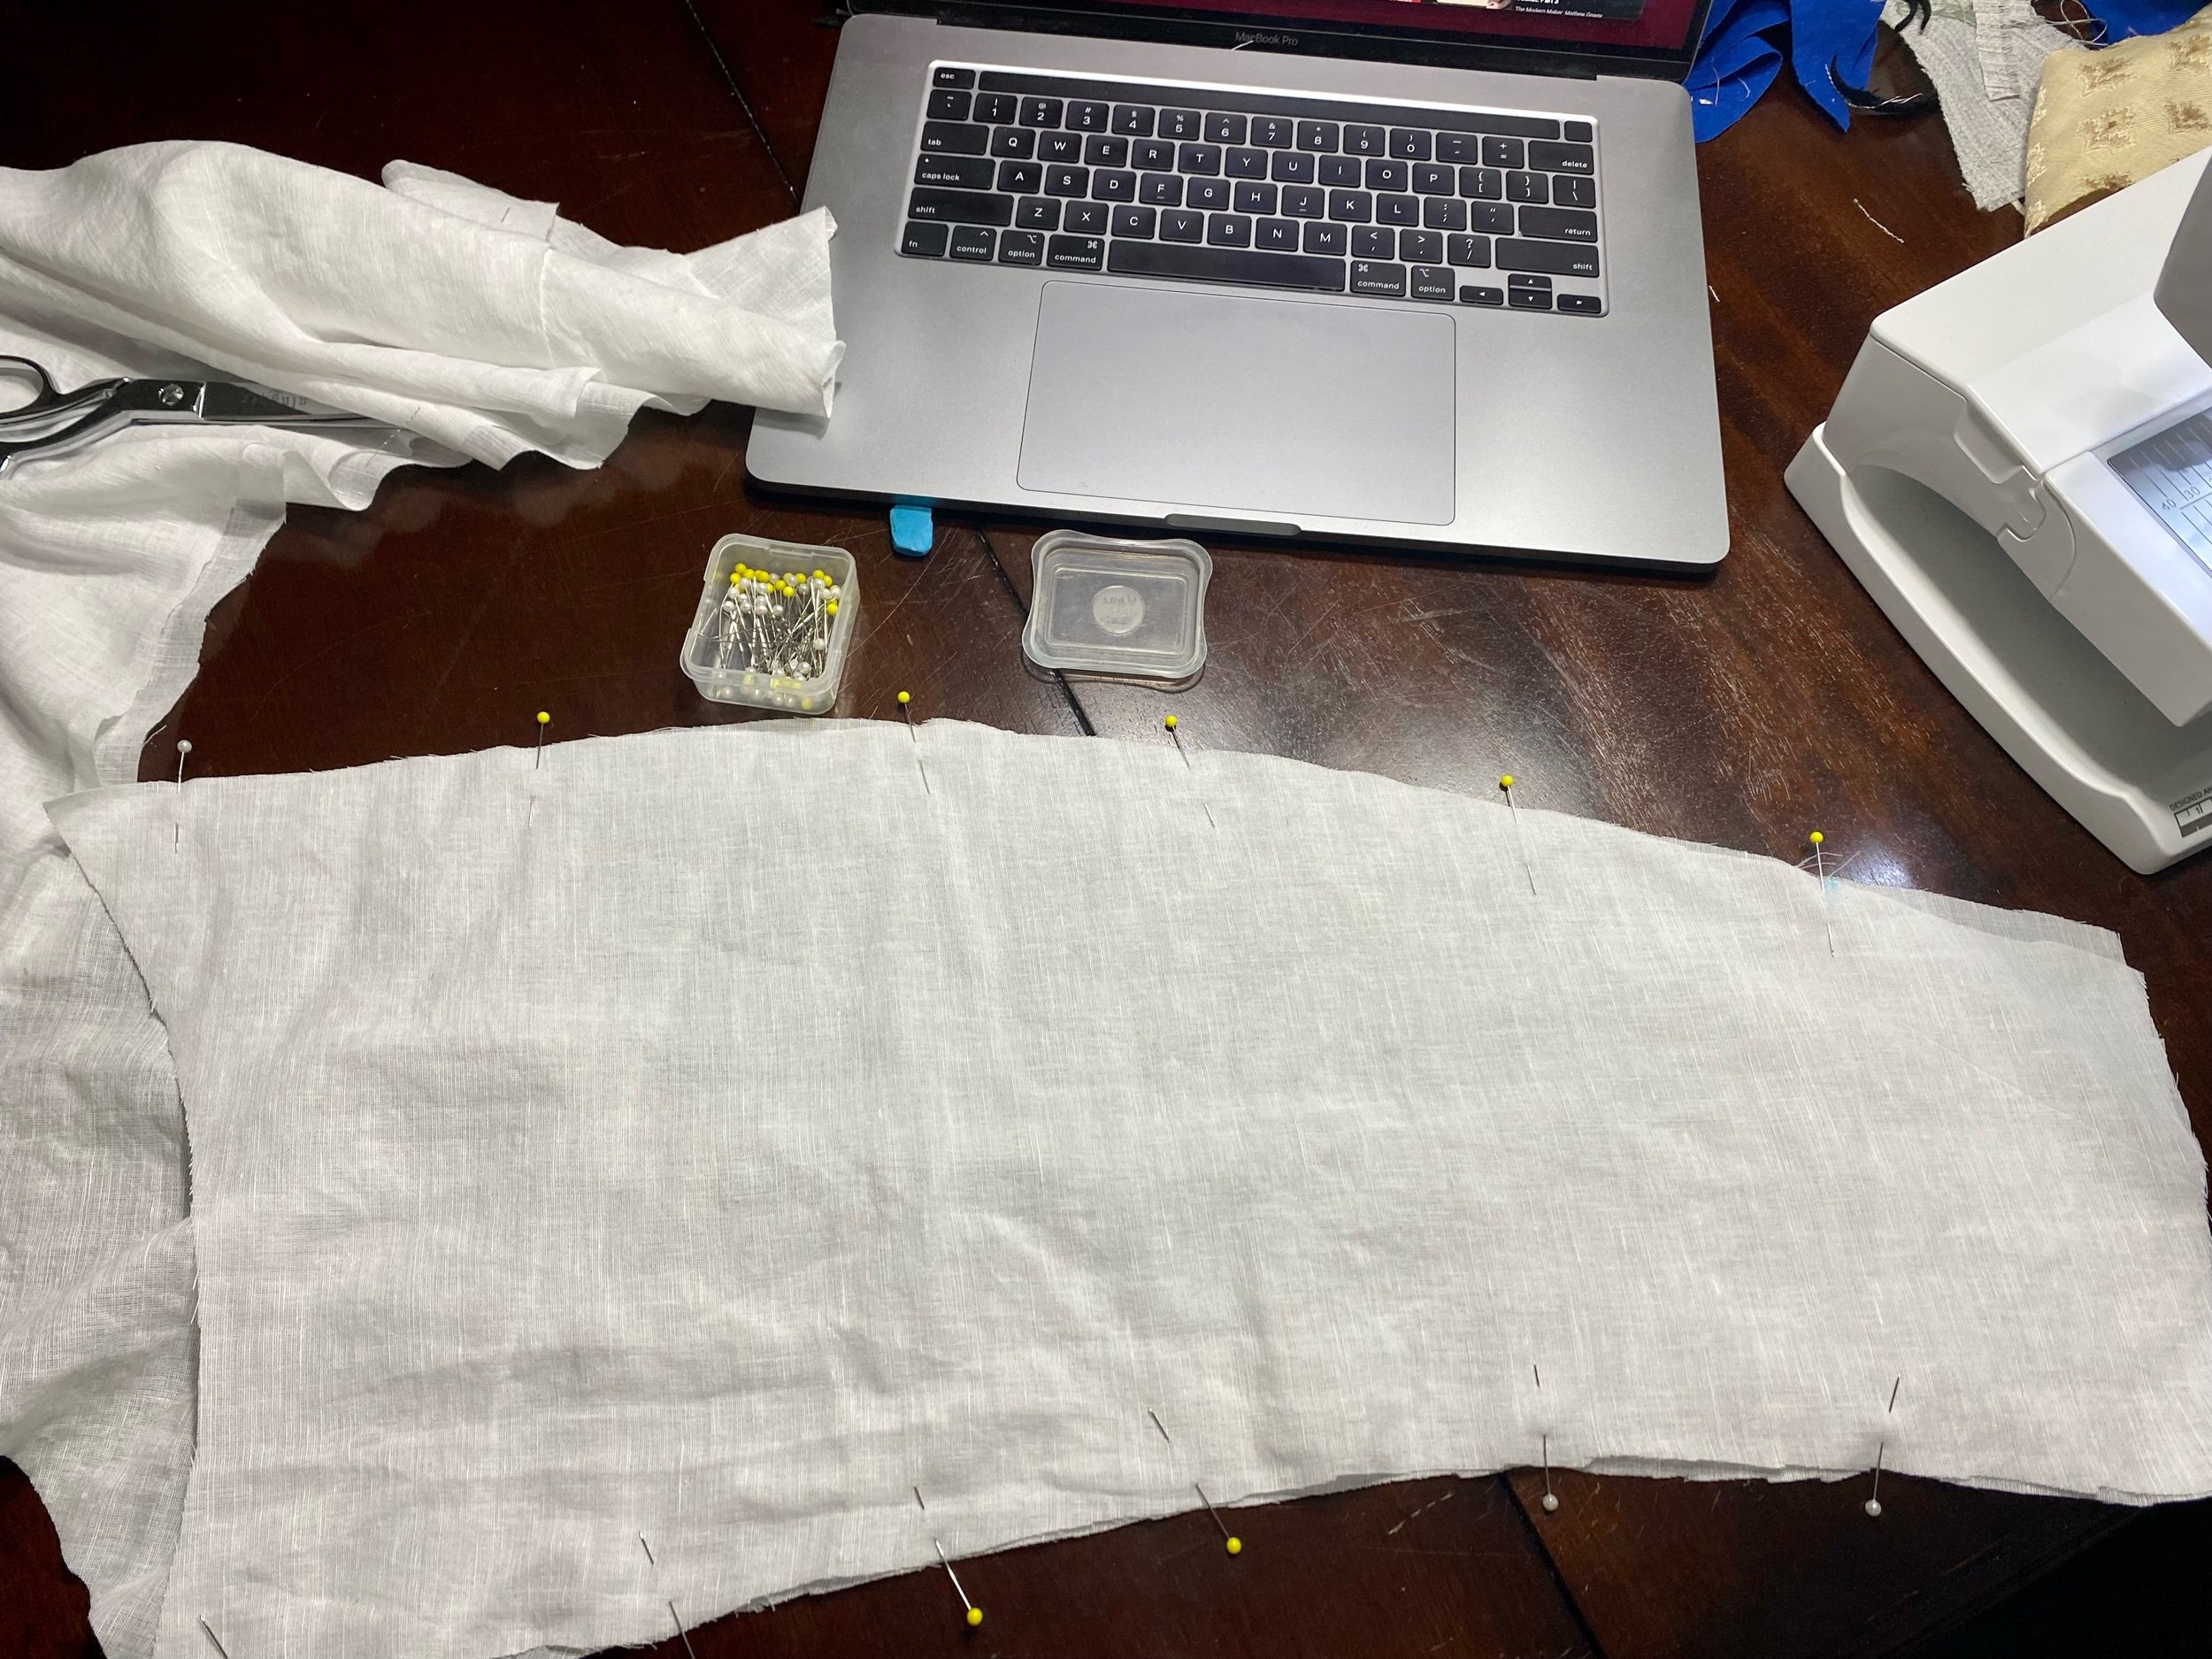
The layout shows the body shape of the camicia with the late period curved armscye and completed rows of blackwork on the arms. The arms have a slight curve to the side that will connect to the shoulder on the armscye.

Neck Gusset
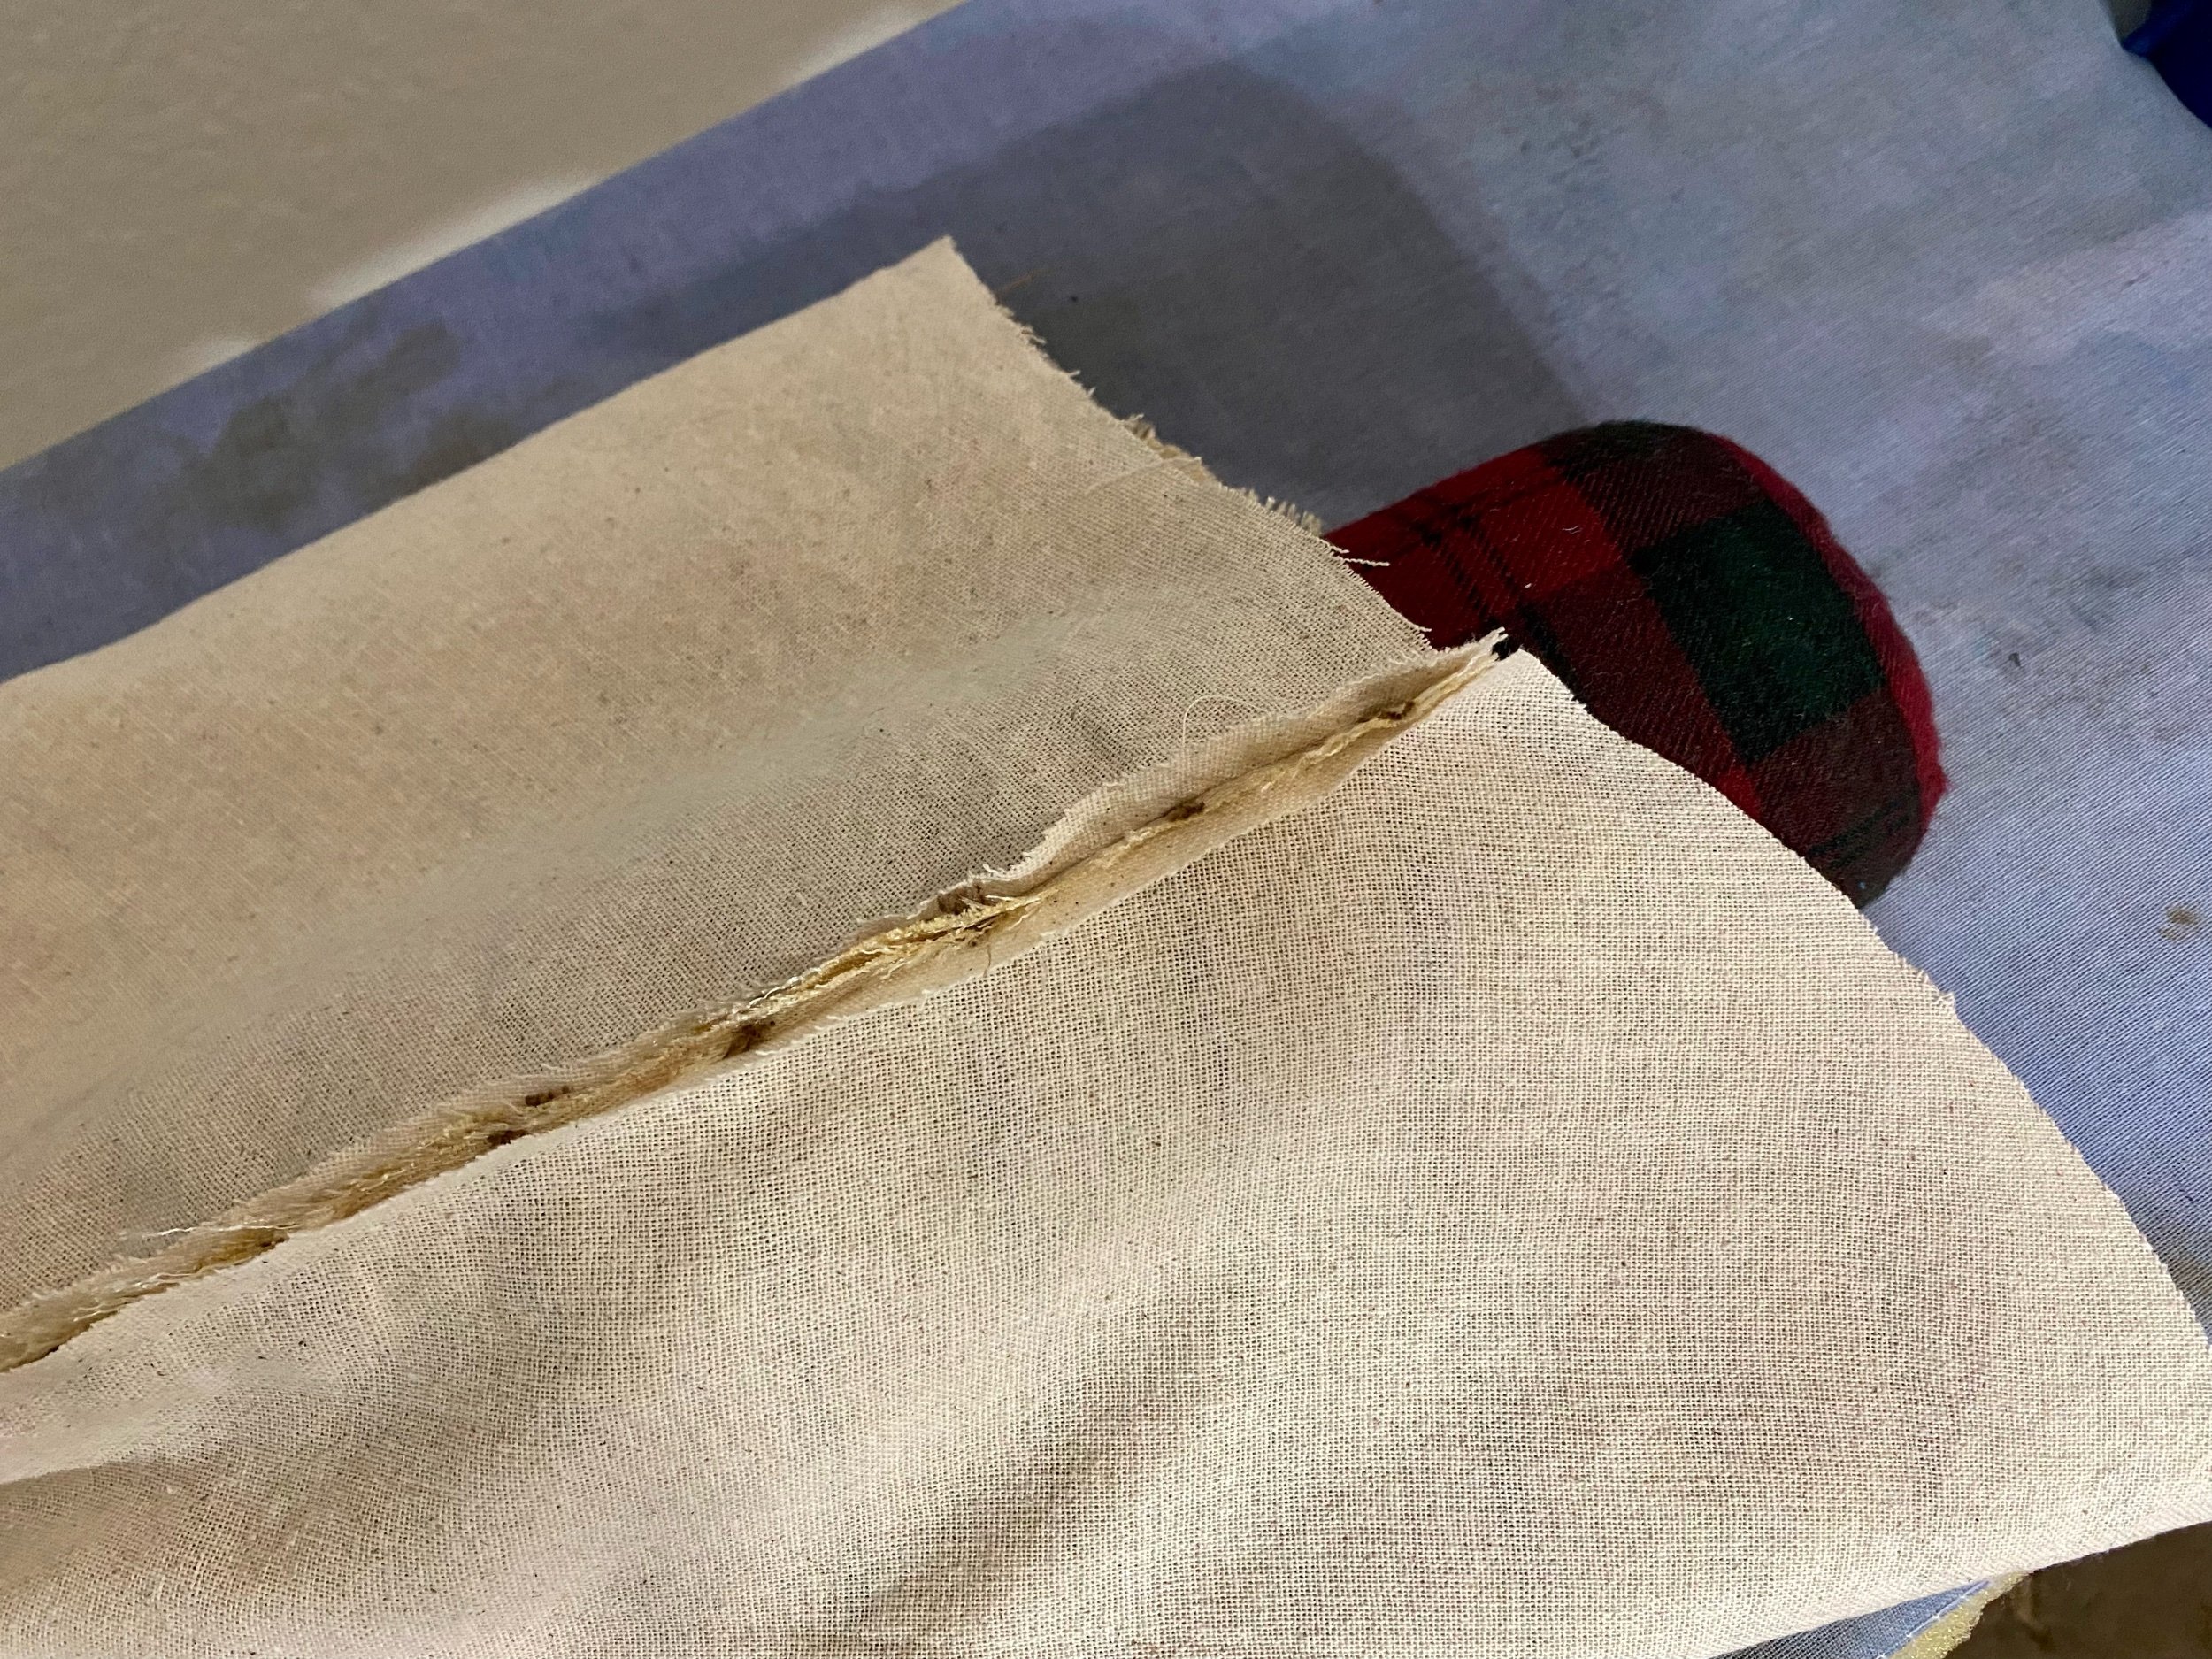
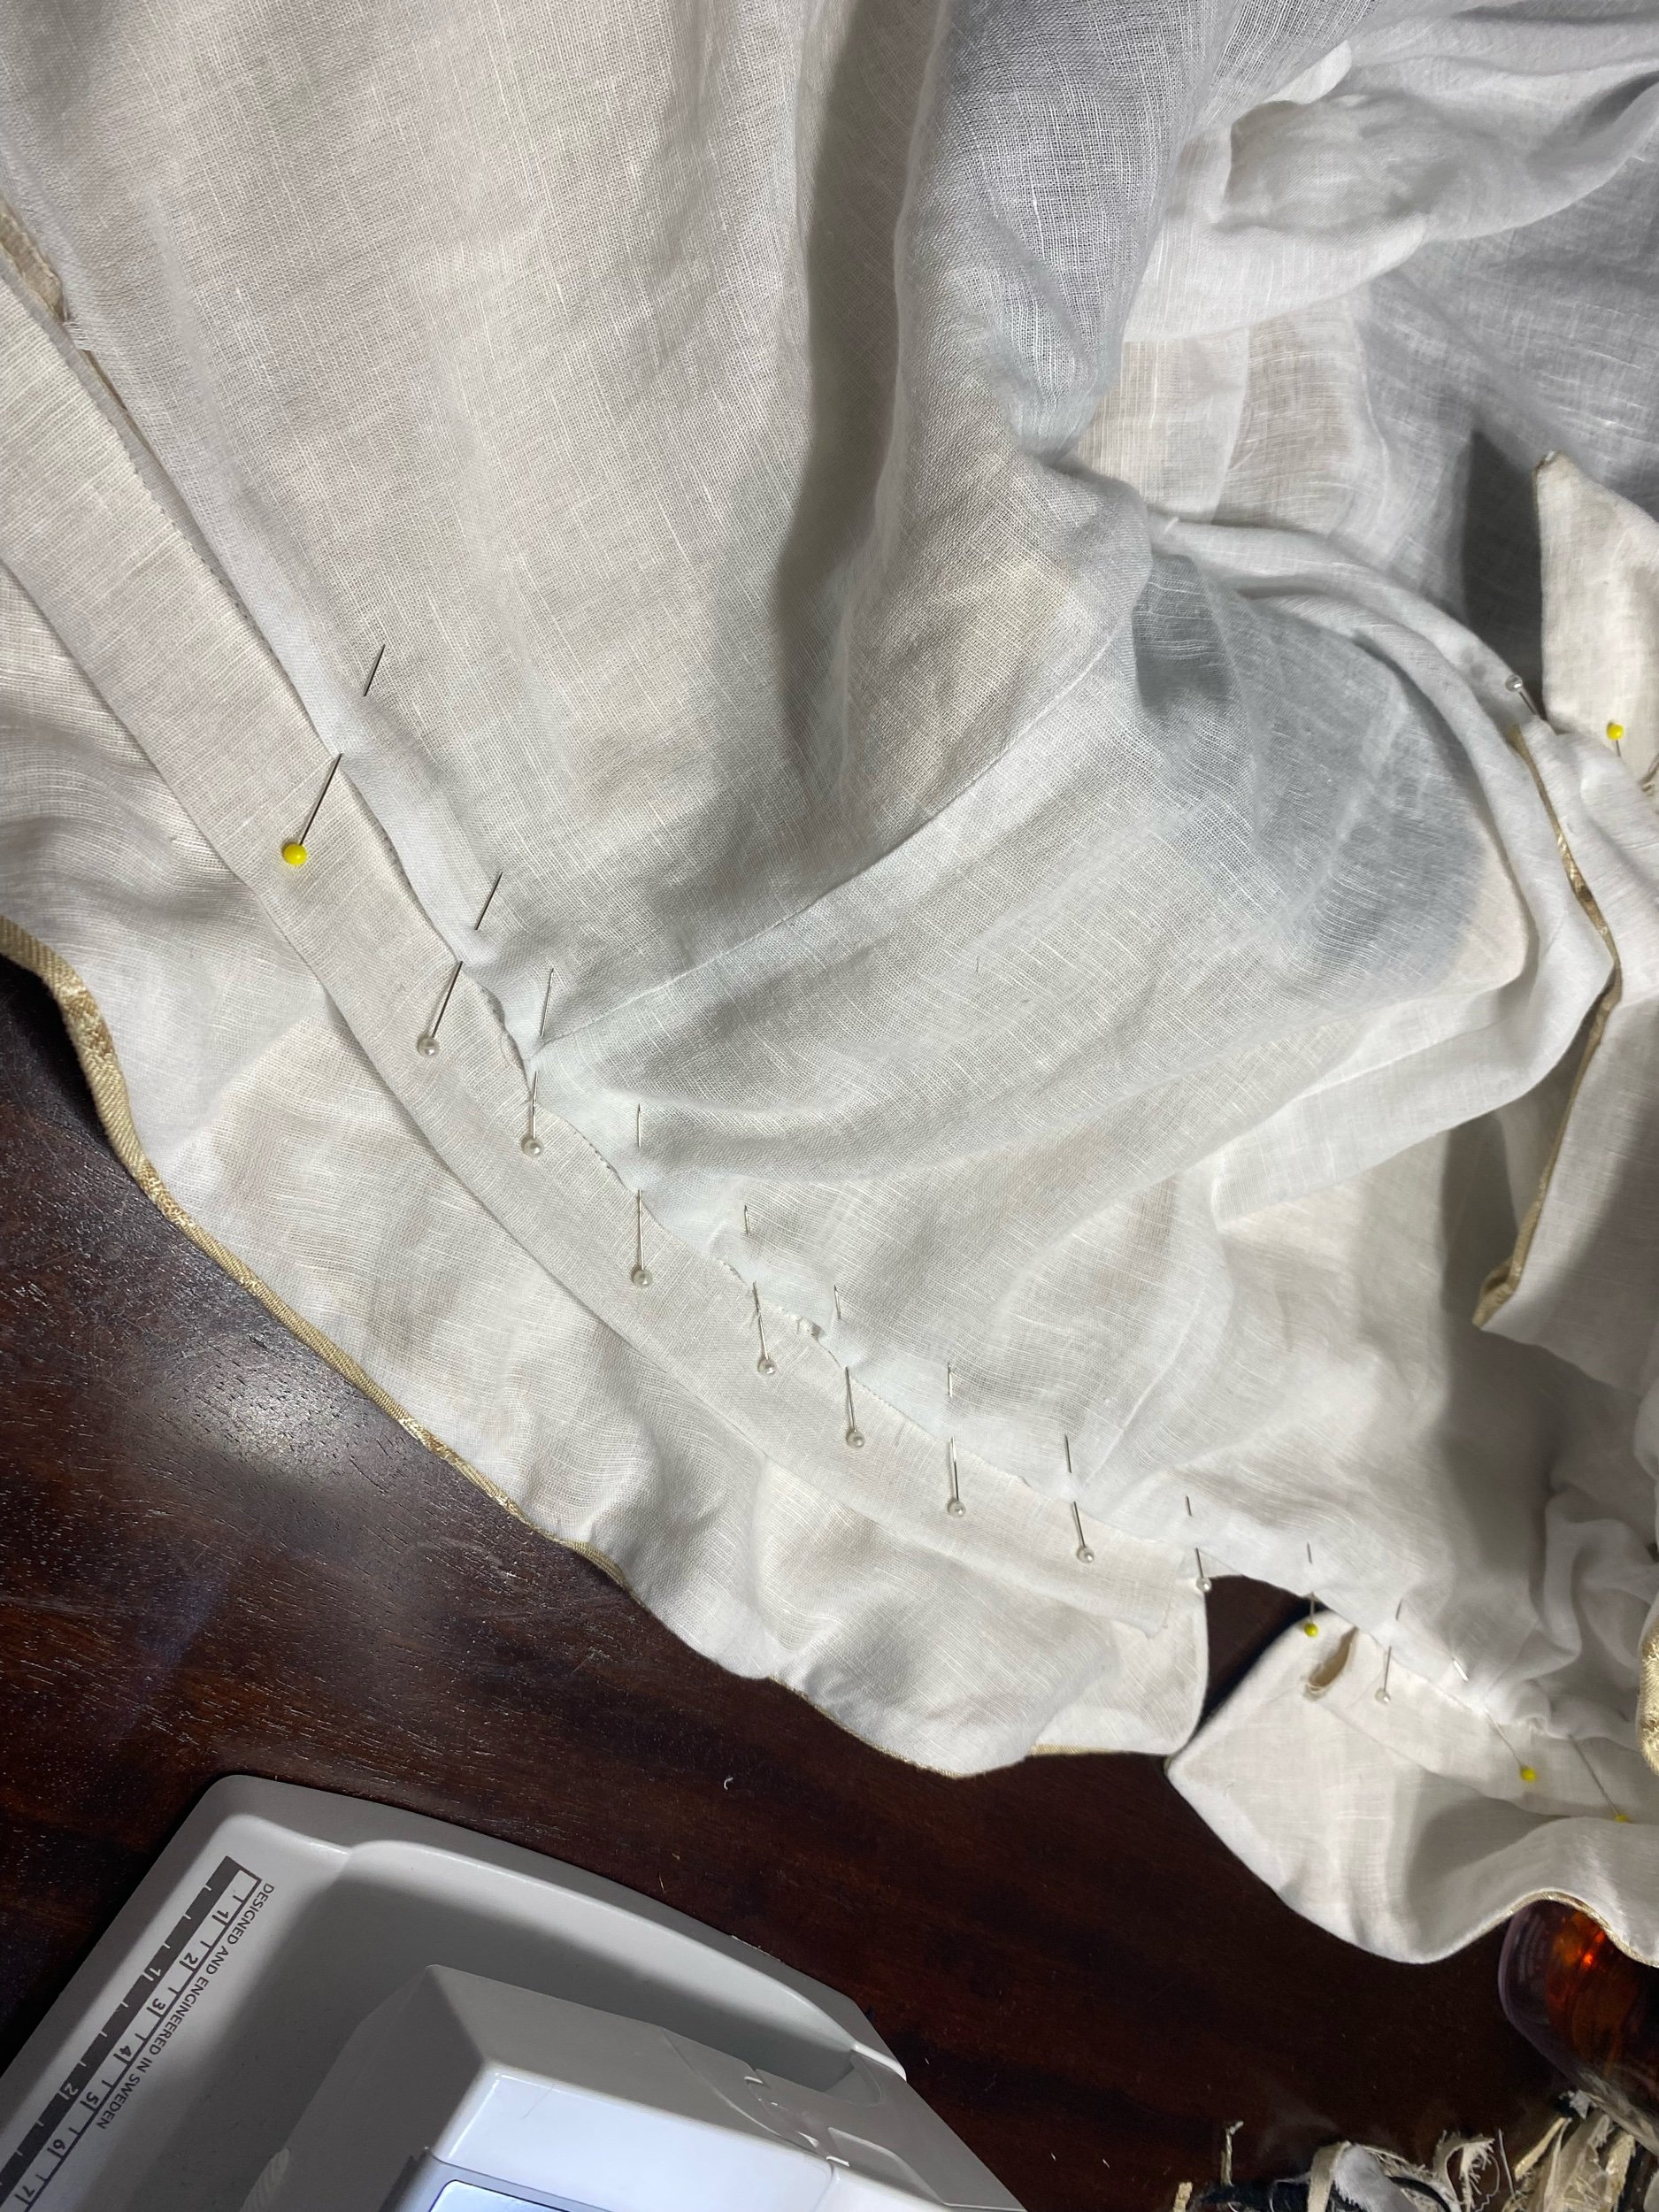
The neck gusset being prepped for finishing with a french seam.

Finished Neck Gusset
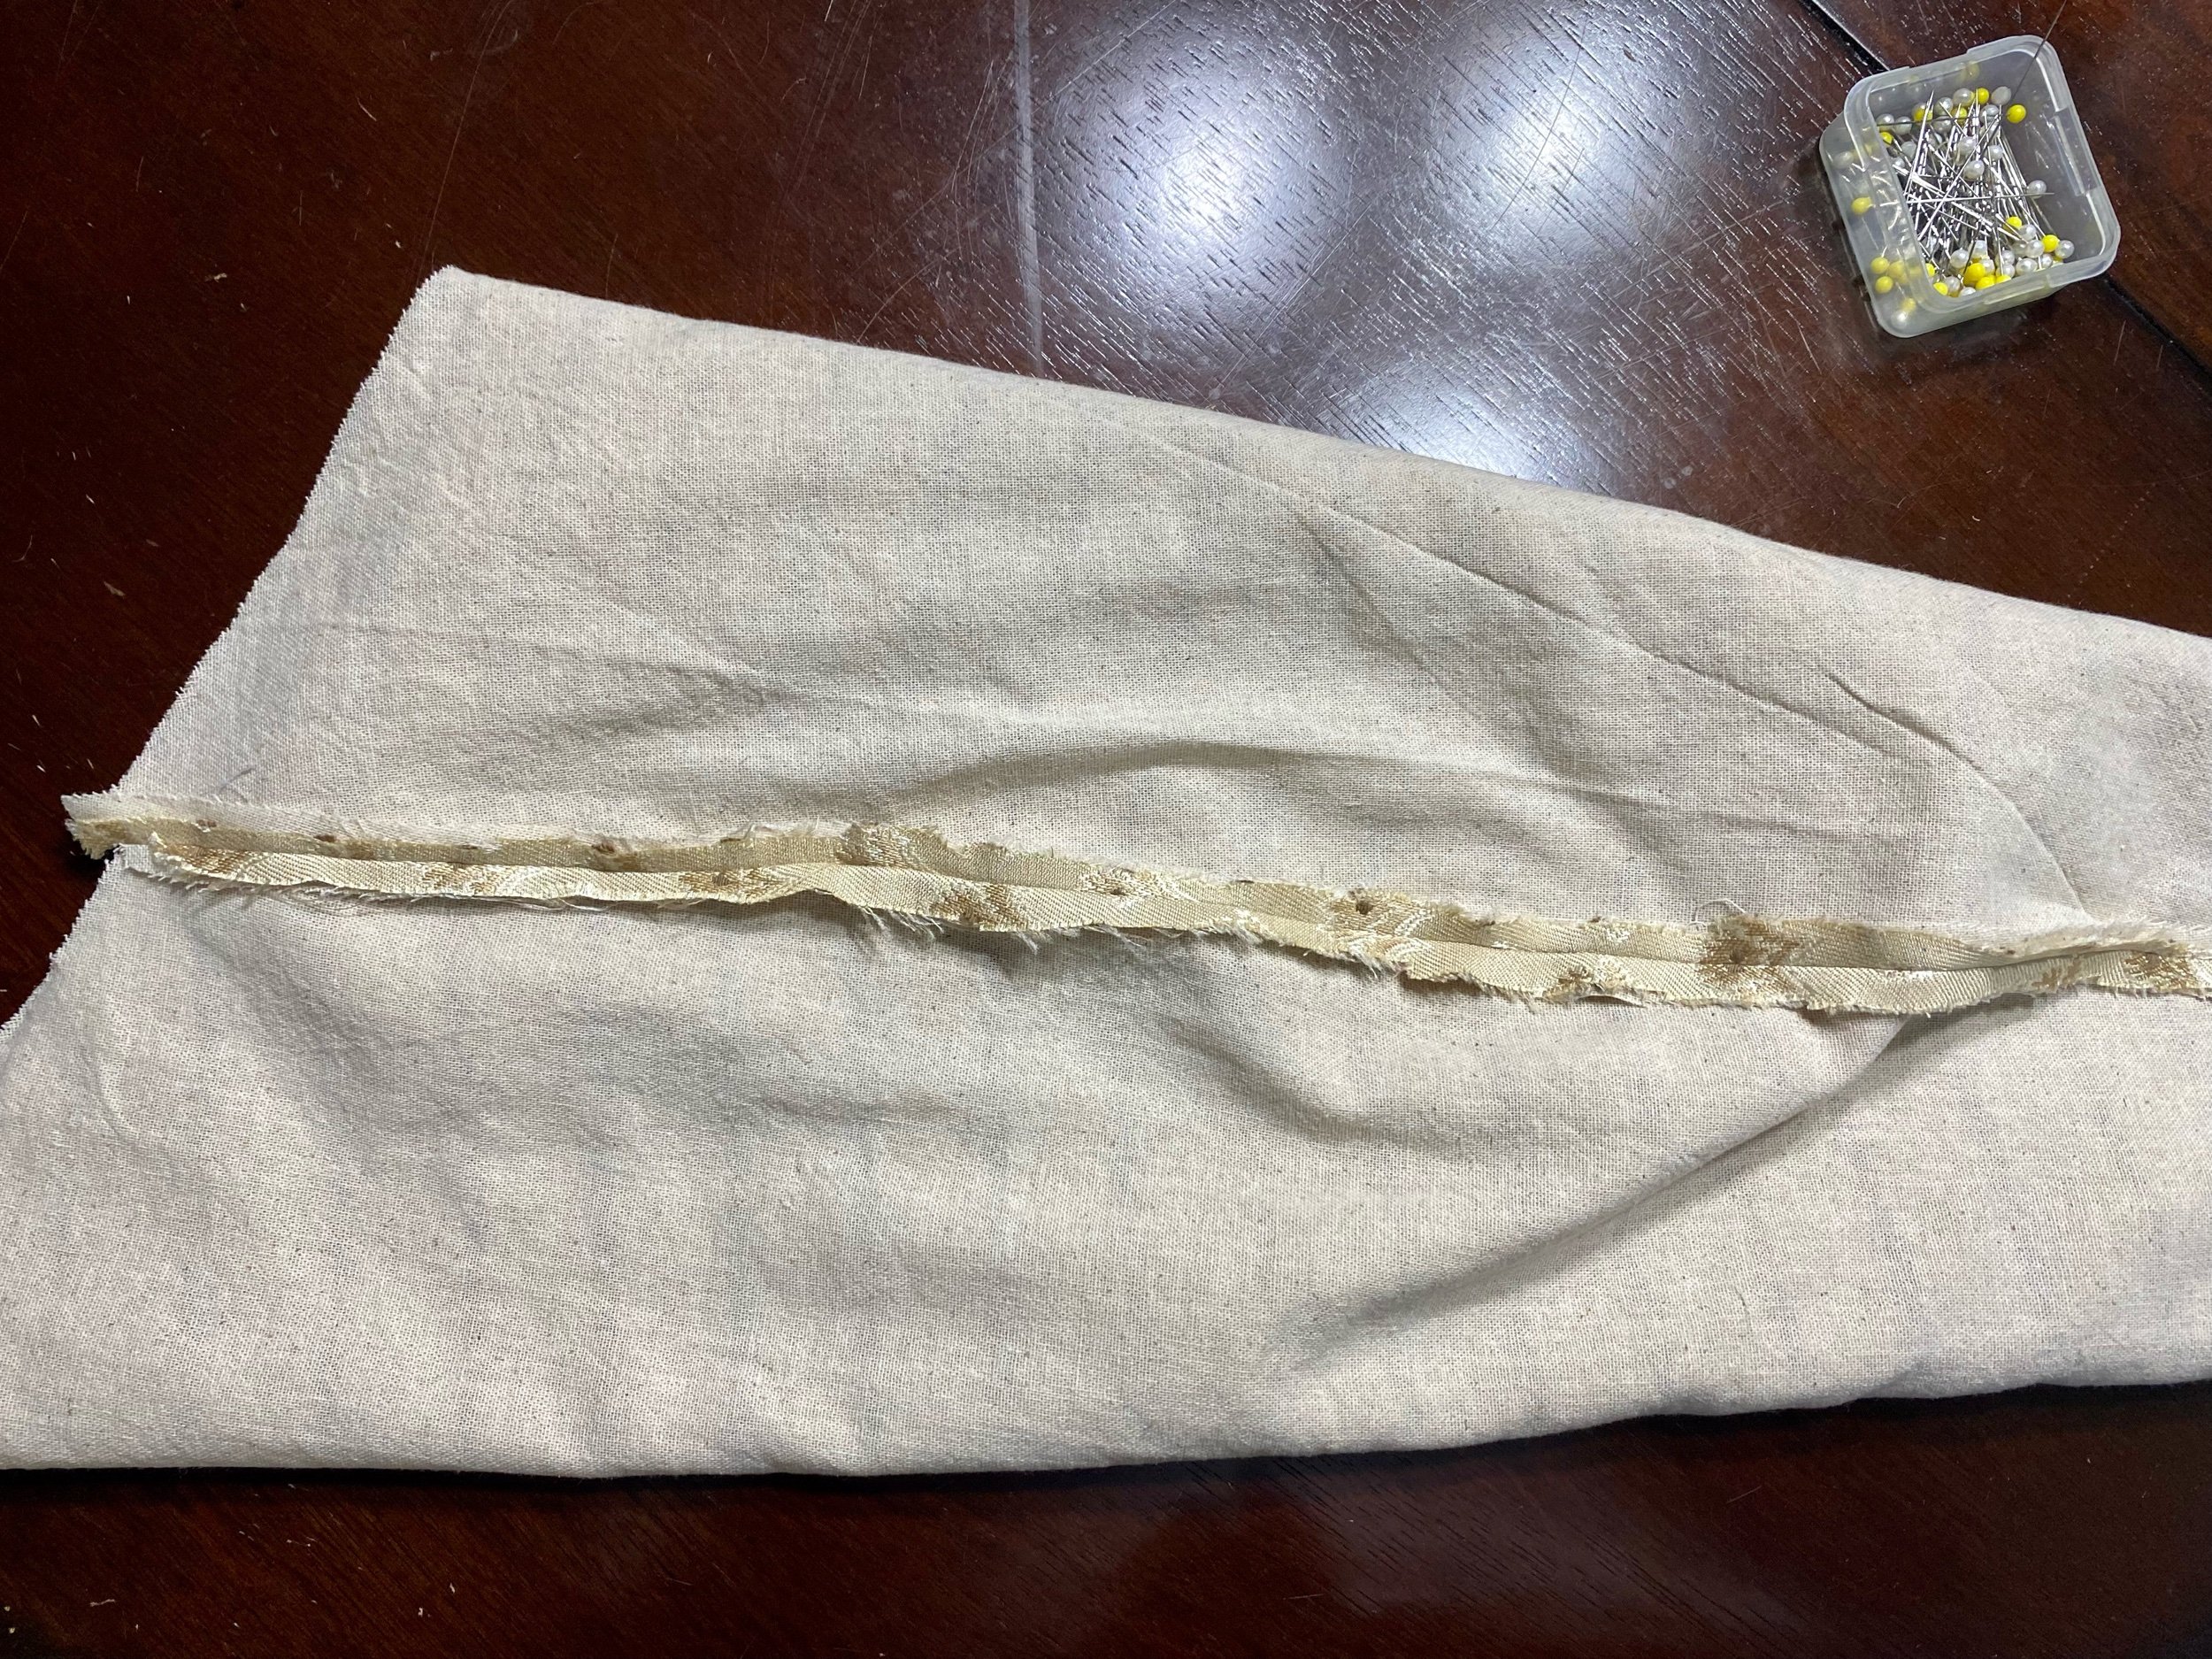
The top side of the closed french seam on the neck gusset.

Front of the Dress
The front the dress fitted improperly over a hooped farthingale which is why the hoops are showing. This dress would have been properly fitted over a roped underskirt.

Trimmed Dress Front
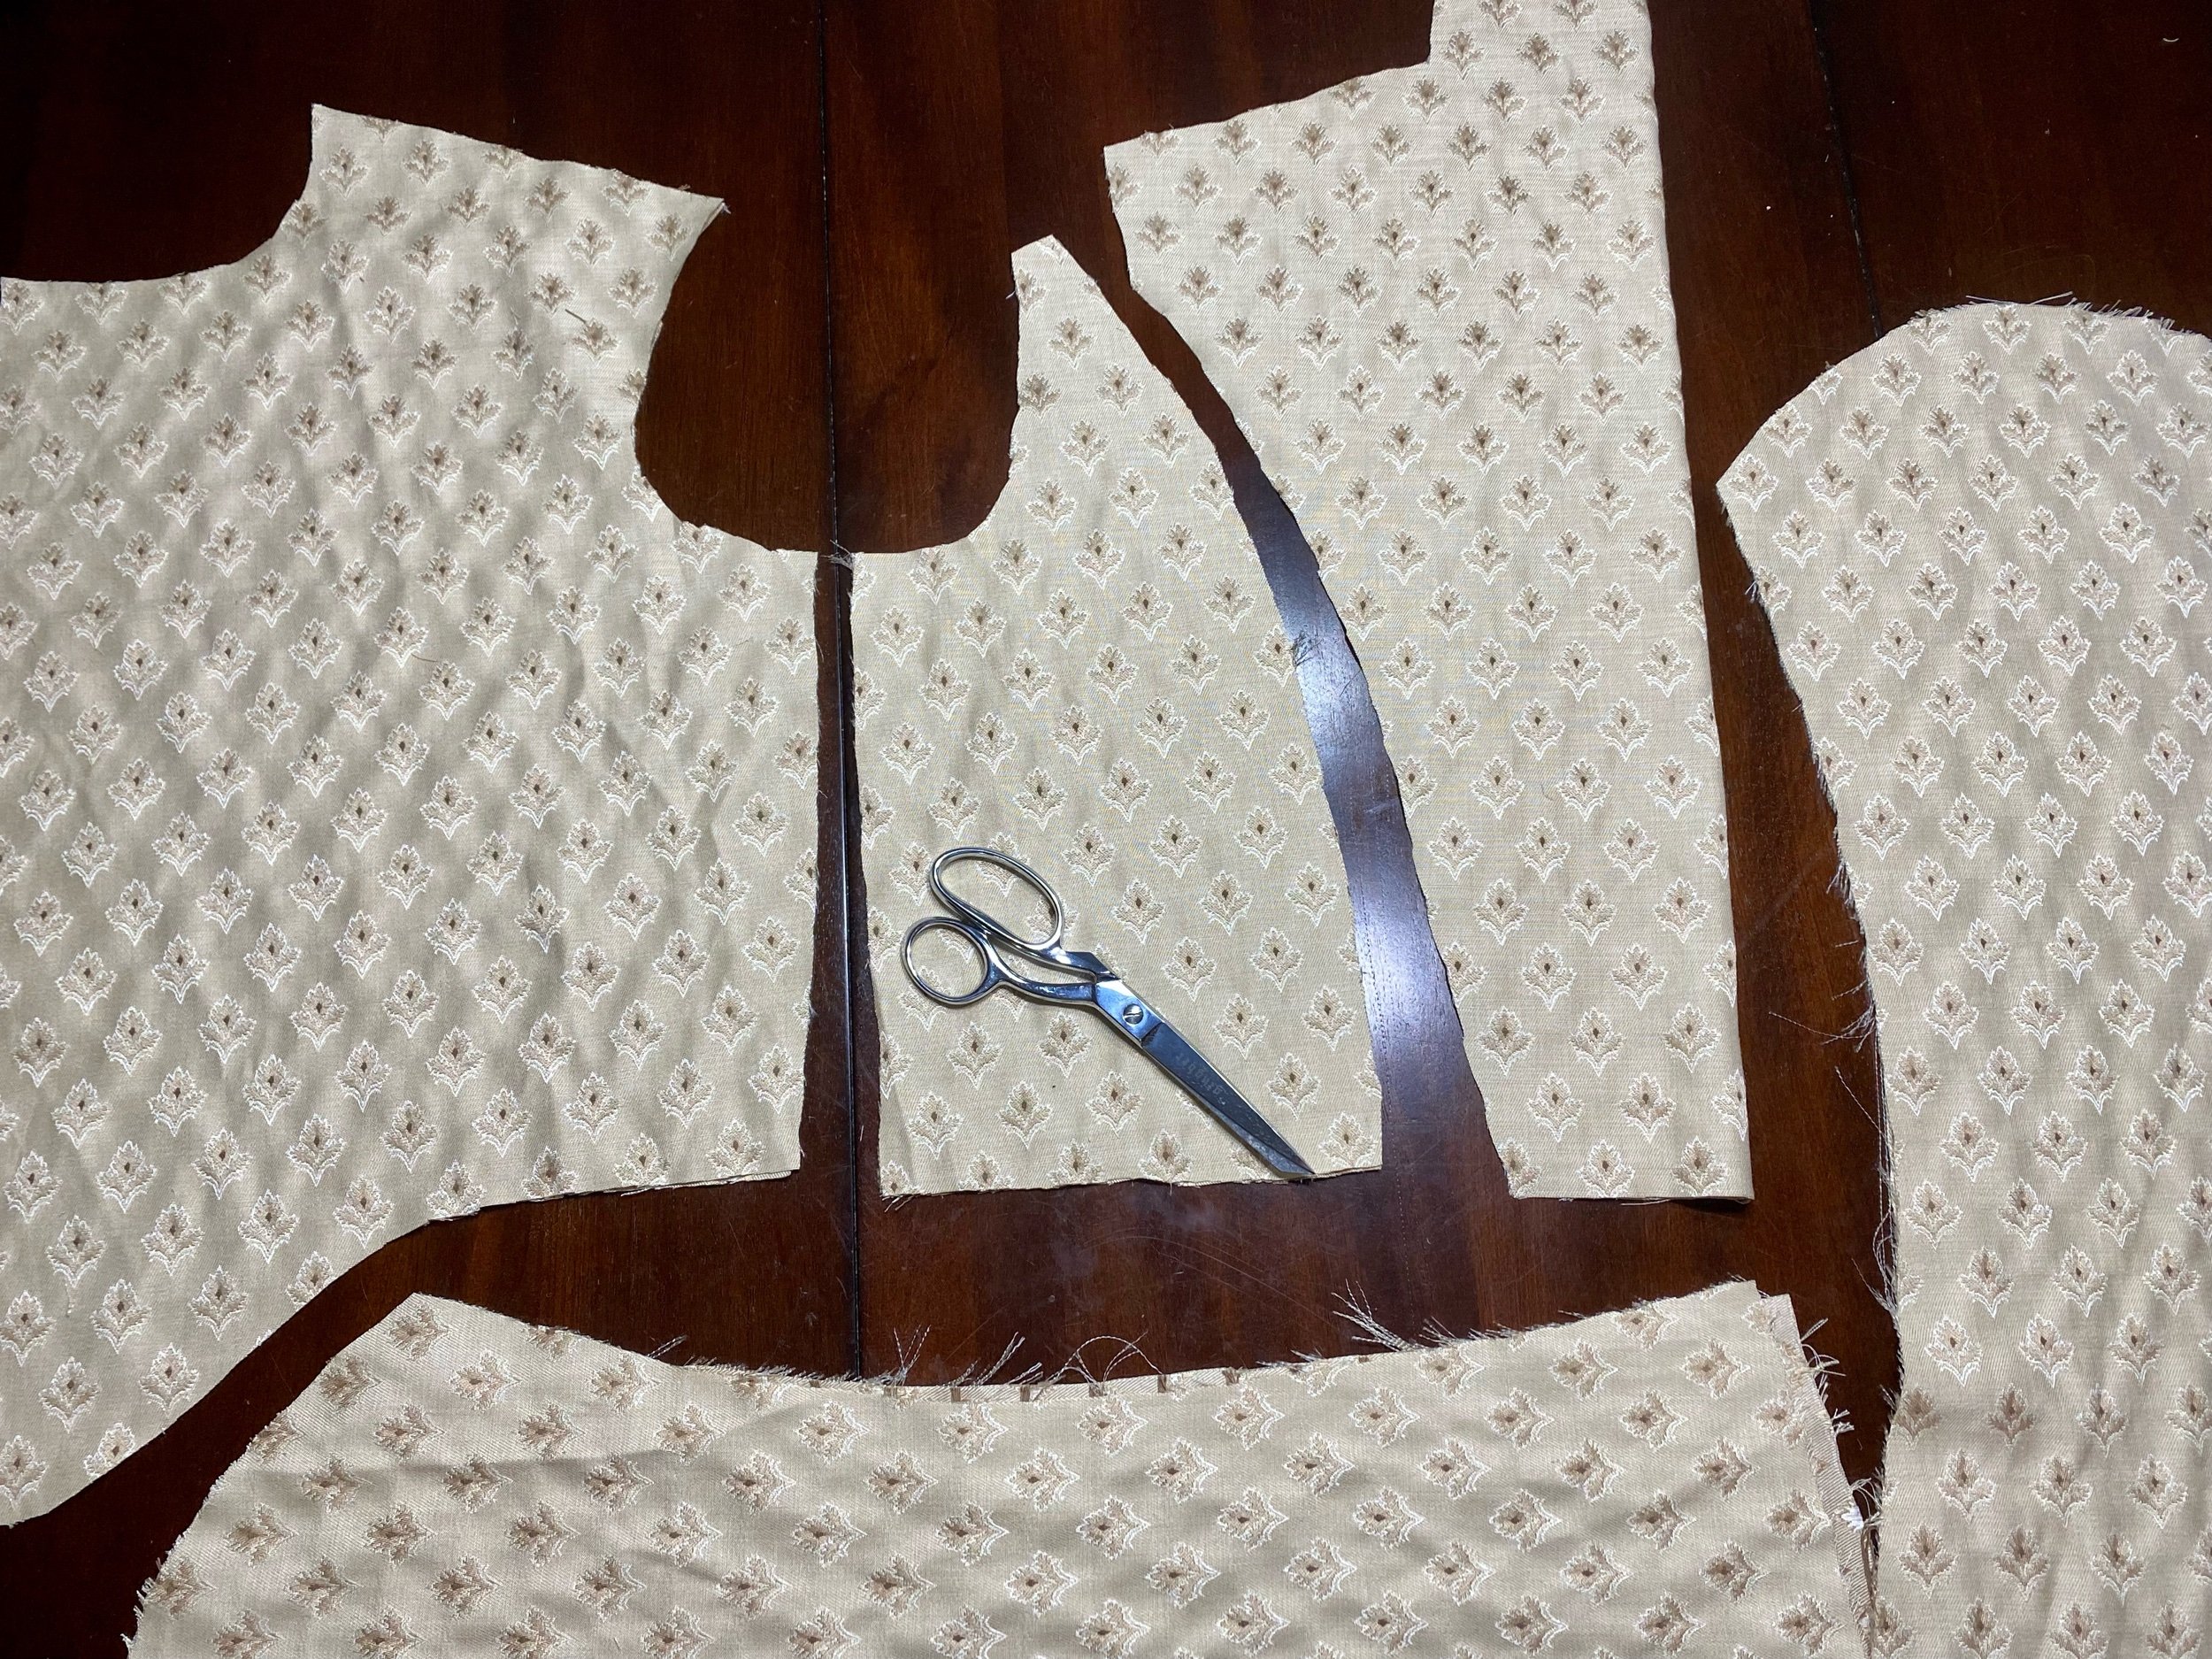
Note the mistake with the pattern on the fabric not lining up symmetrical on the front of the dress. This was an error on the placement of the pattern when cutting that was noticed until much later.

Dress Shoulder

Dress Arm
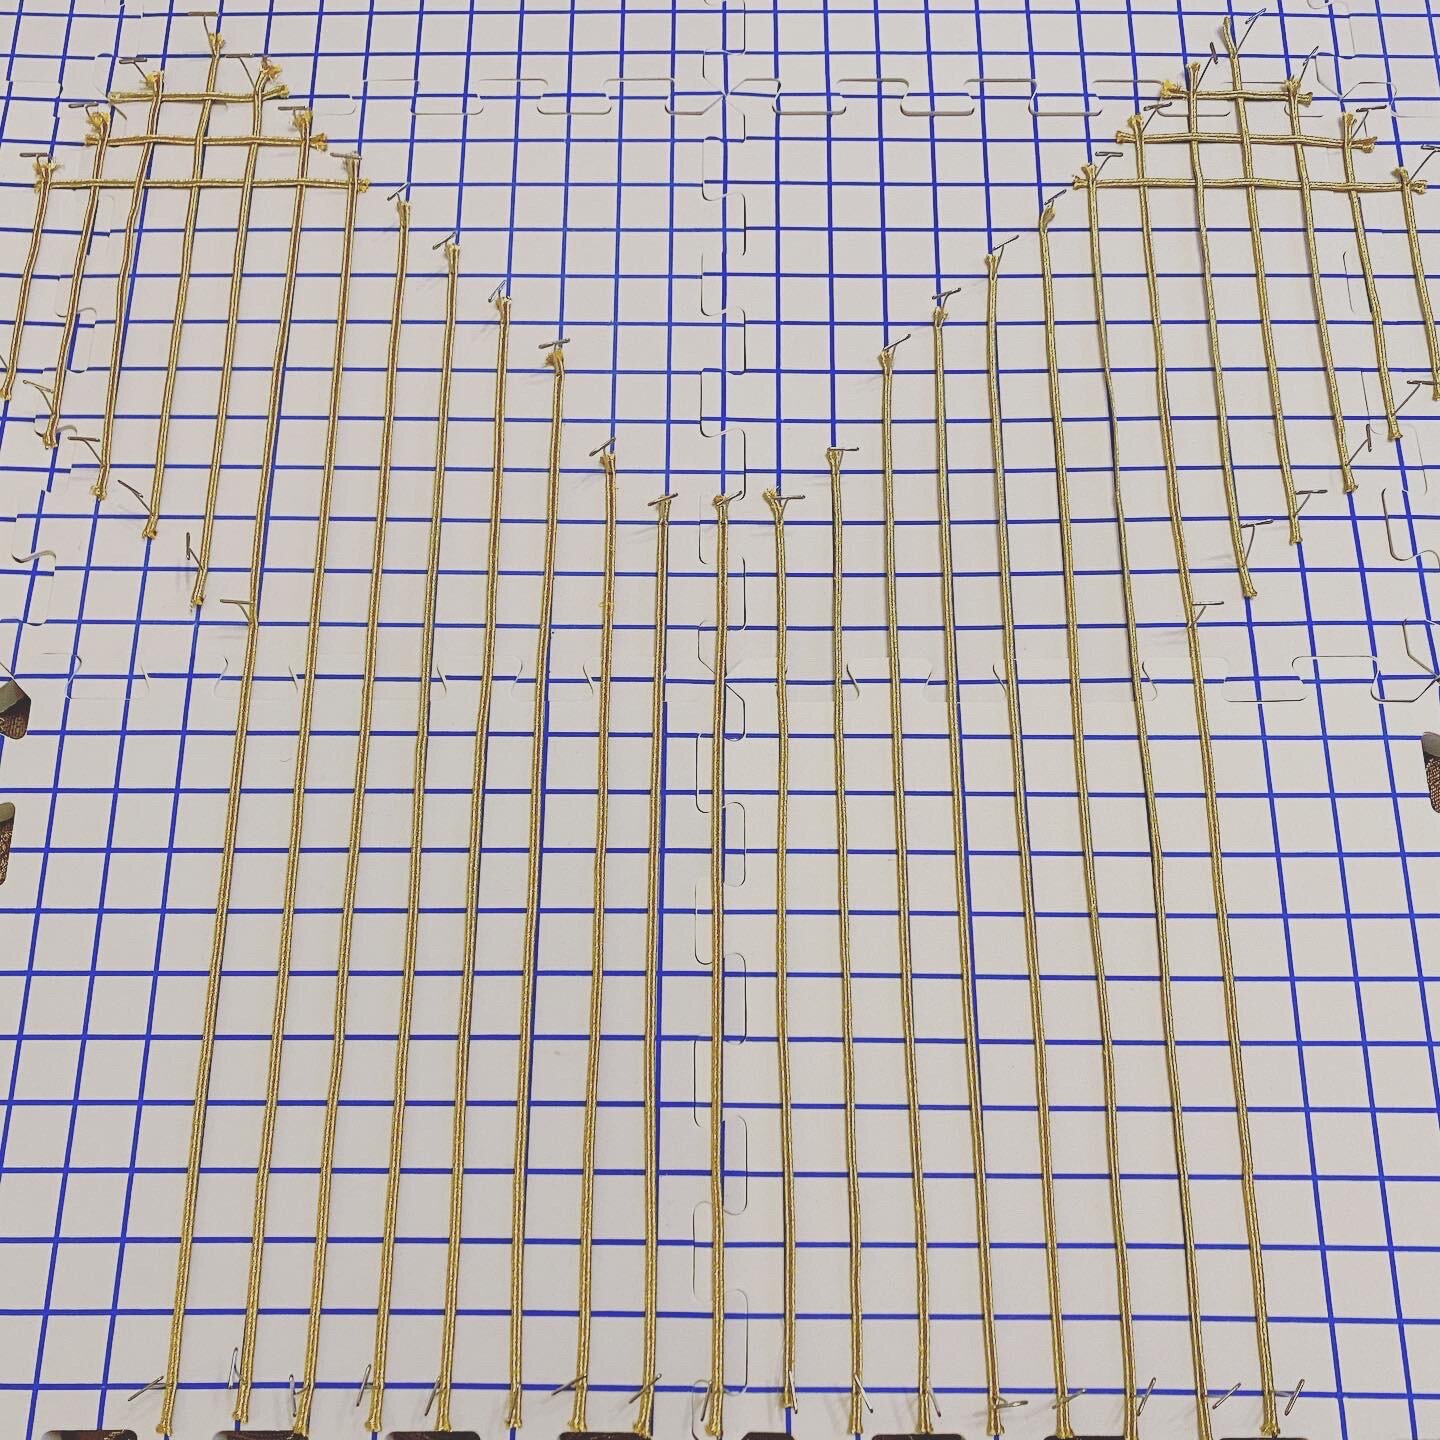
Partlet Layout
The initial layout of the partlet began with the placing the vertical columns of soutache.
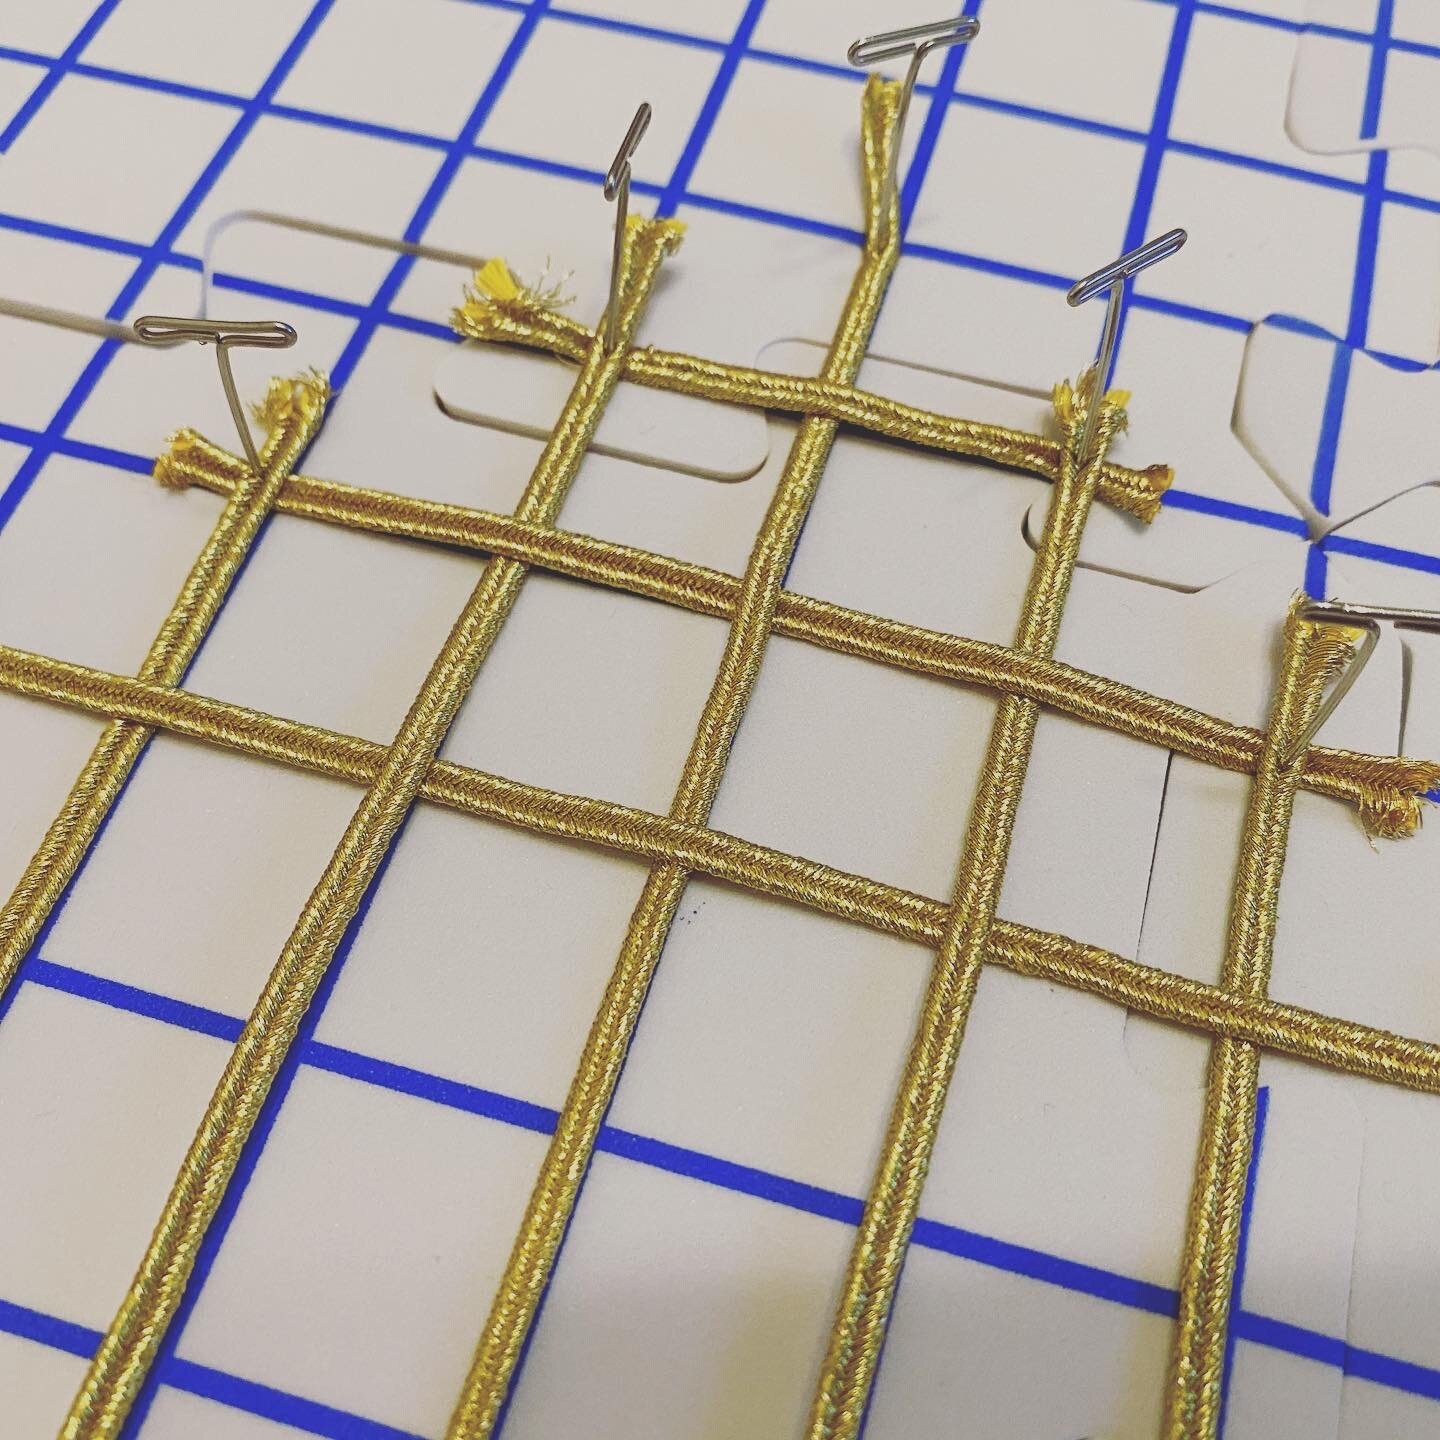
Starting the Rows
Starting the row and the front corners of the partlet helped to establish the over-under weave that was needed to create support for the structure of the garment.
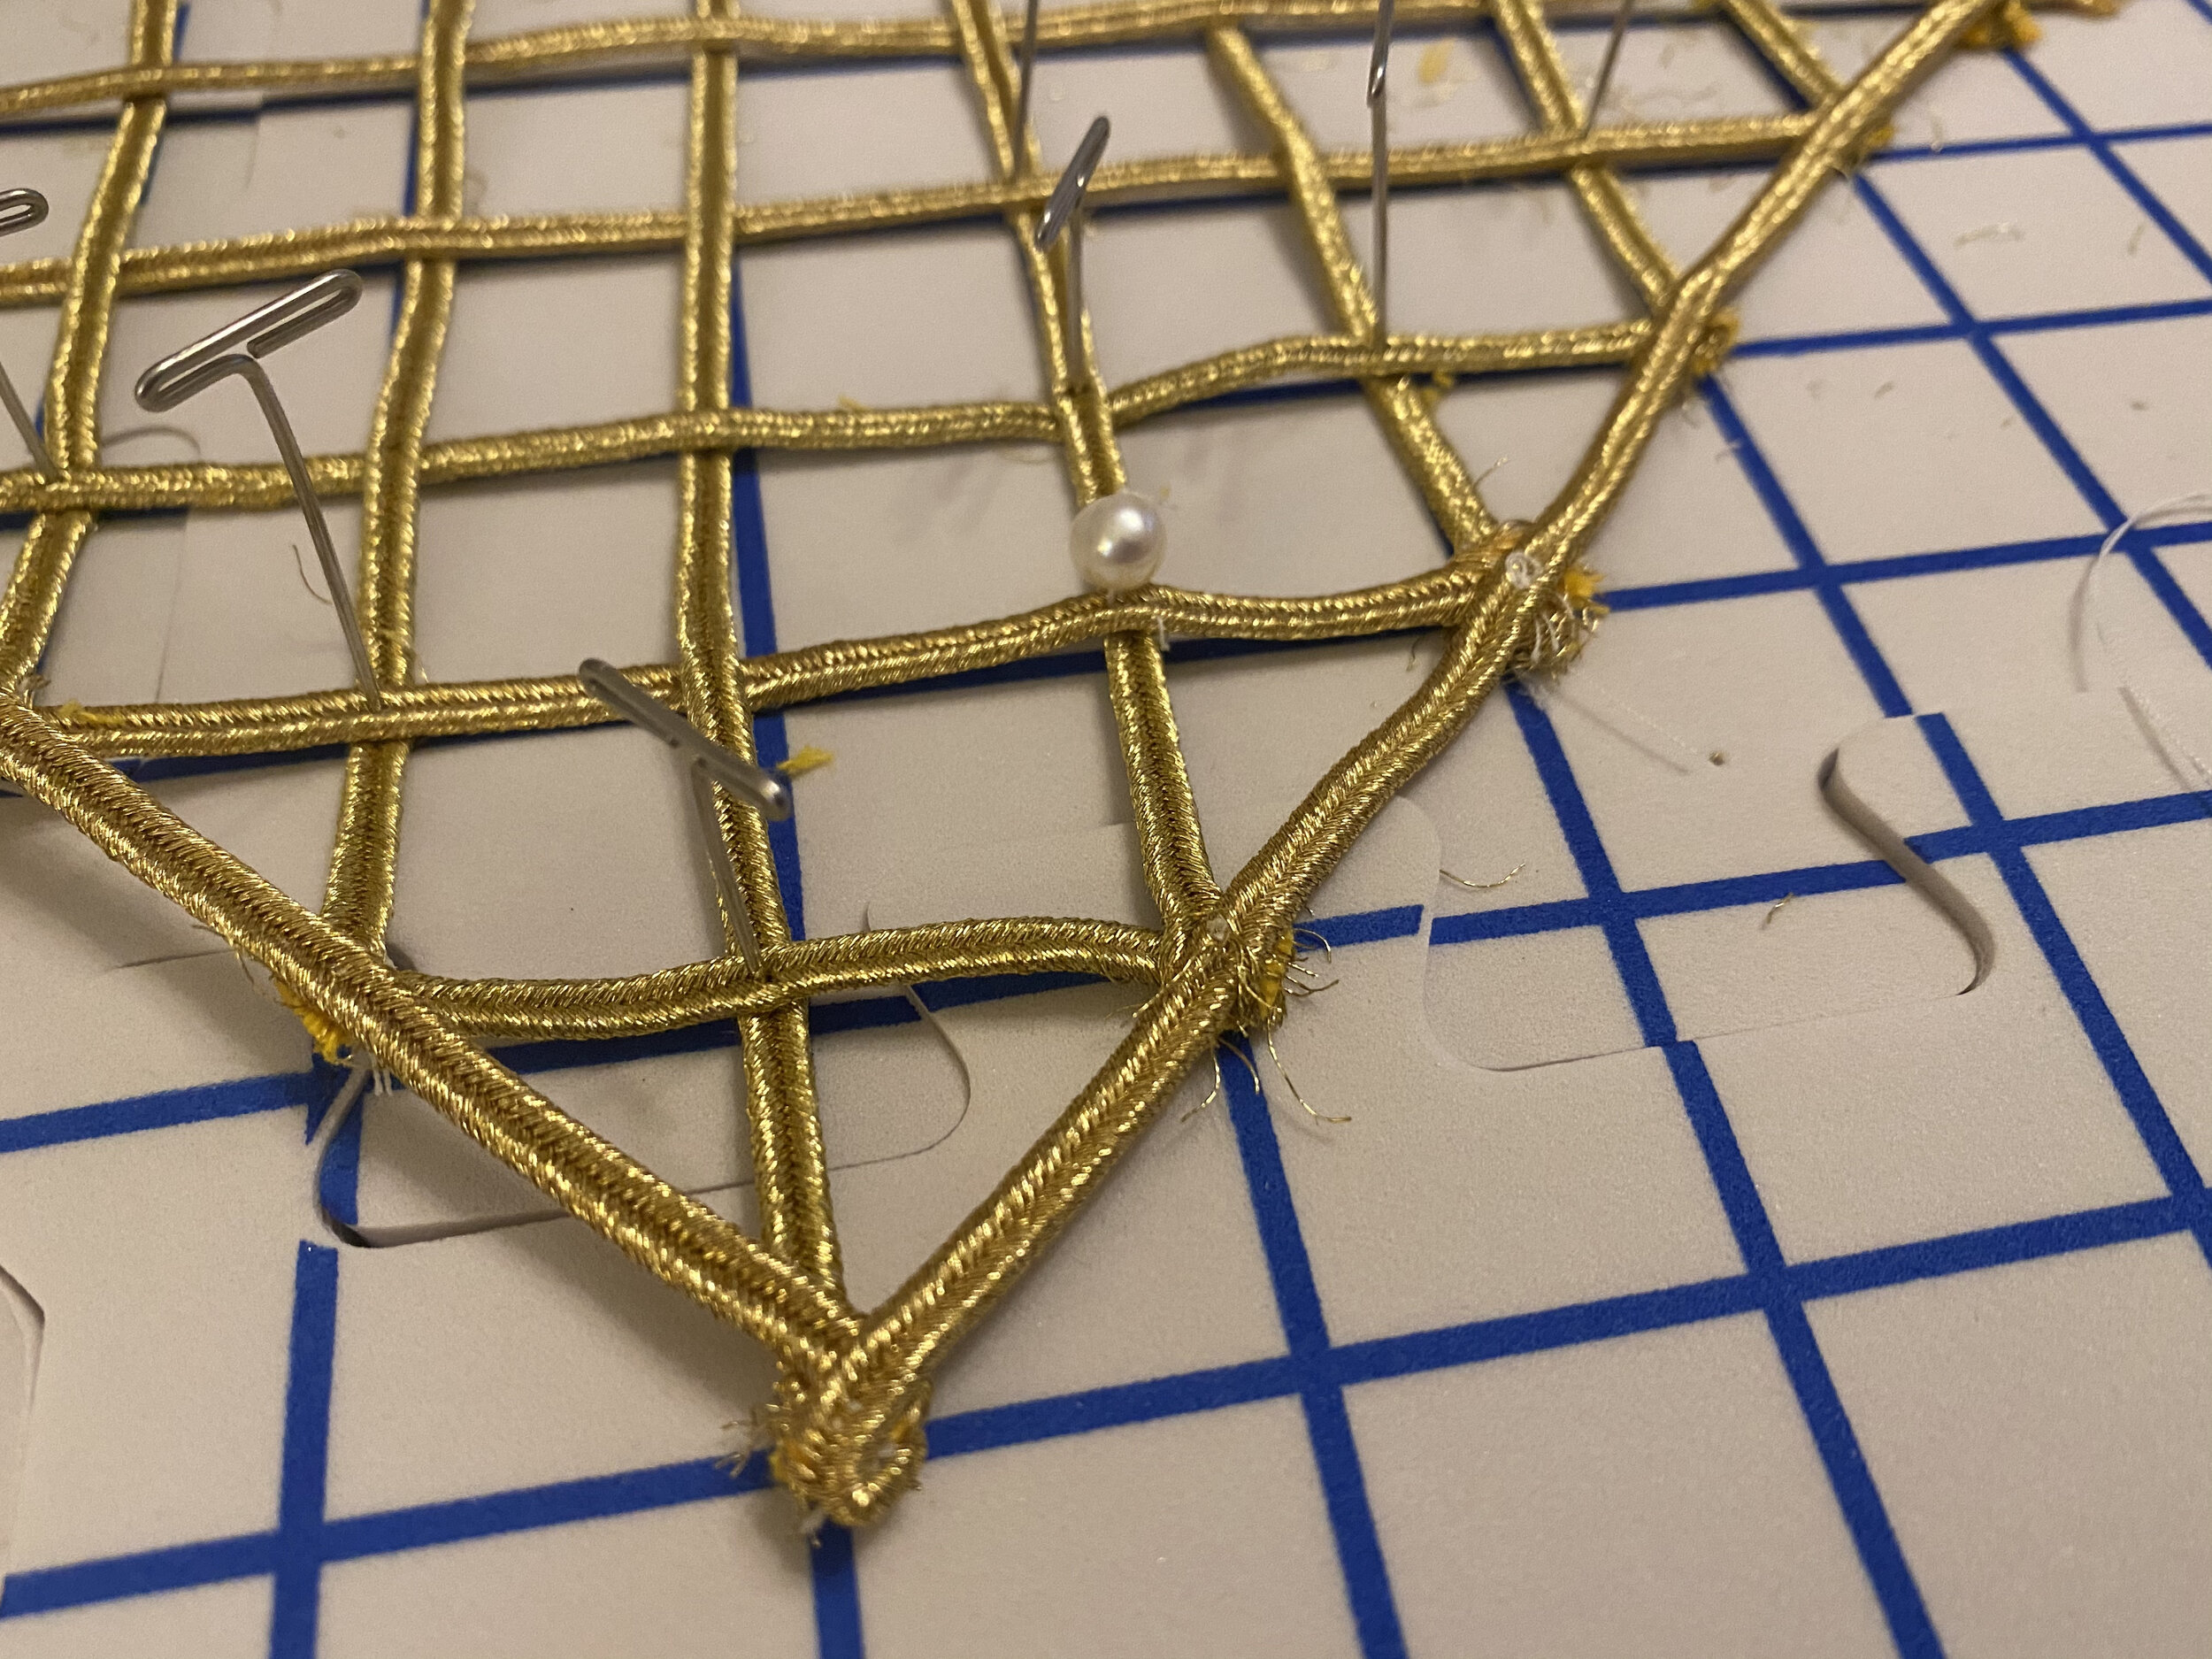
Securing the Grid to The Border
Starting where the straight edges on the back of the partlet meet the diagonal lines of the front edges of the partlet and following the edges aground the front side of the partlet, over the back of the neck and around the the edges of the other front of the partlet securing all pieces of soutache at each juncture.

Starting to Add the Pearls
Most pearls will require the use of special, thinner beading needles to be able to fit through the holes.

Crown Inferfacing
The interfacing in the the crown is important to ensure that your hat holds its shape.

The Brim
The cut-out brim, interfacing, and lining.

Clipping the Brim
The brim is chalked and cut along the inside edge of the brim. This will later be secured to the crown of the hat.

The Pressed Brim
The tabs on the inside of the brim are pressed open.

Pinned Pleats
The crown is pinned evenly shaped around the edges to create the the dome shape, sized to the inside opening of the brim.

Stitched Crown
The crown is sewn along the edges, carefully removing the pins as the stitches are made.

Secure the Crown
The attached crown and unfinished brim.

Sweat Band
Adding a sweat band will protect the hat and hide the tabs where the inside of the brim was attached to the crown.

Millinery Wire
A strong millinery wire will be important to hold the shape of the brim.

Adding Wire to the Brim
Using a zig-zag stitch to carefully secure the millinery wire to the brim of the hat.

Finished Front
An image of the finished front of the cappello with black piping finished with green bias tape.

Finished Side
An image of the side of a finished cappello with a matching green silk cockade and black feathers.

The Front of the Cappello
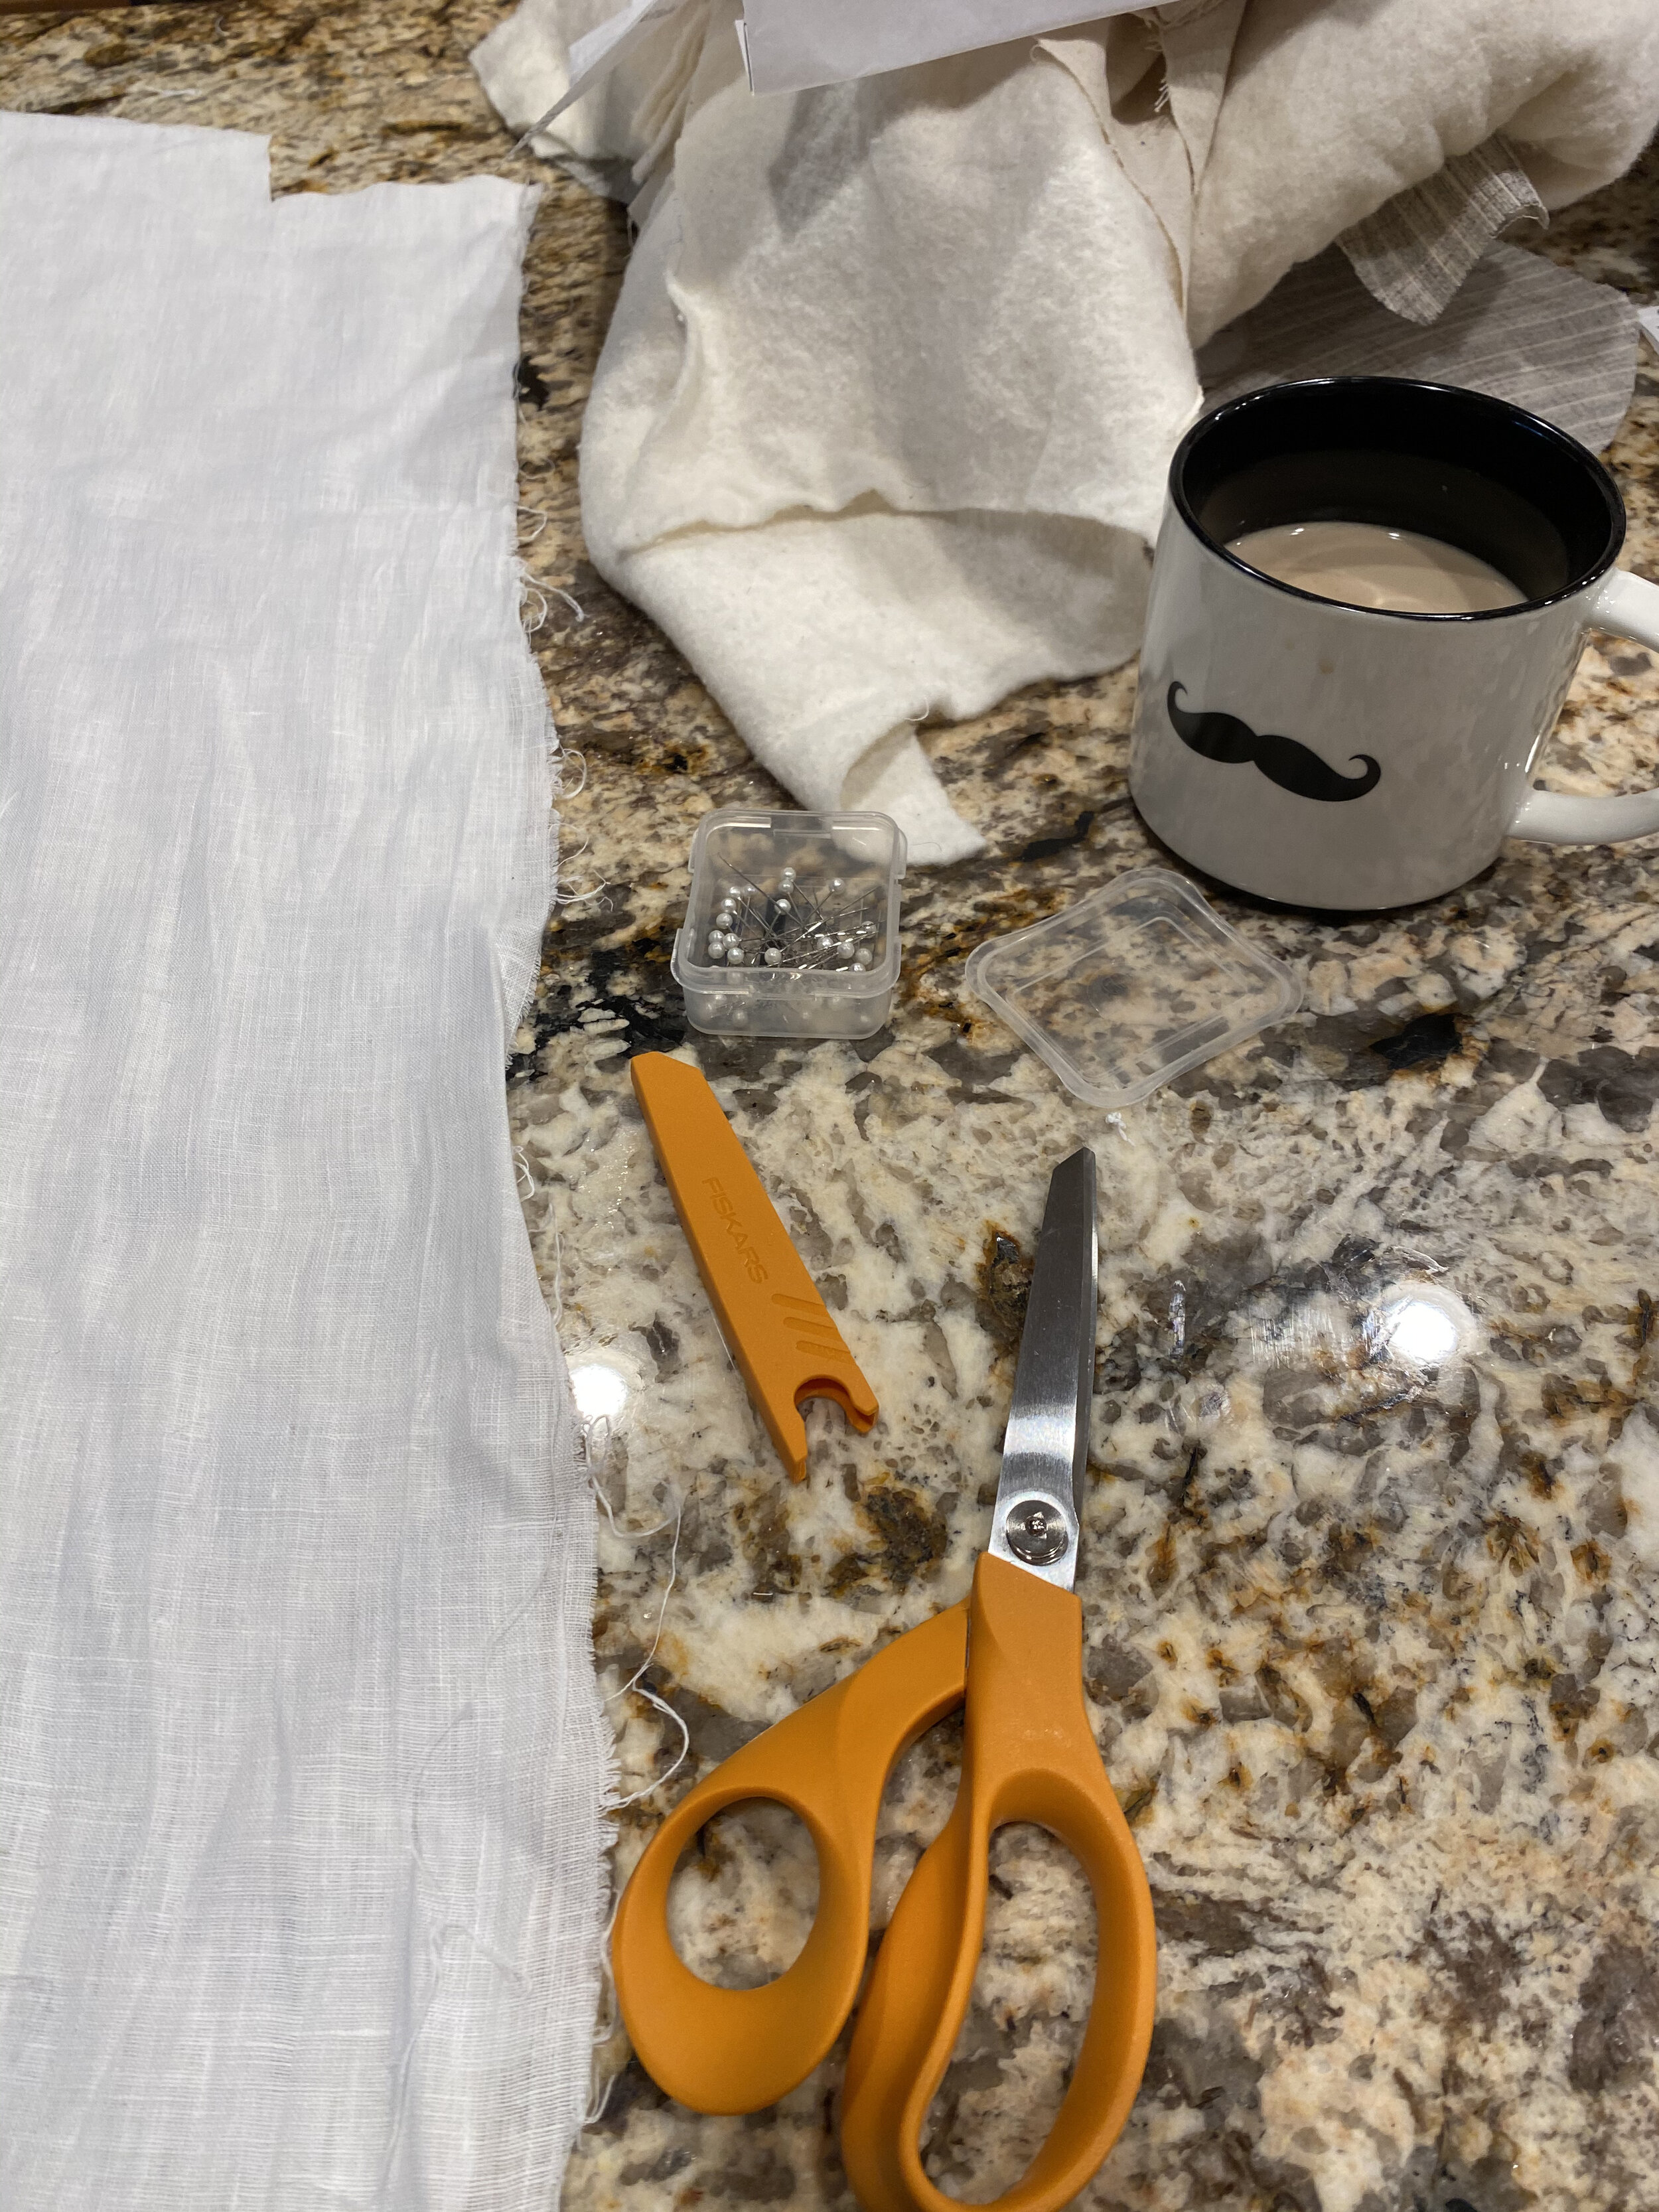
Nuovo Progetto di un Farsetto d'Arme
Starting a new progetto for an arming doublet.
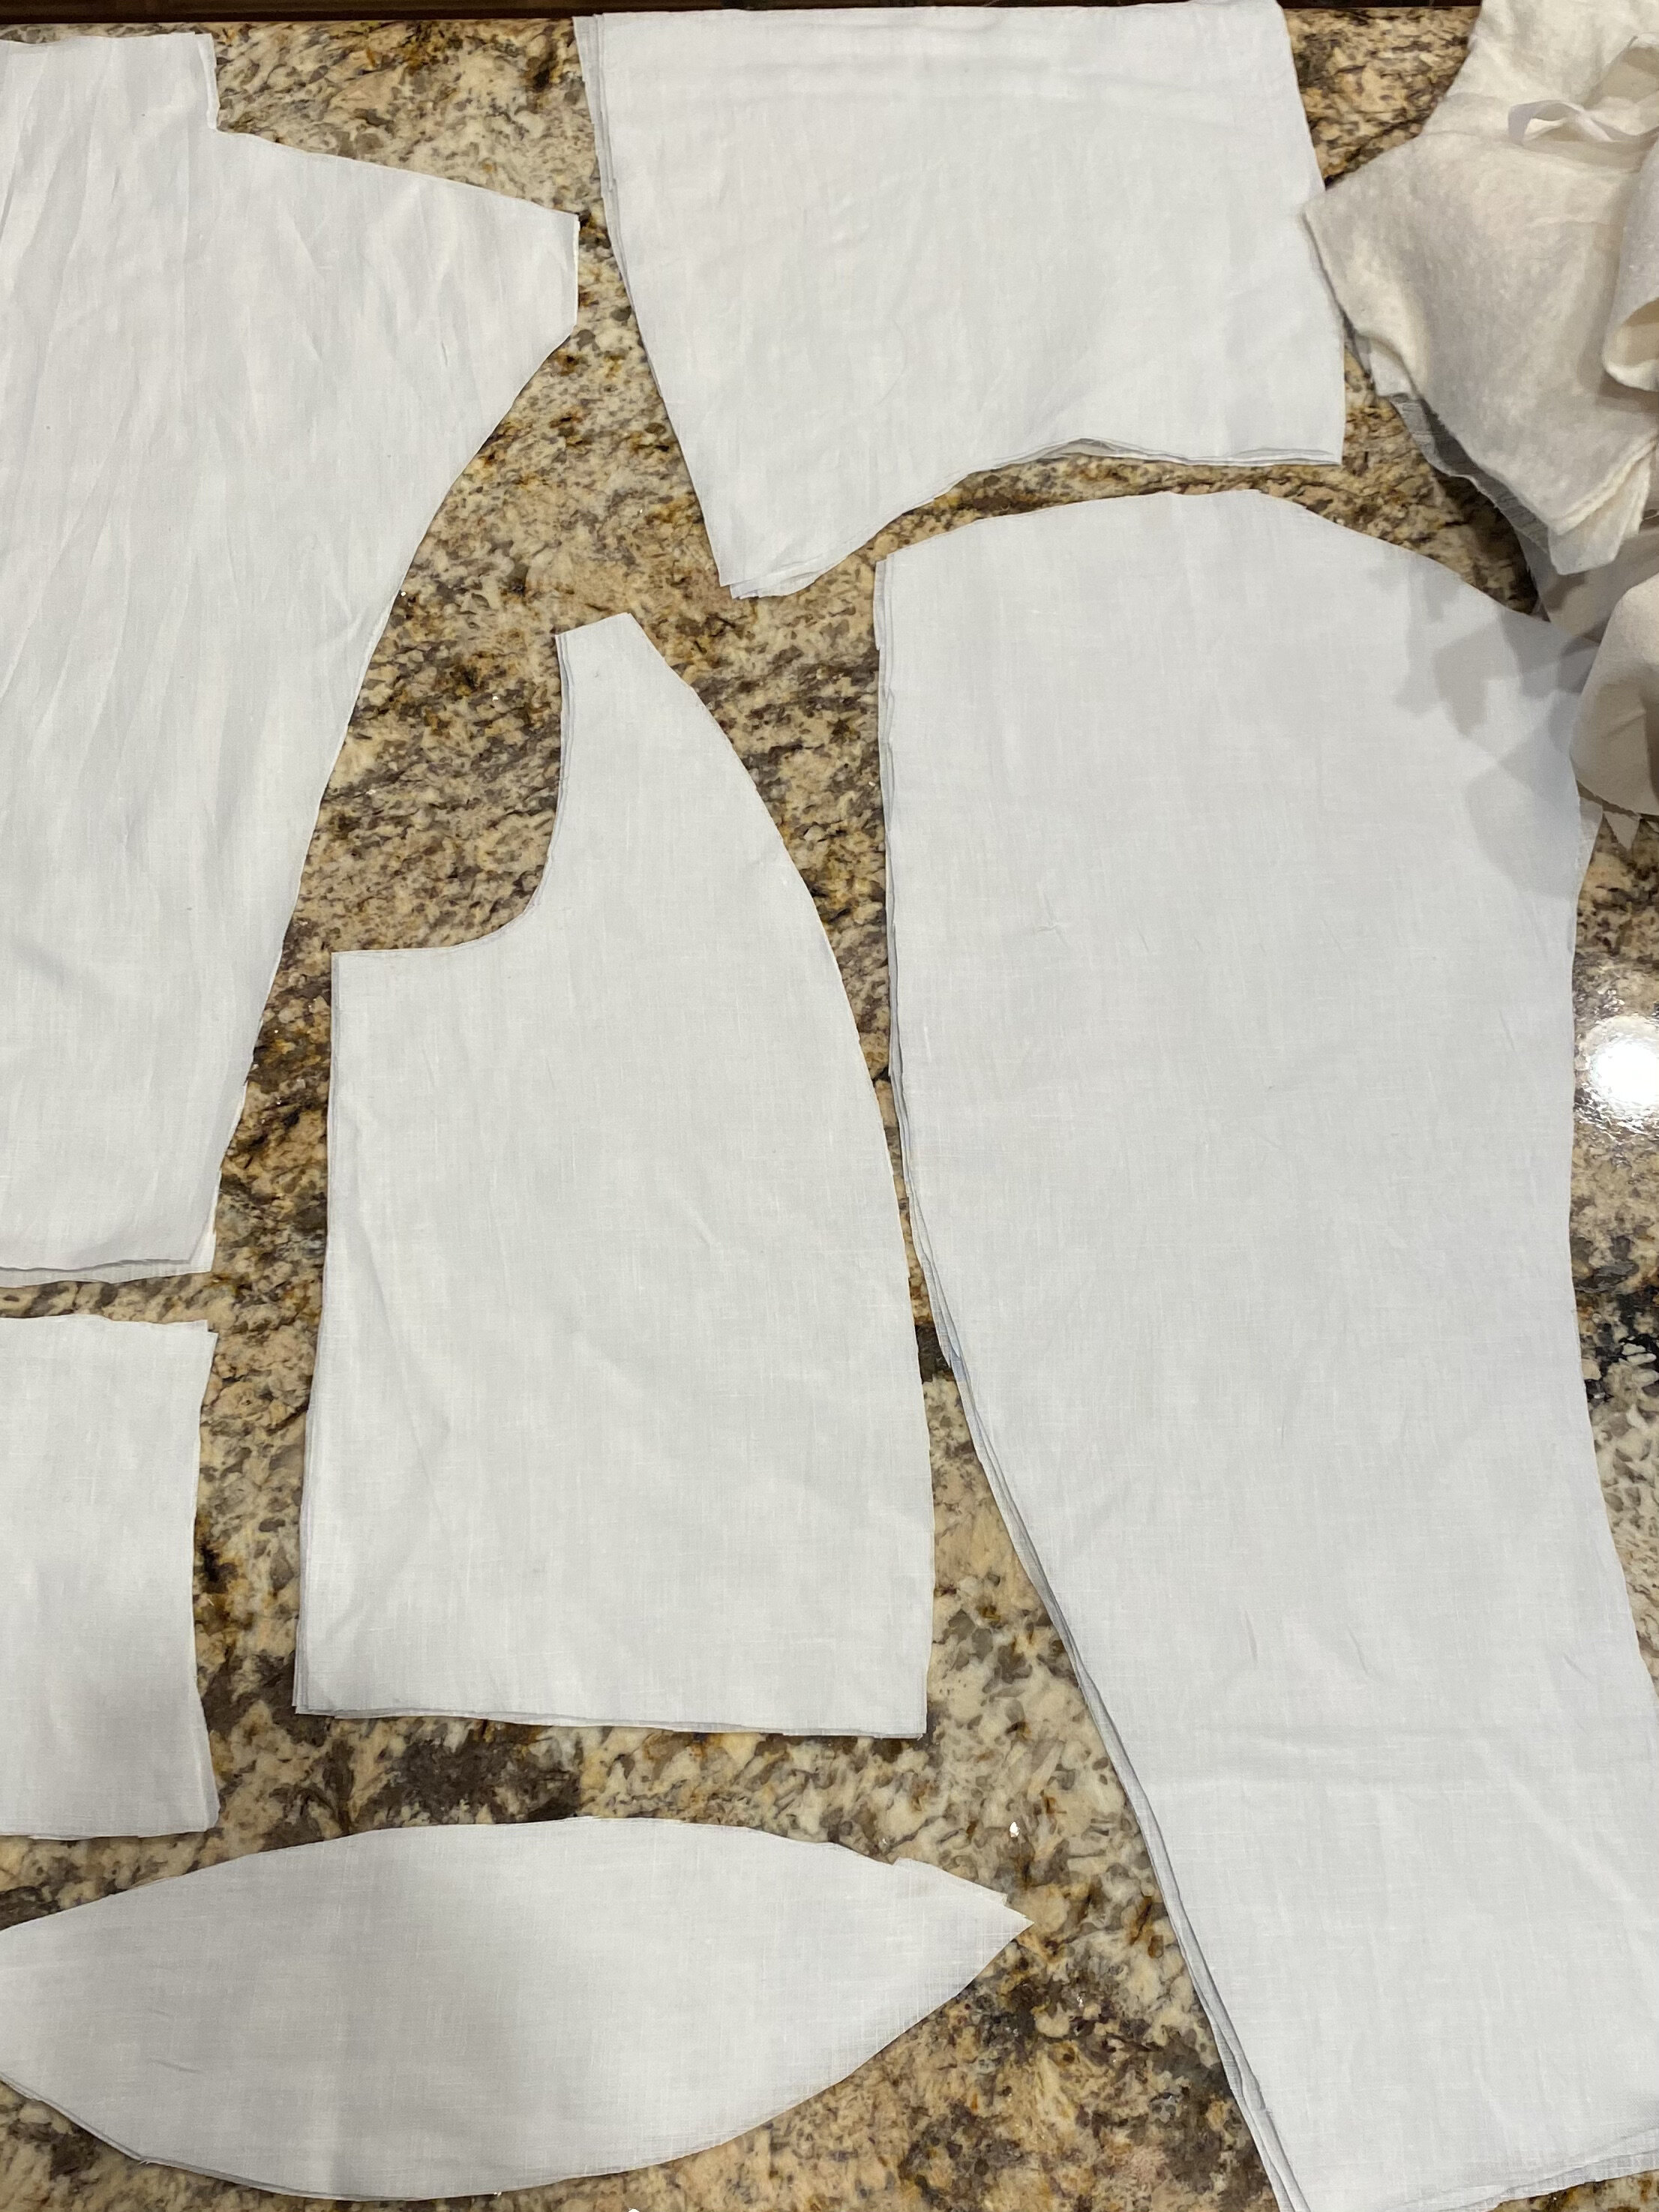
Pezze del Farsetto d'Arme
Some of the cutout pieces of the arming doublet.
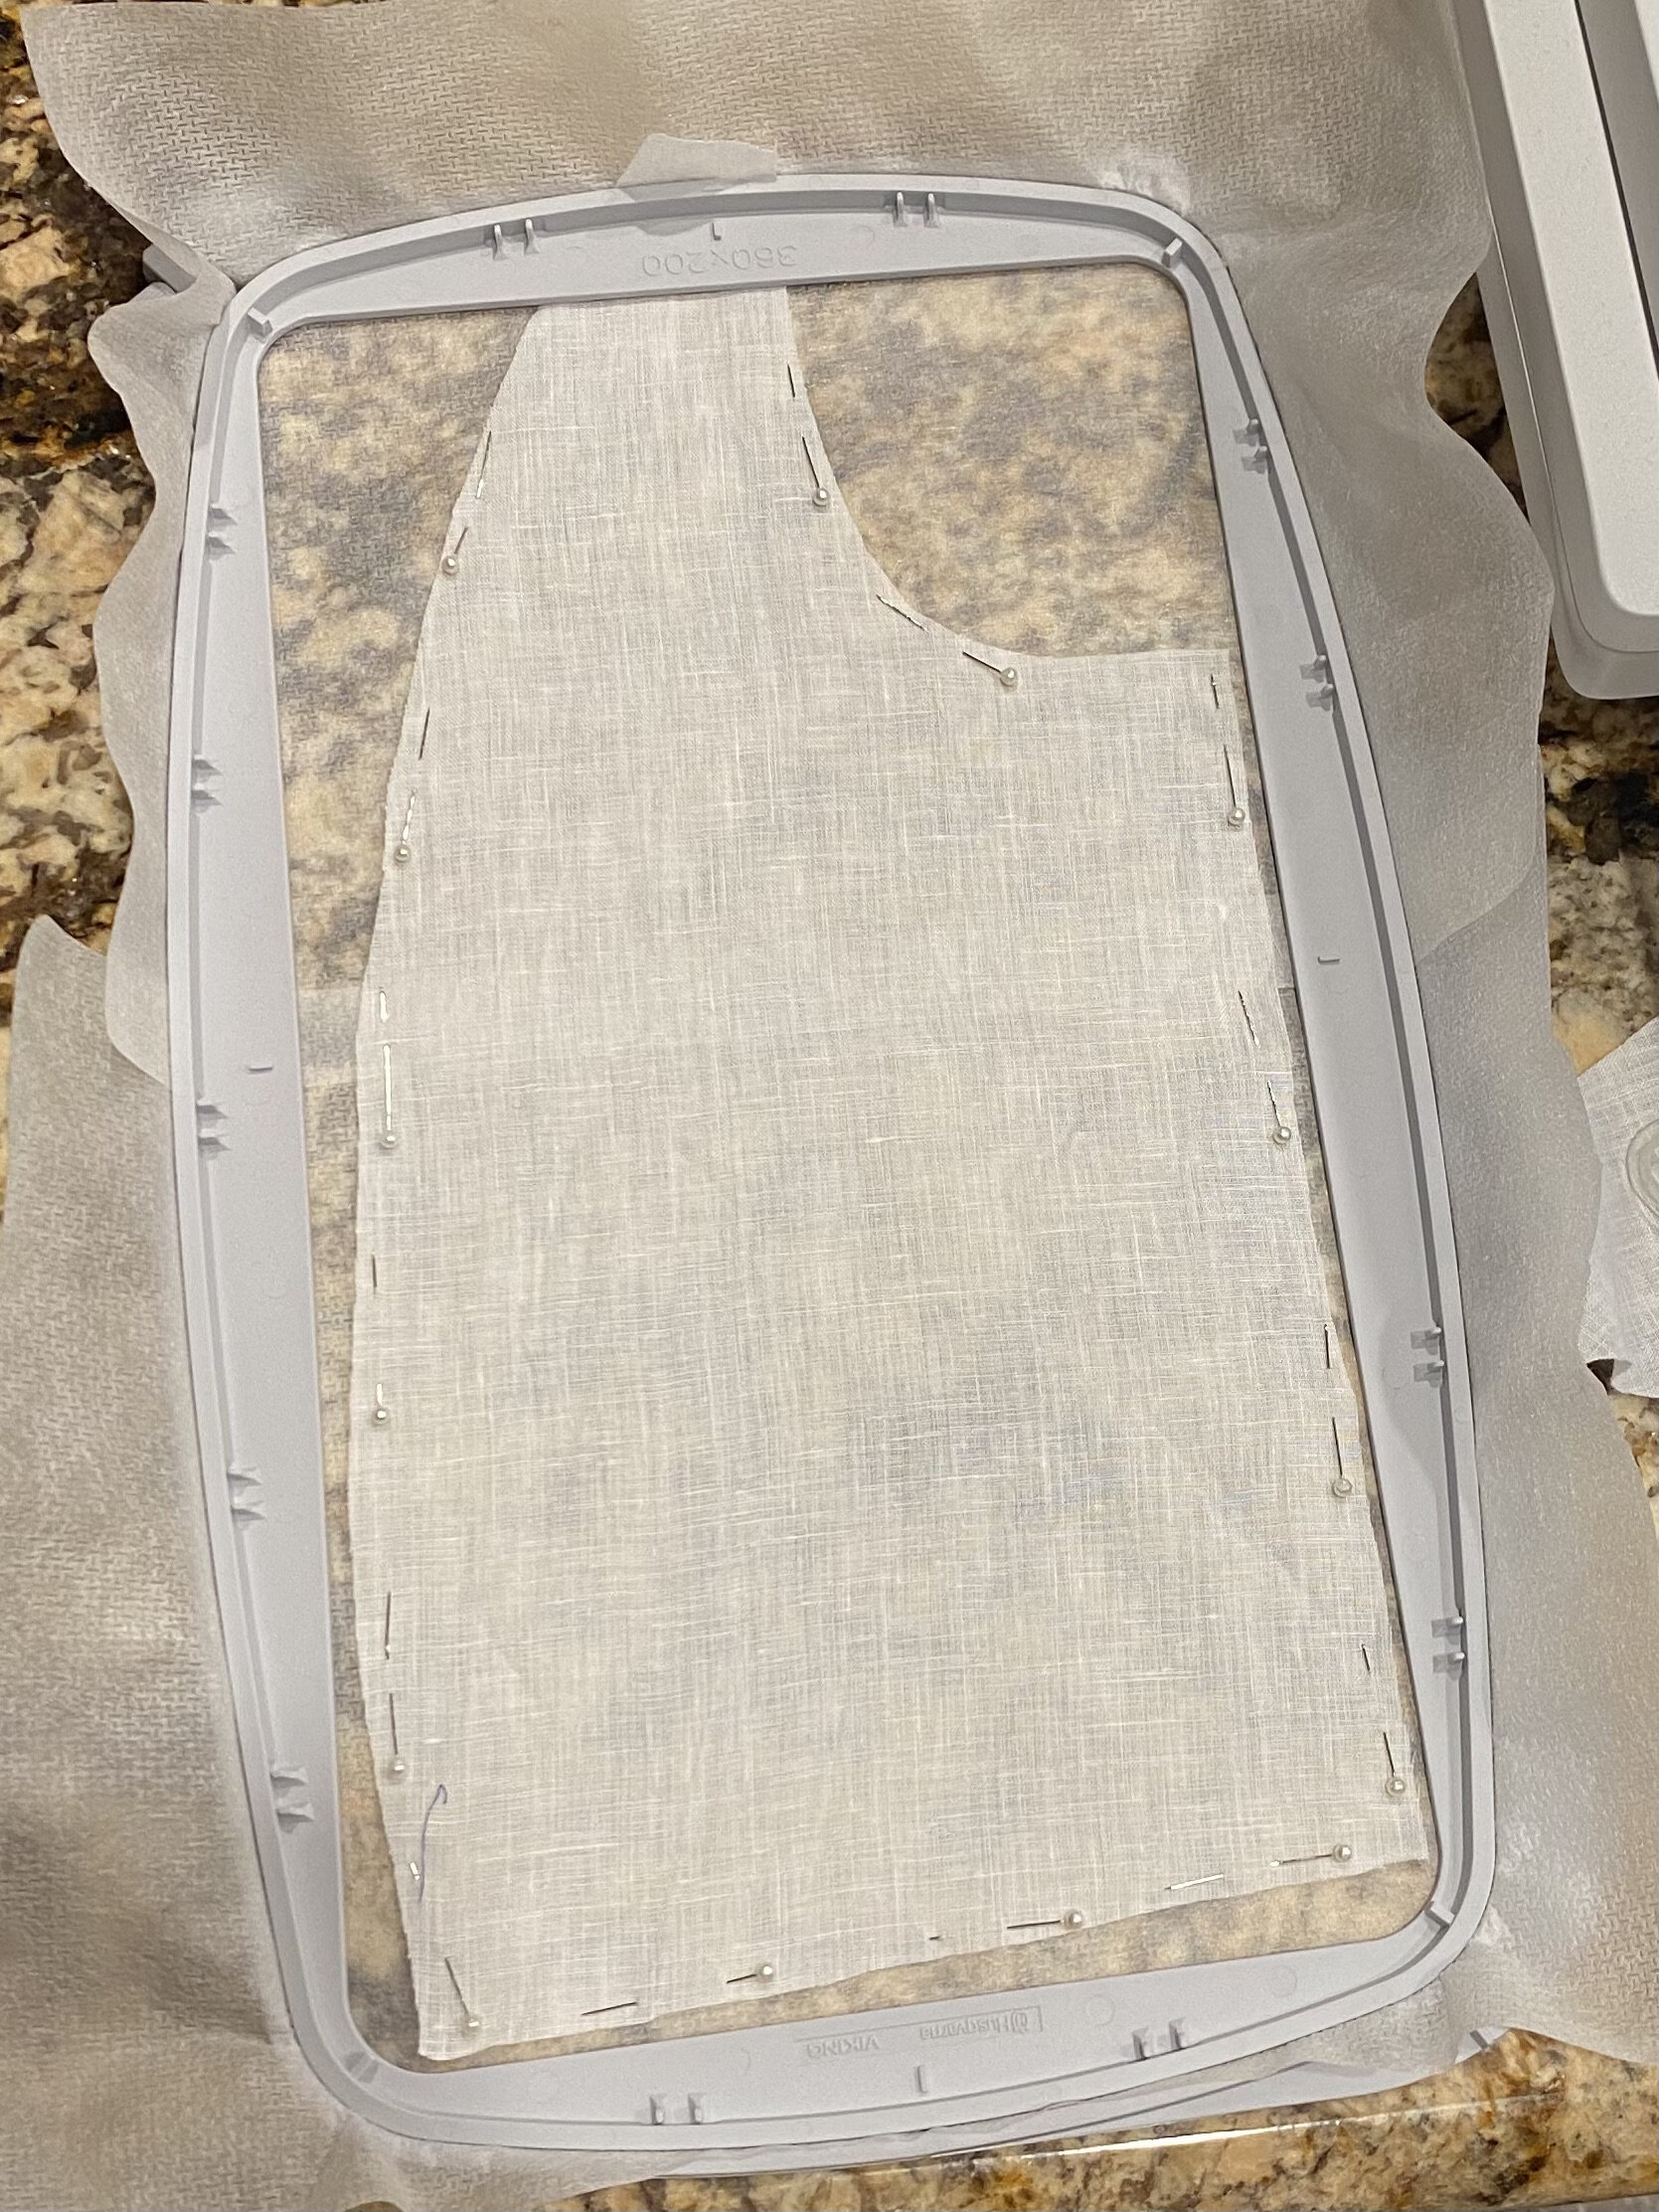
Framed for Embroidery
The side back of the arming doublet framed in the hoop for embroidery.
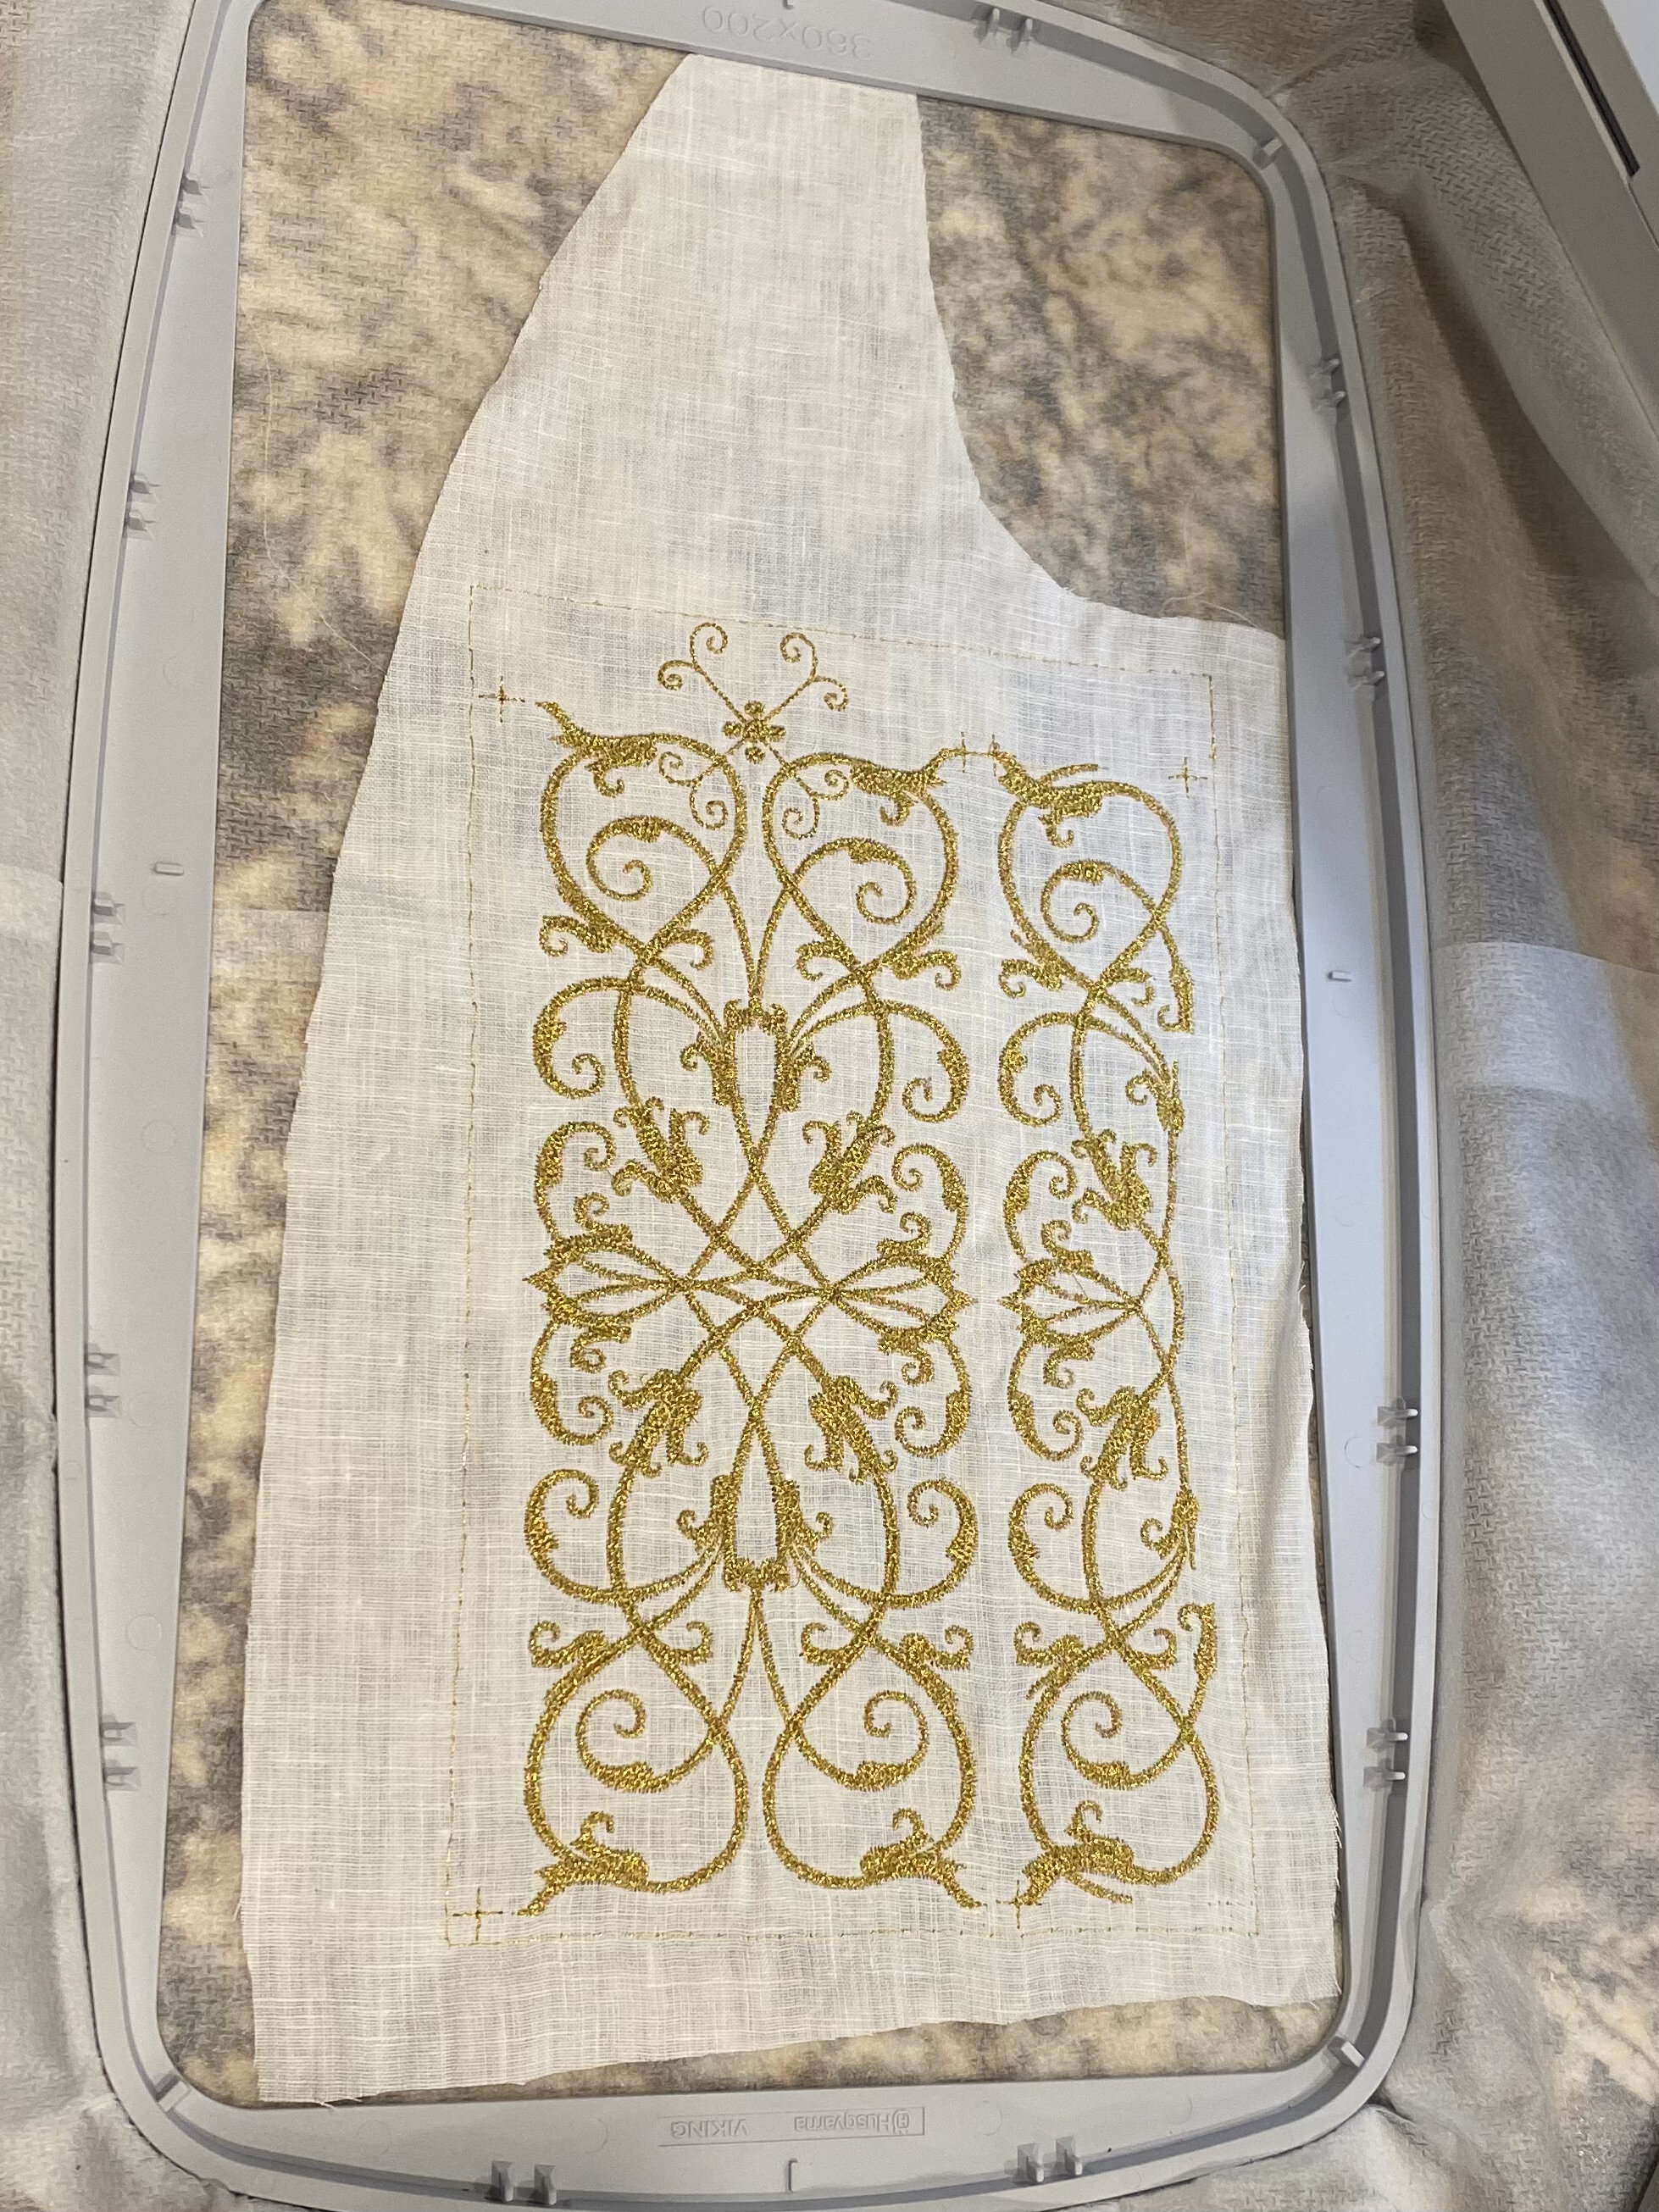
Completed Side Back
The completed embroidery of the side back panel on the arming doublet.
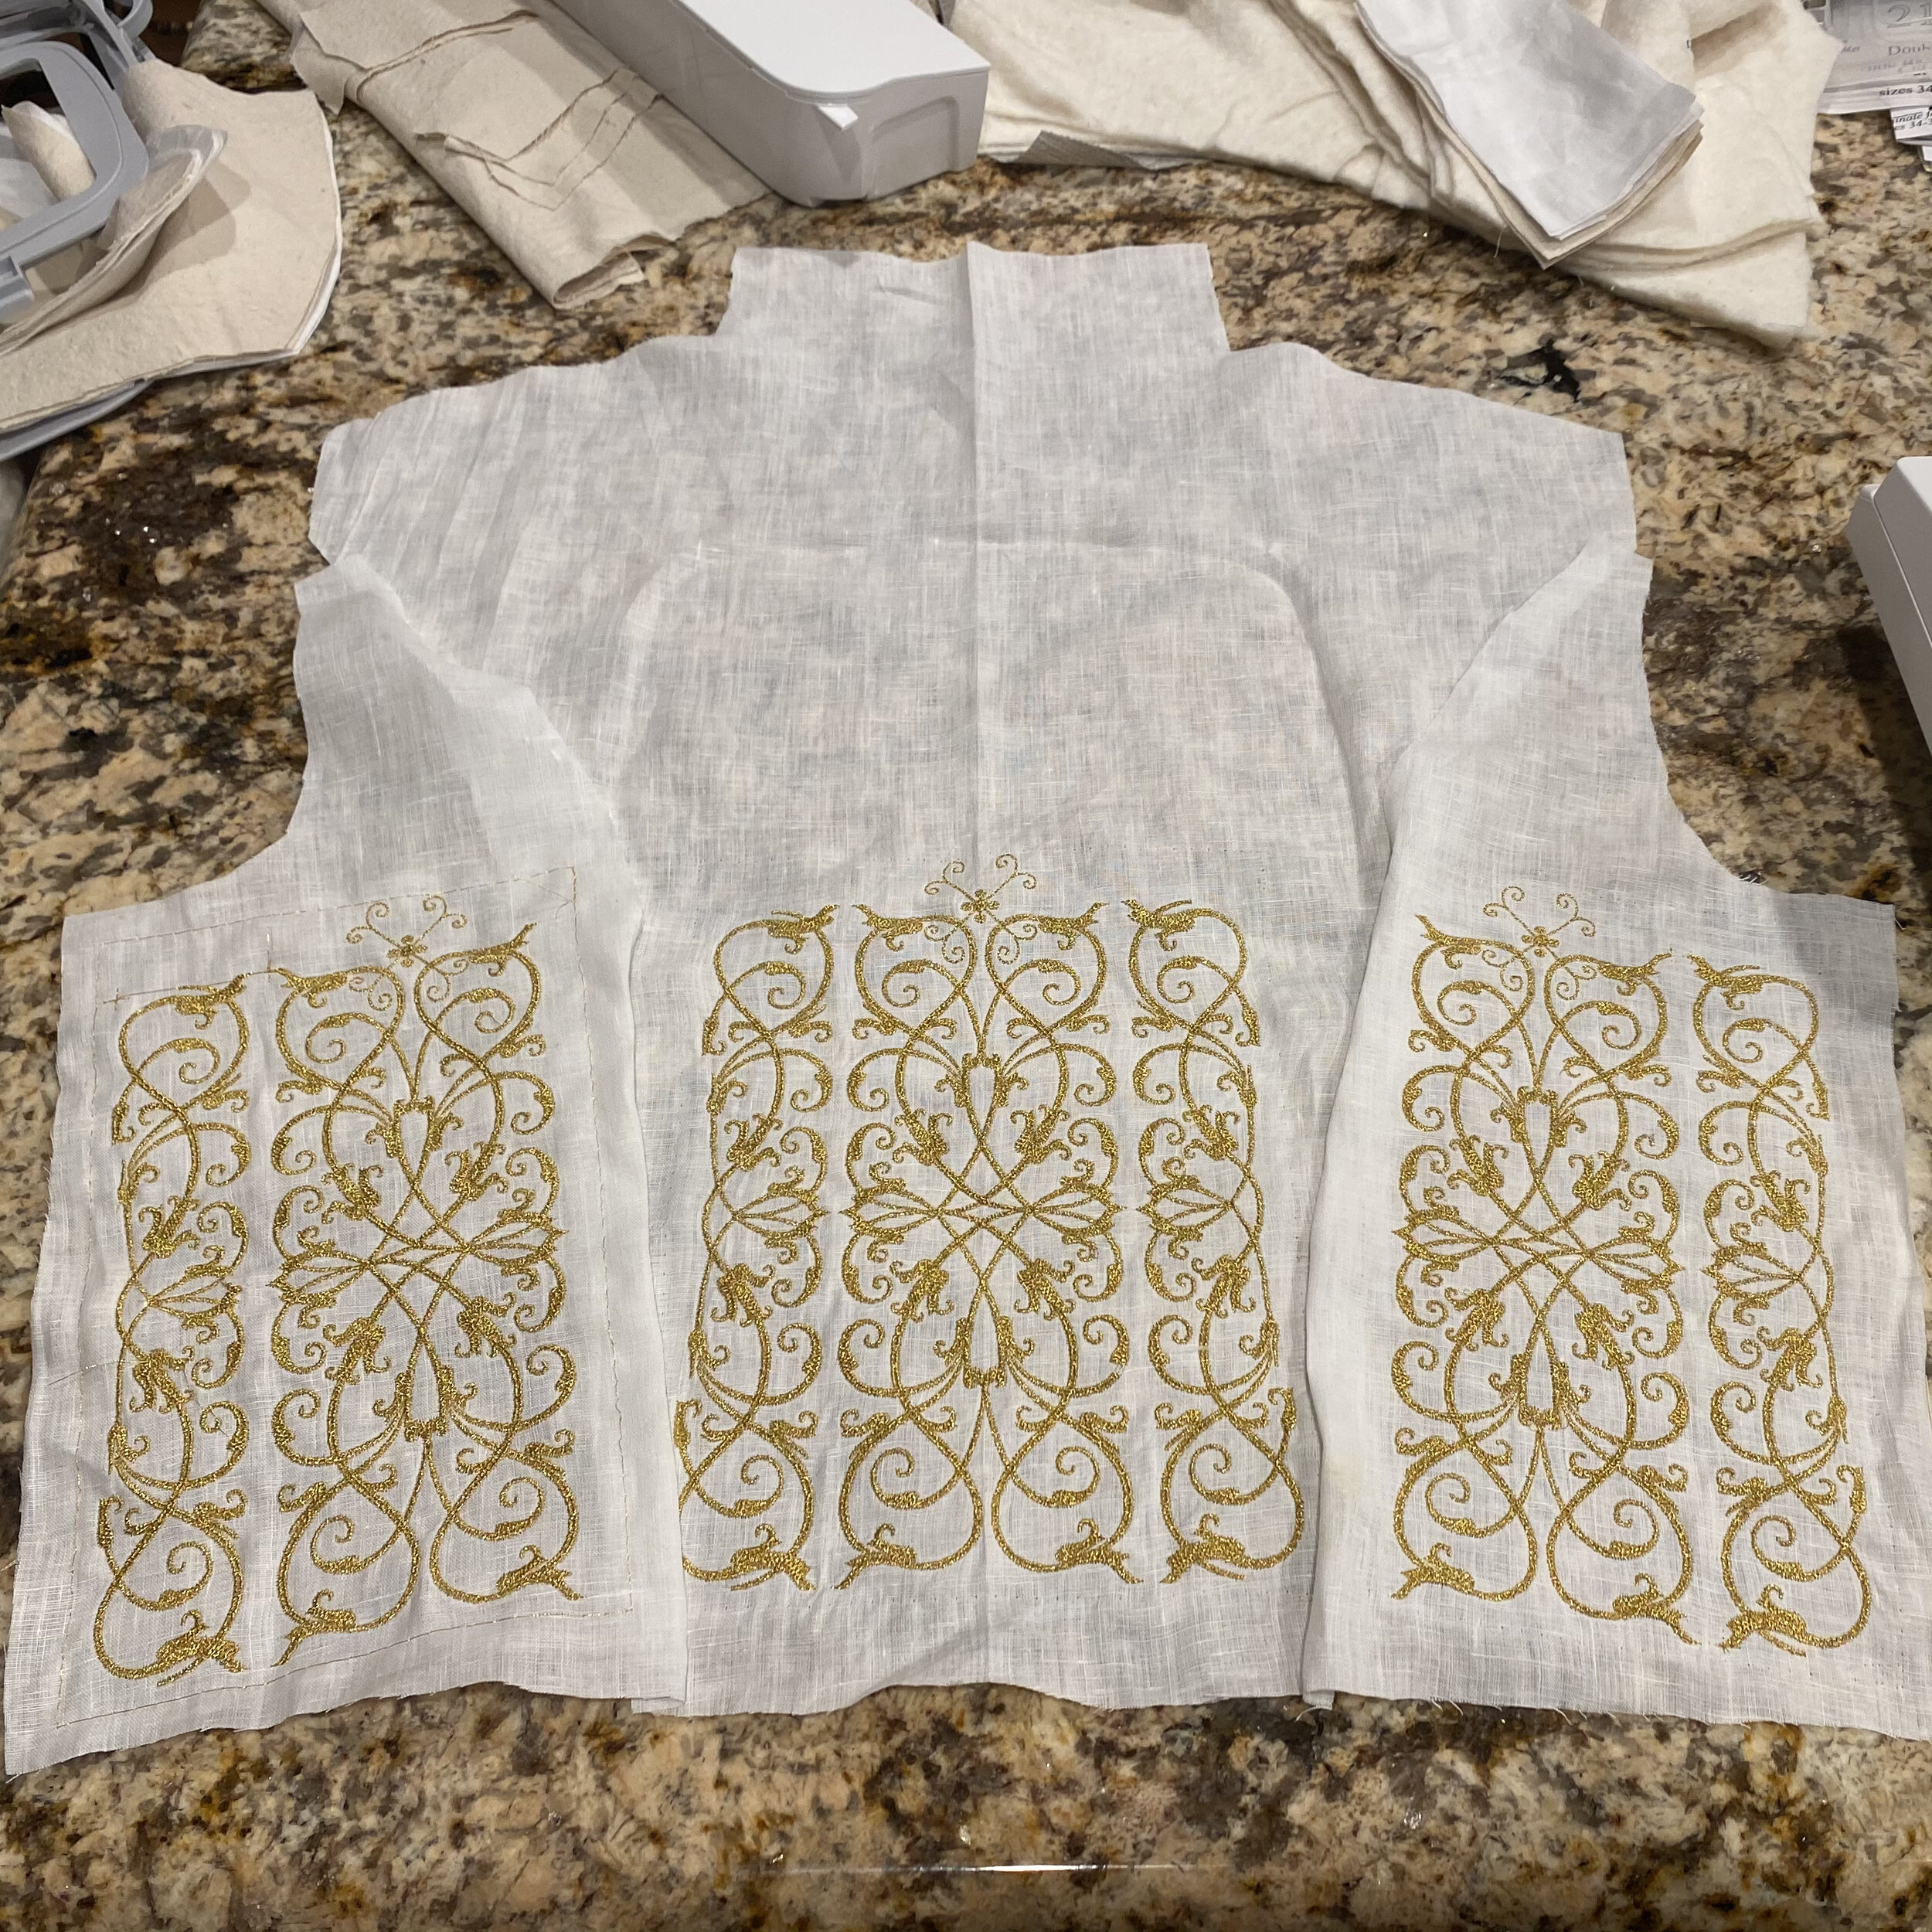
Back and Side Back Embroidery
Completed embroidery on the back and side back panels.
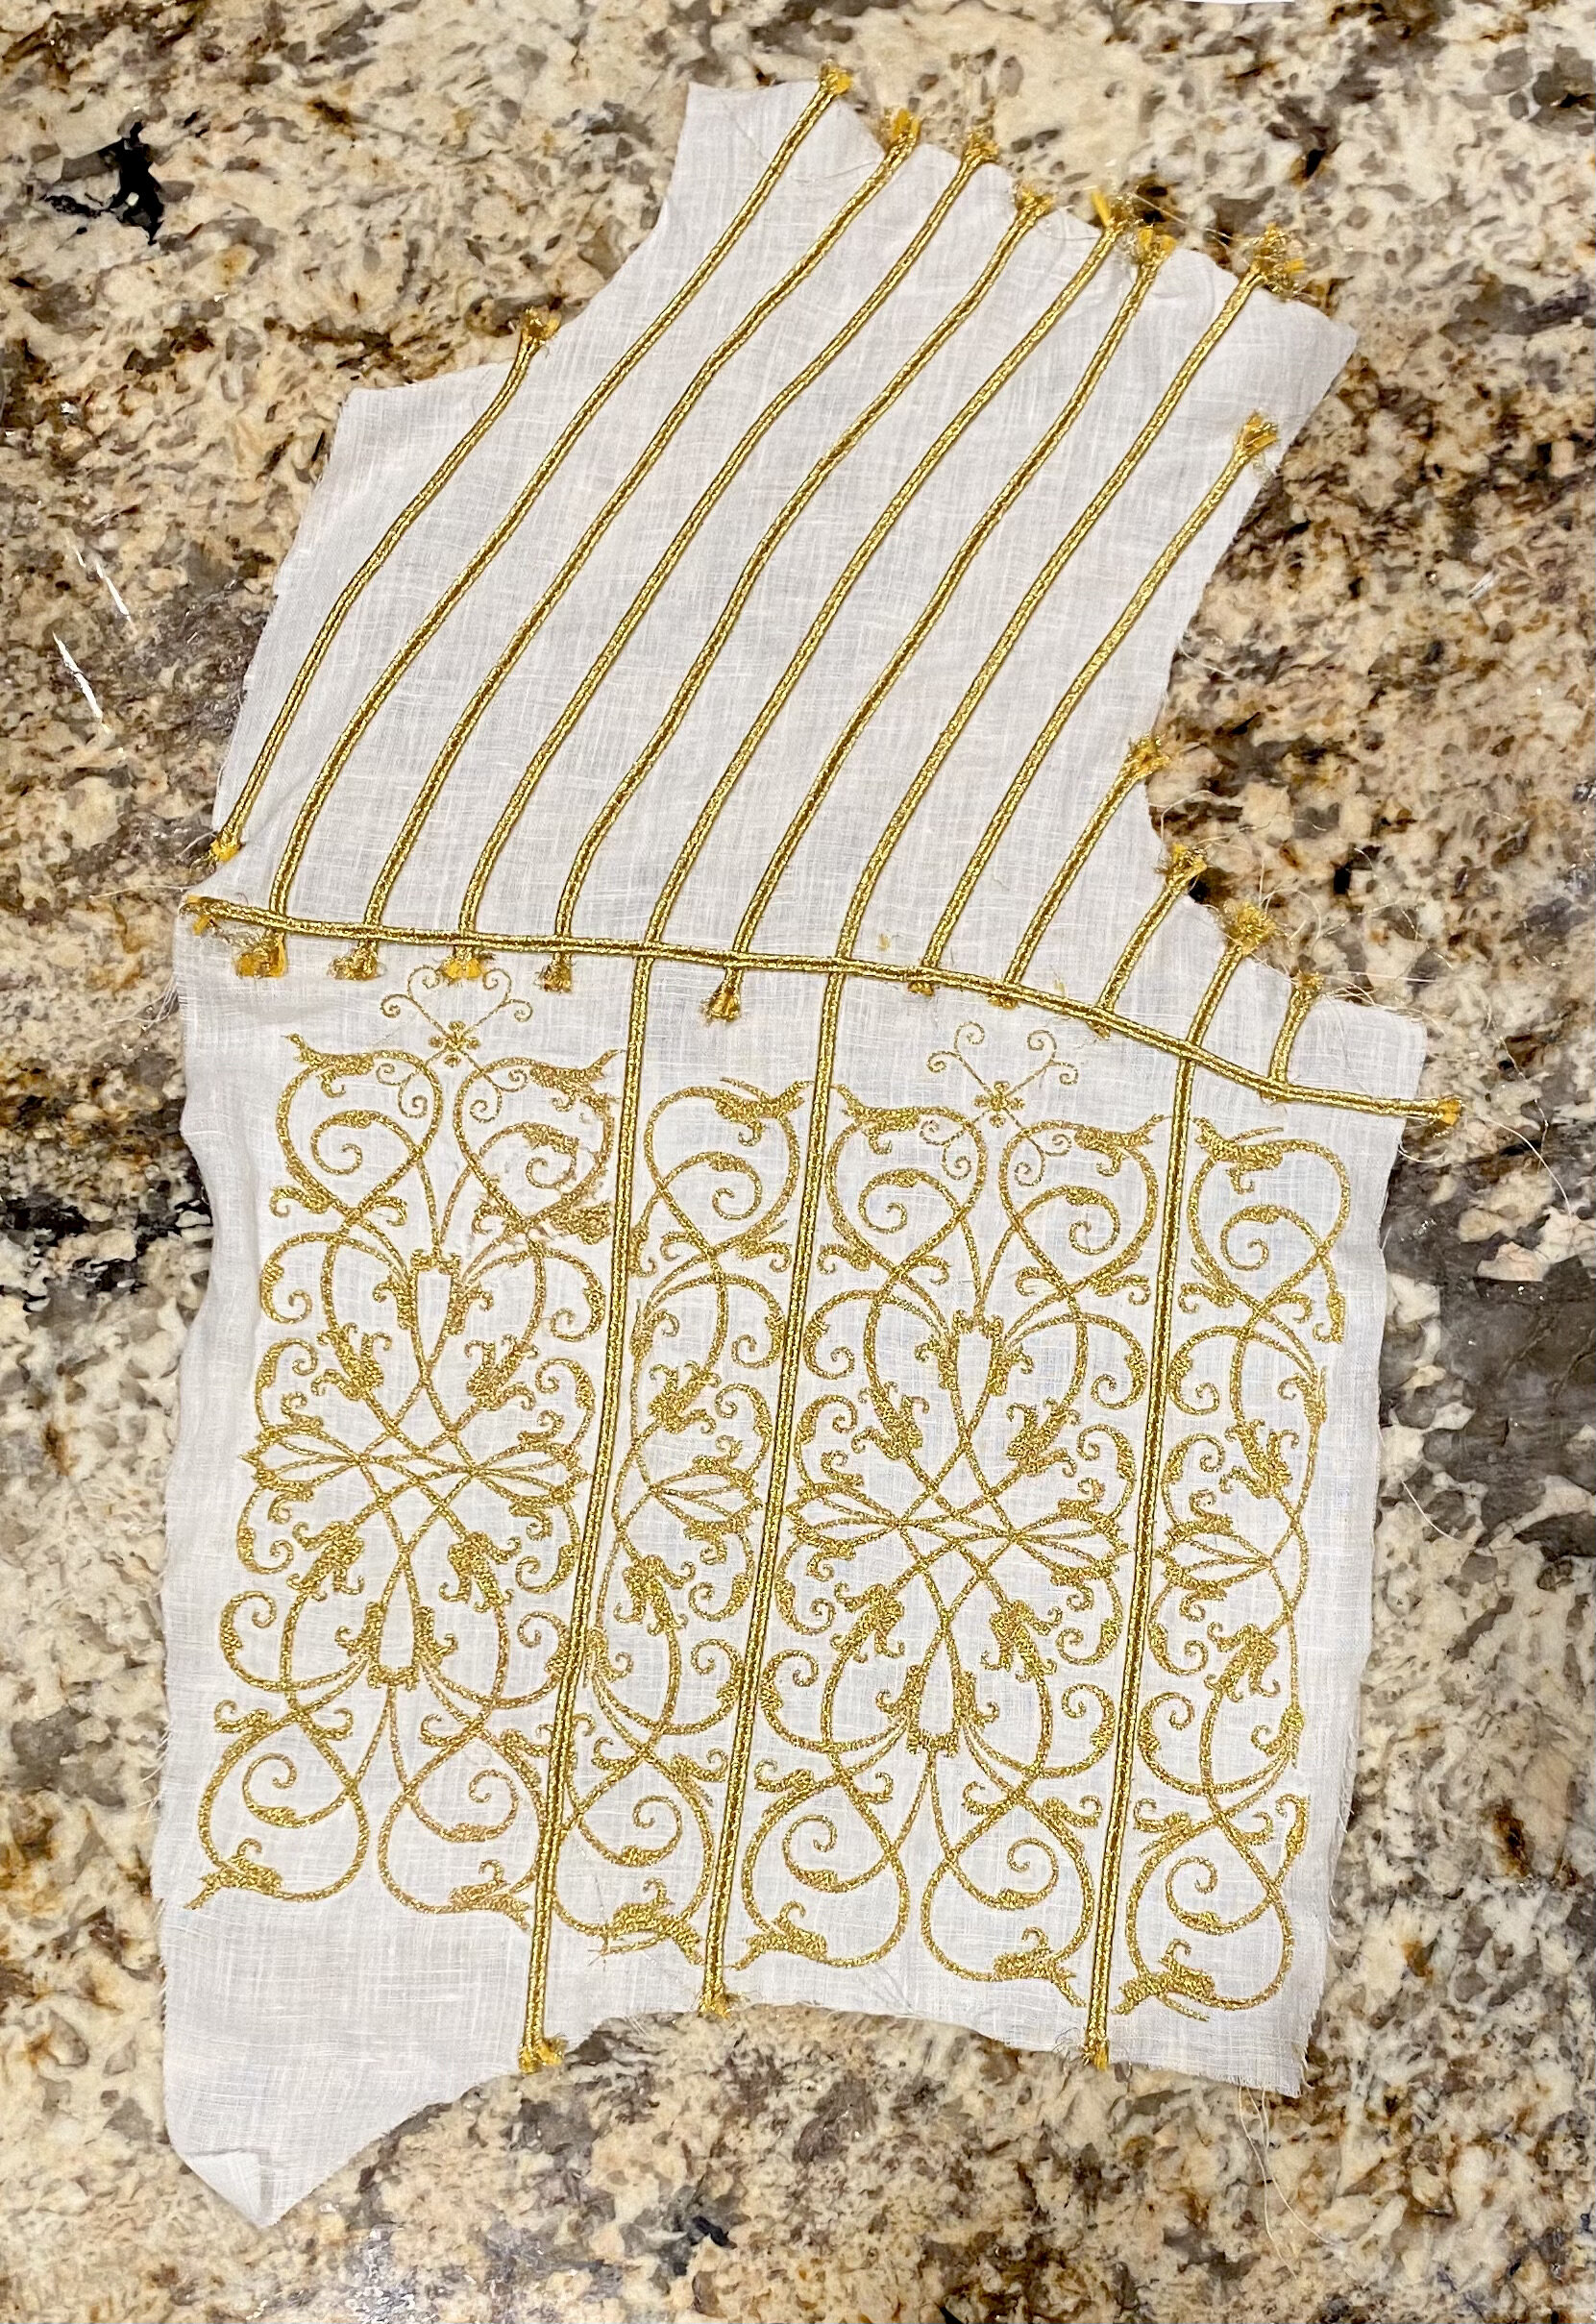
Trimmed Front of the Farsetto d'Arme
Showing the trim added to the facing fabric on the arming doublet.
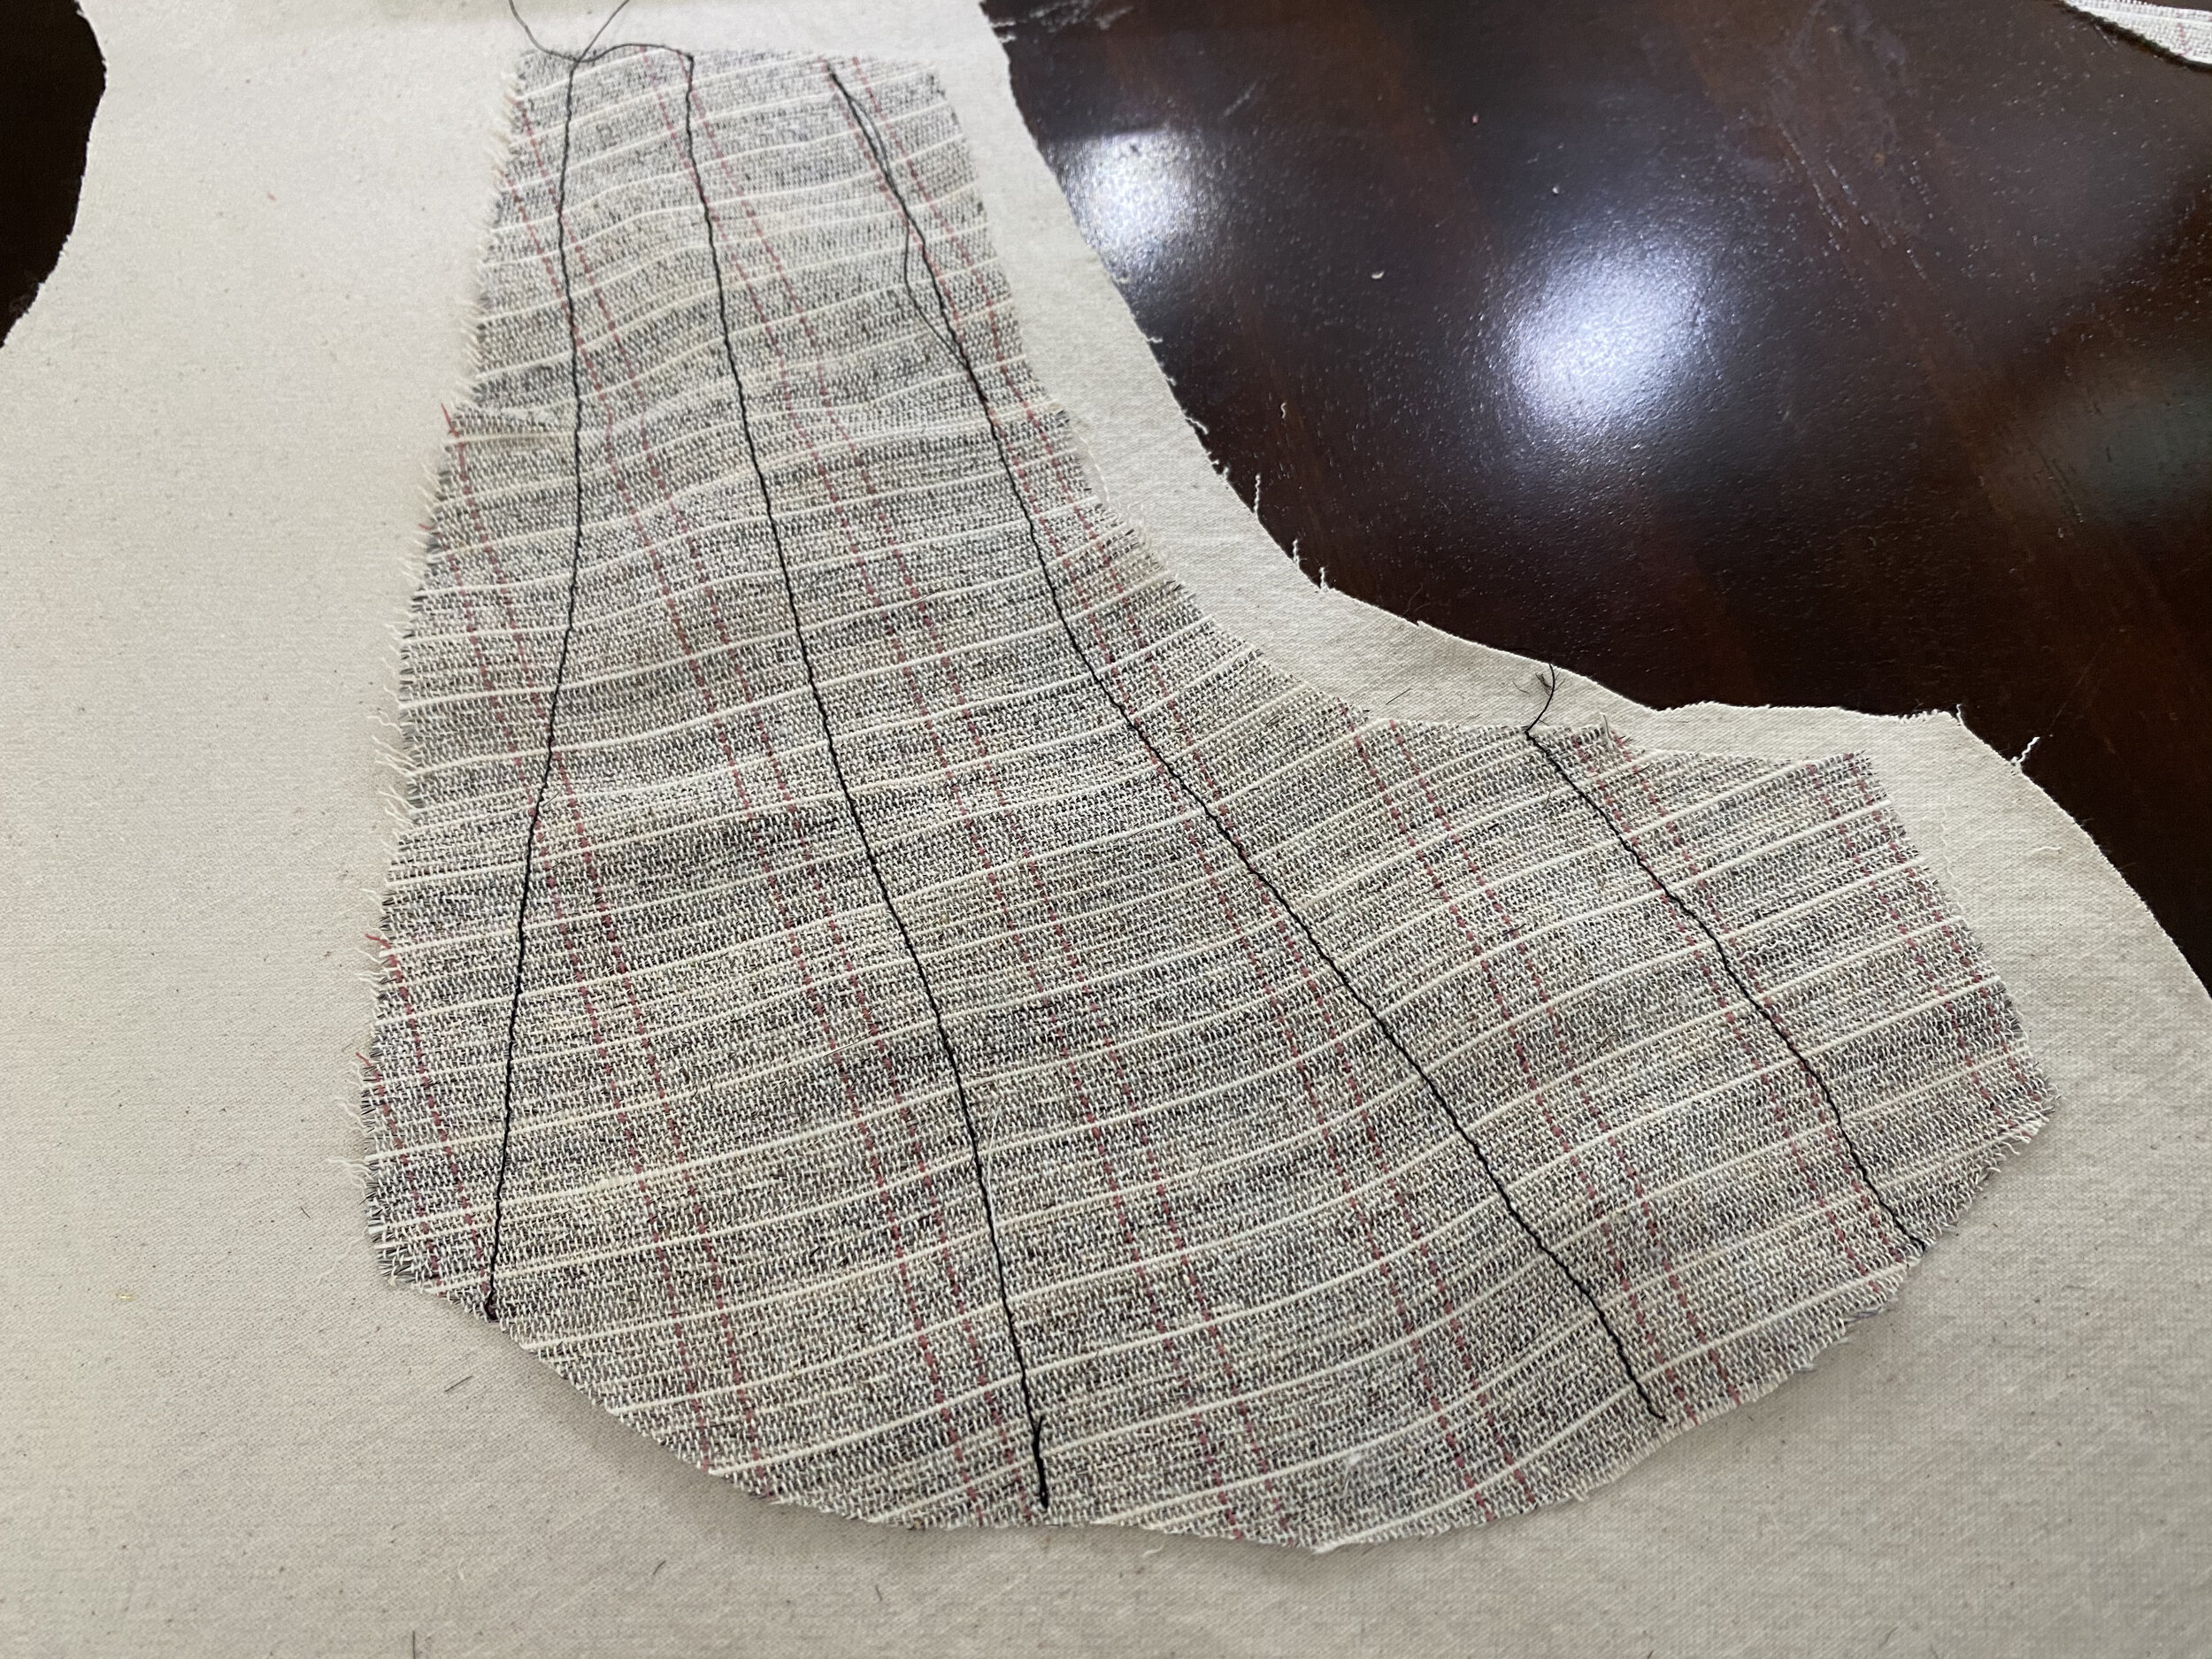


Camicia dei Bambini e Capo

Disegna della Camicia dei Bambini

Pattern Layout of the Camicia dei Bambini

Front of the Camicia dei Bambini

Sewing the Cuff

Cufio della Camica dei Bambini
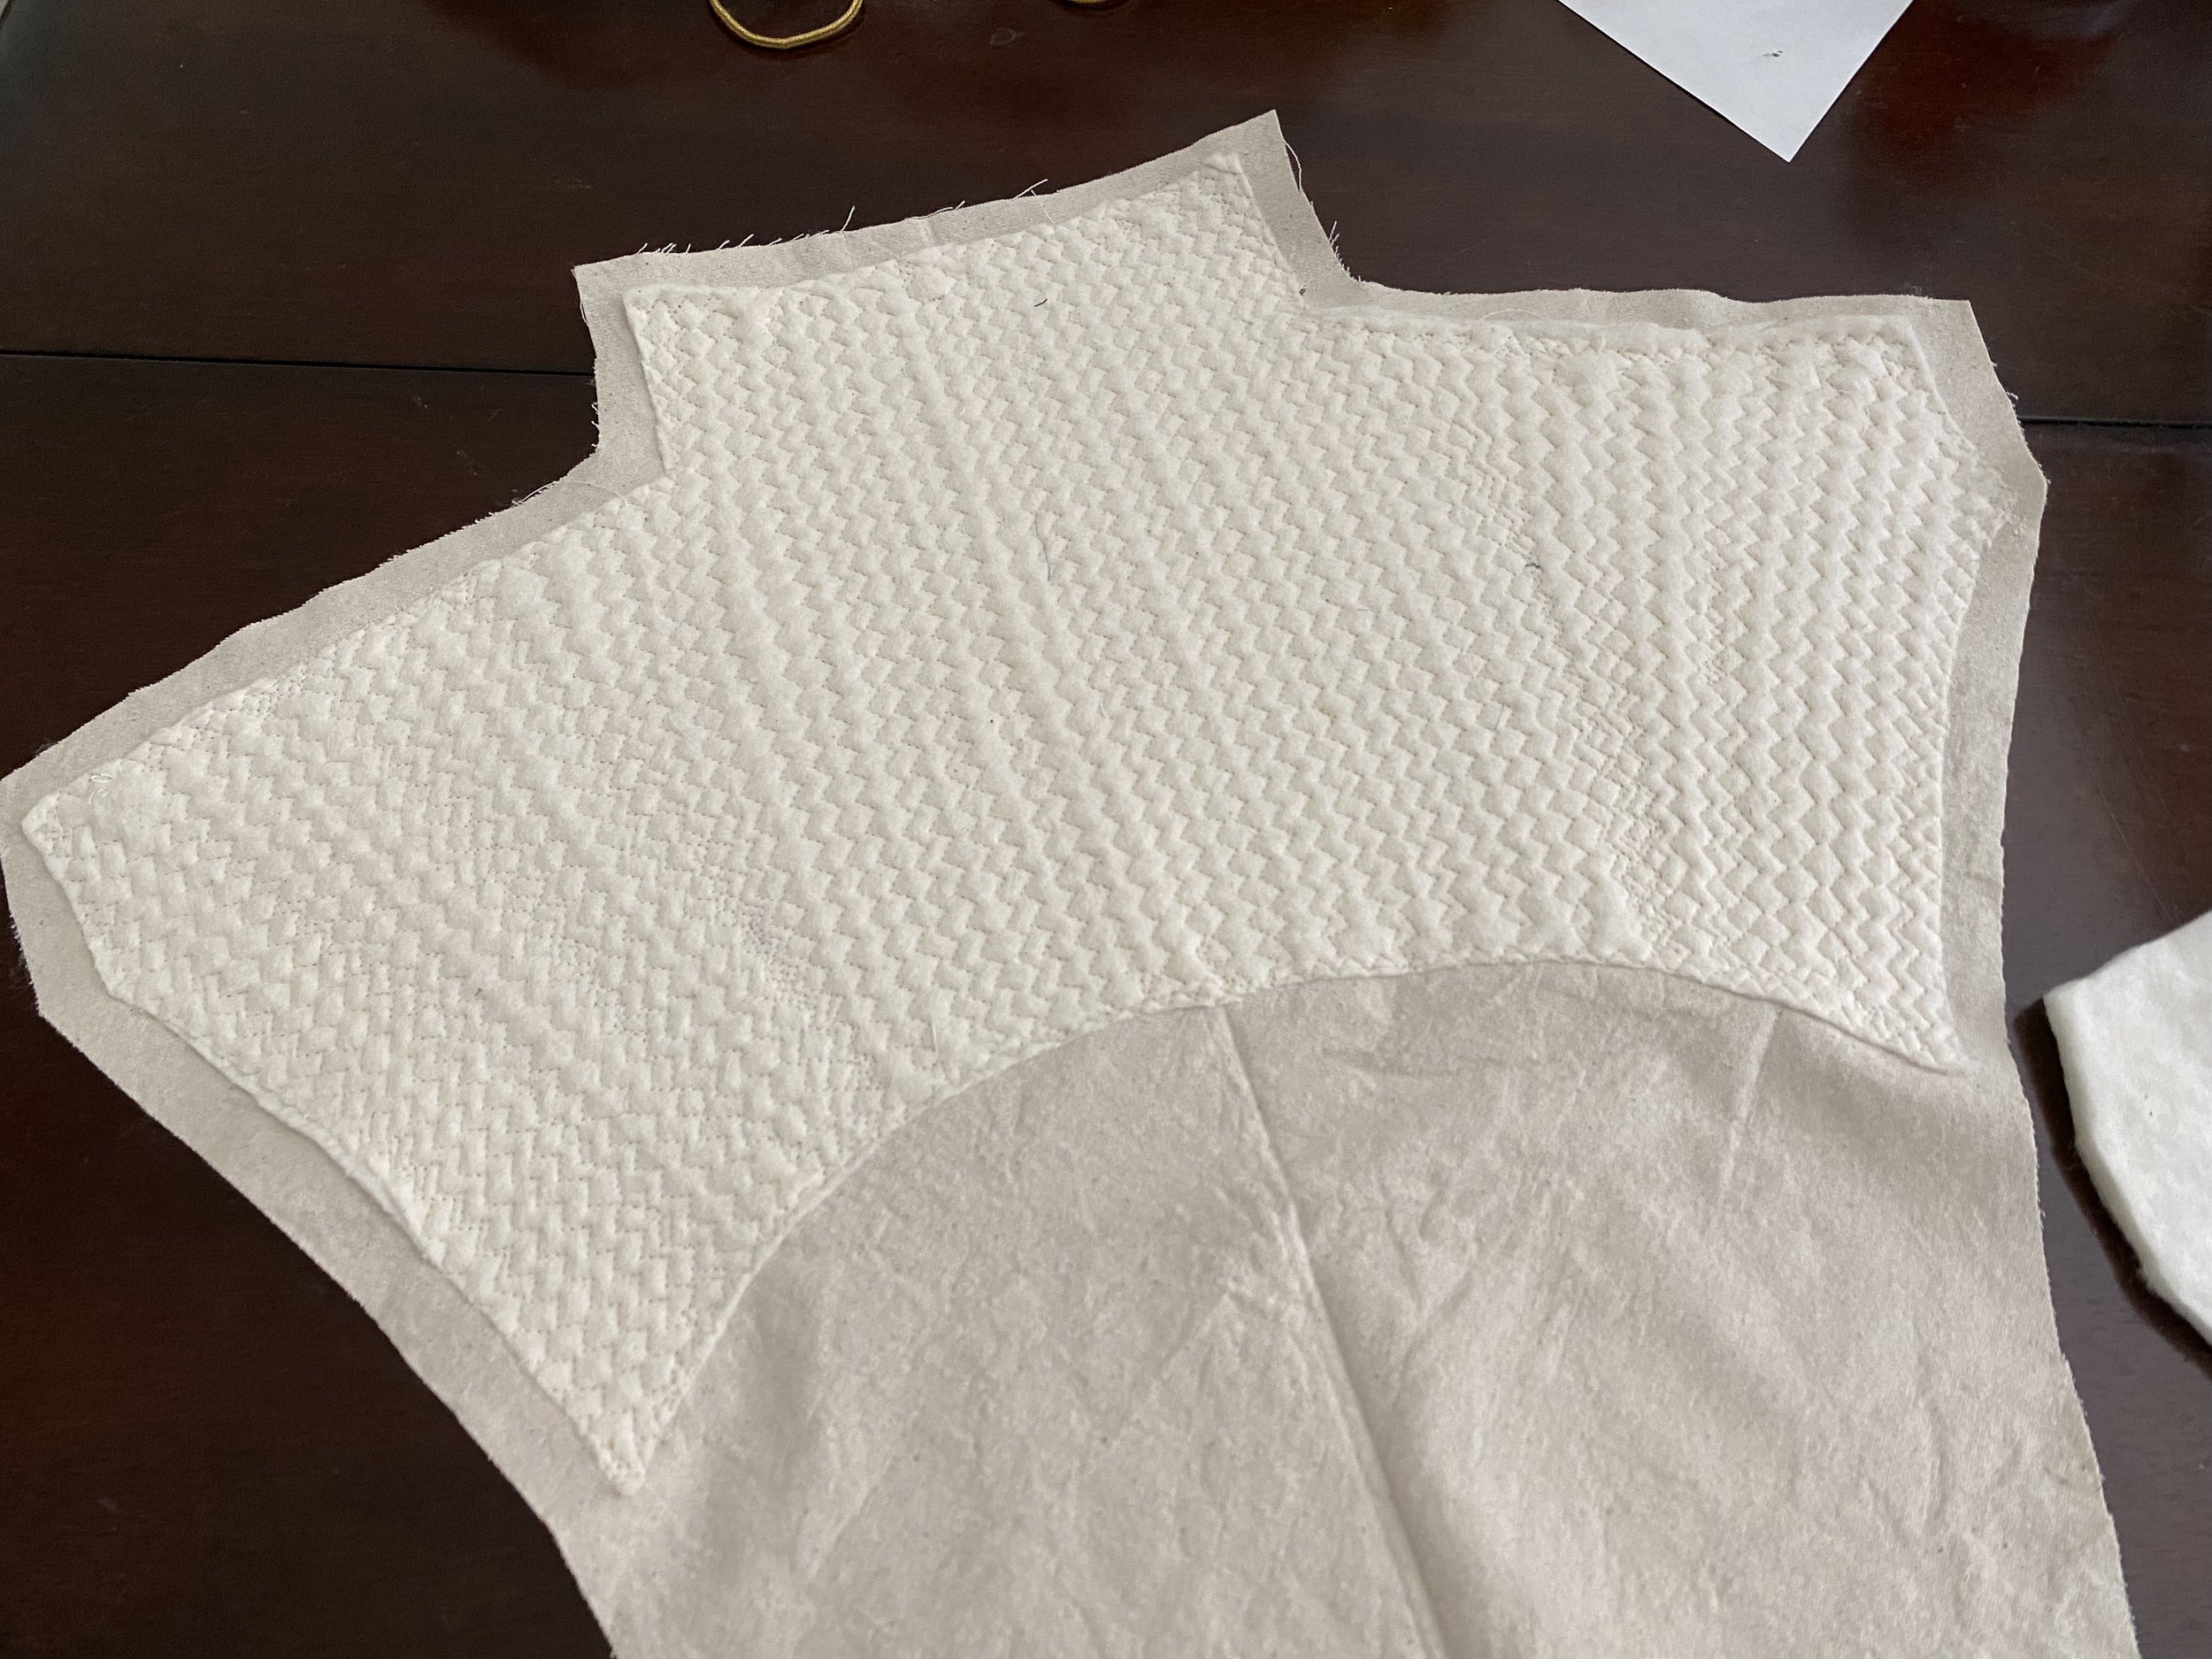
Back Padstitching
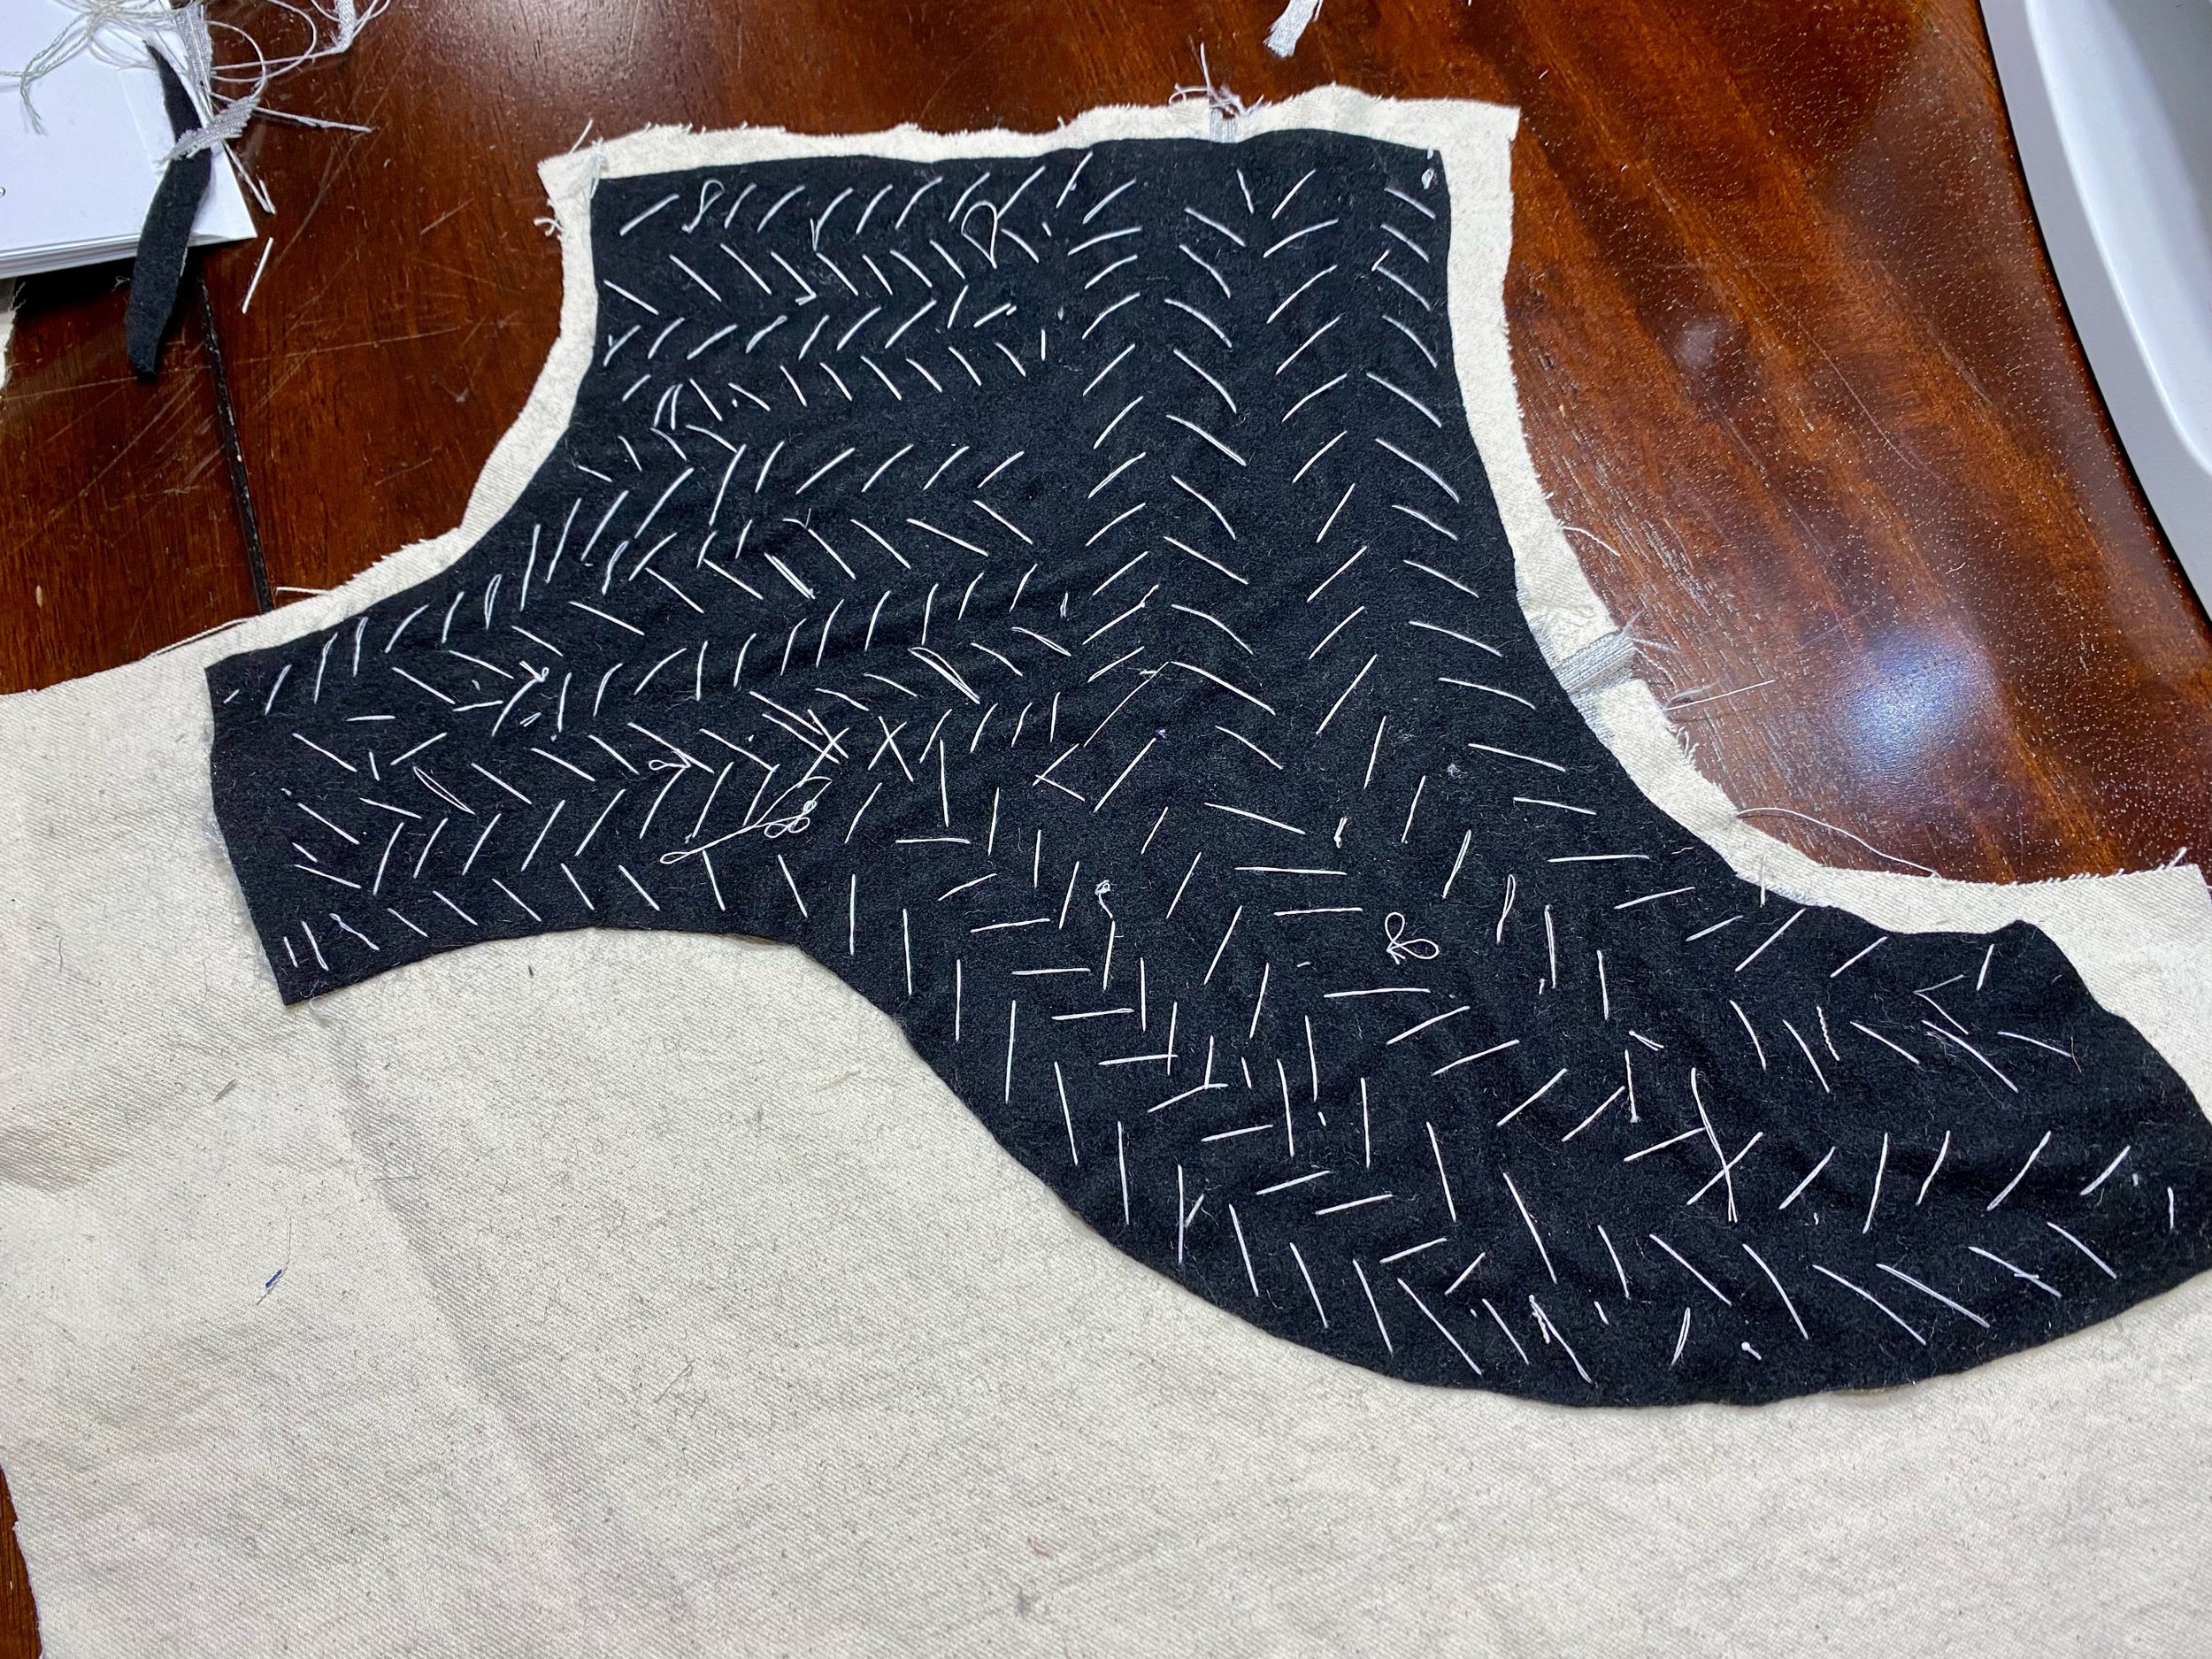
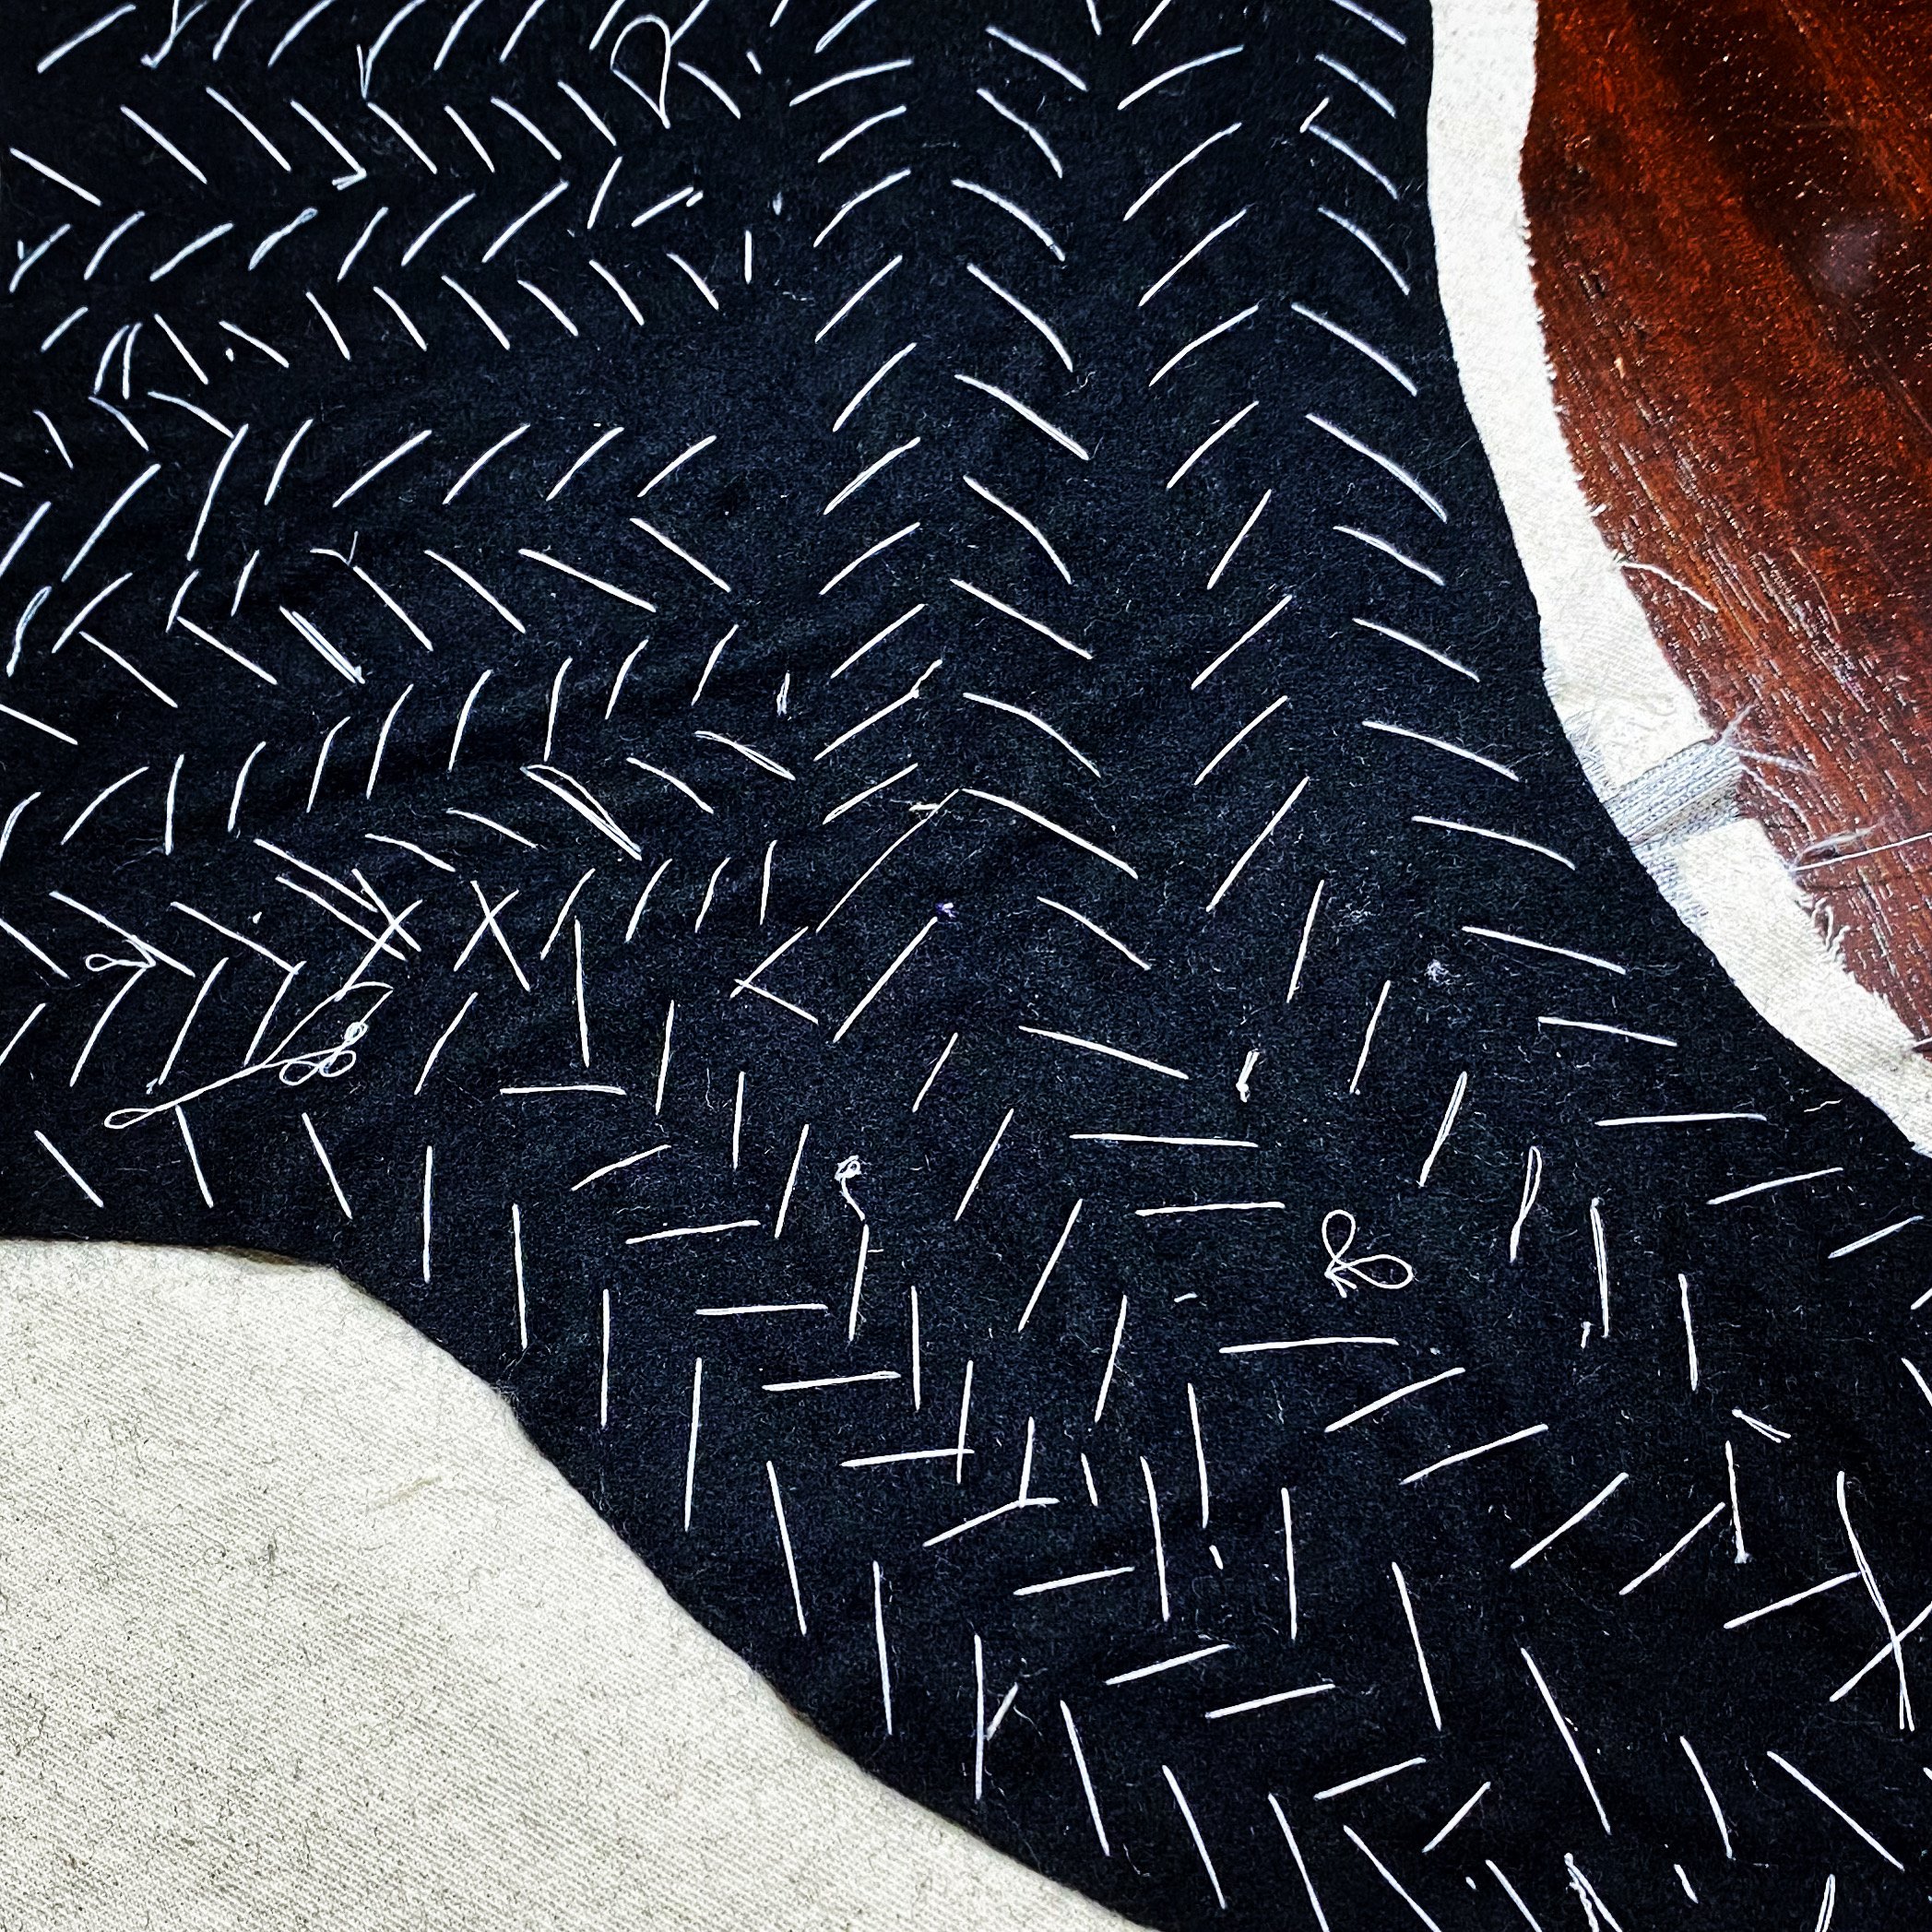
Padsticthing along the top of the back canvas for teh arming doublet.
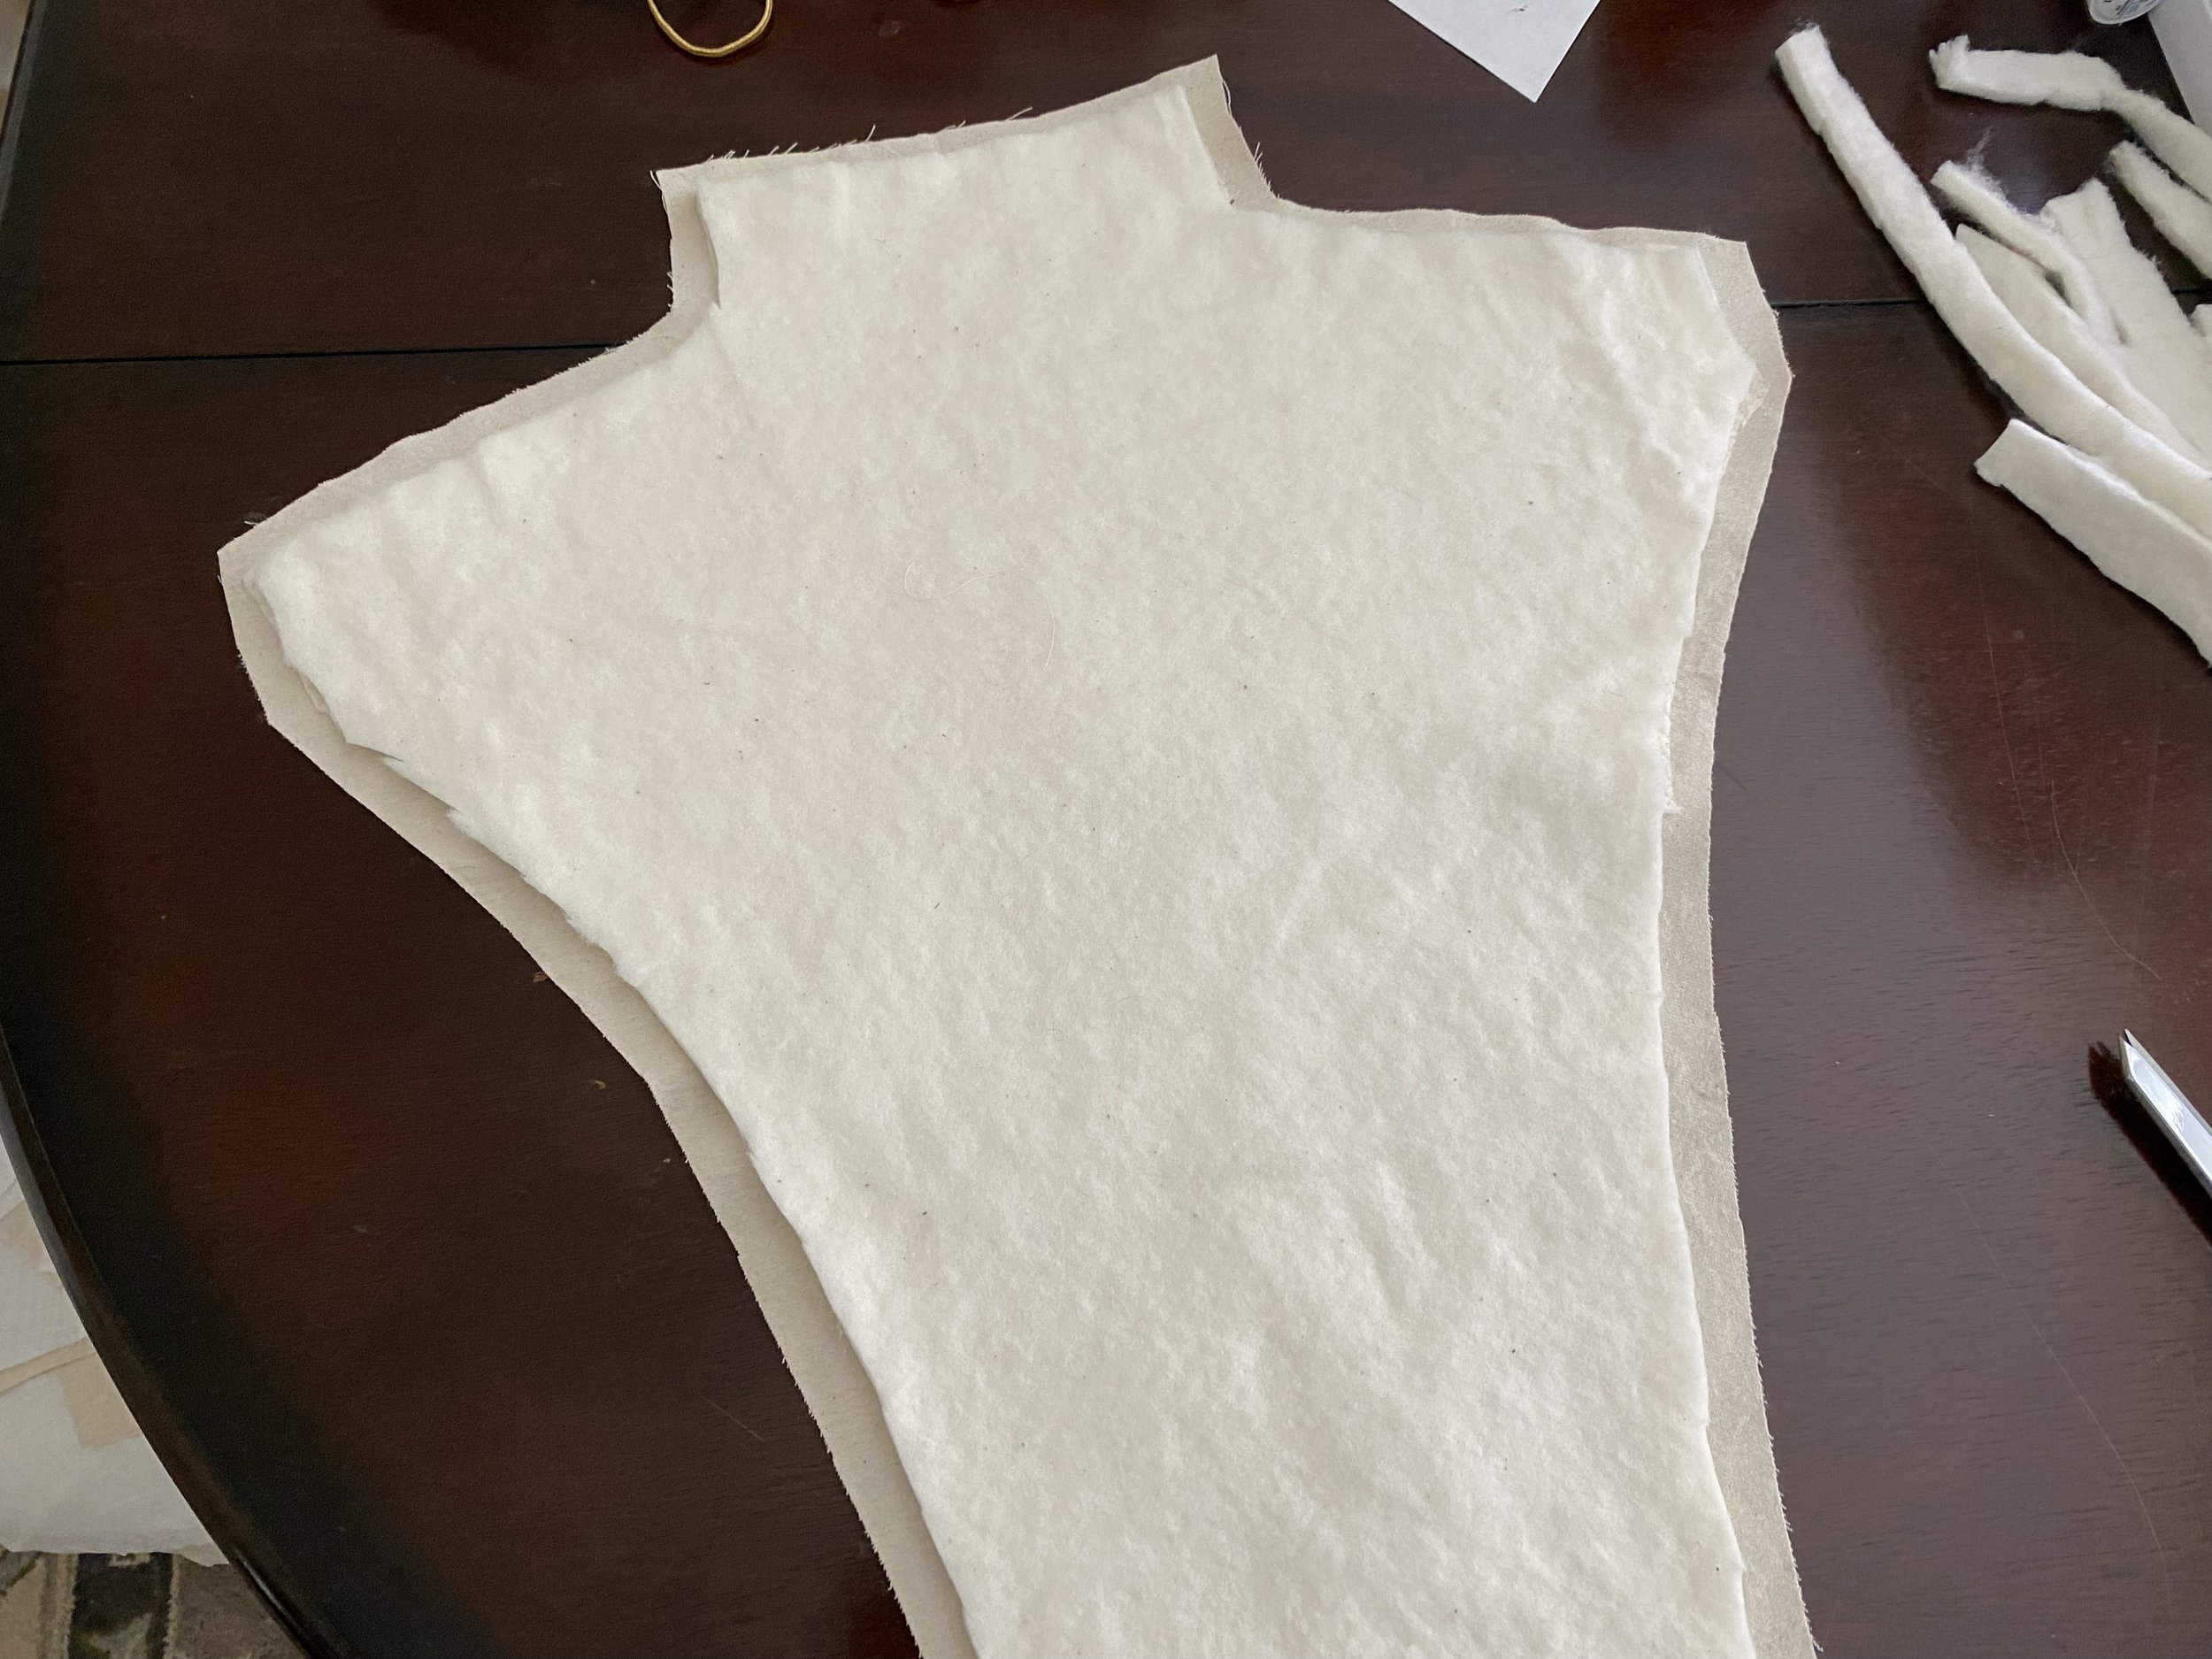
Batting for the Back of the Arming Doublet
Cutting the cotton batting for the quilting placed on top of the padstitching on the back of the arming doublet.
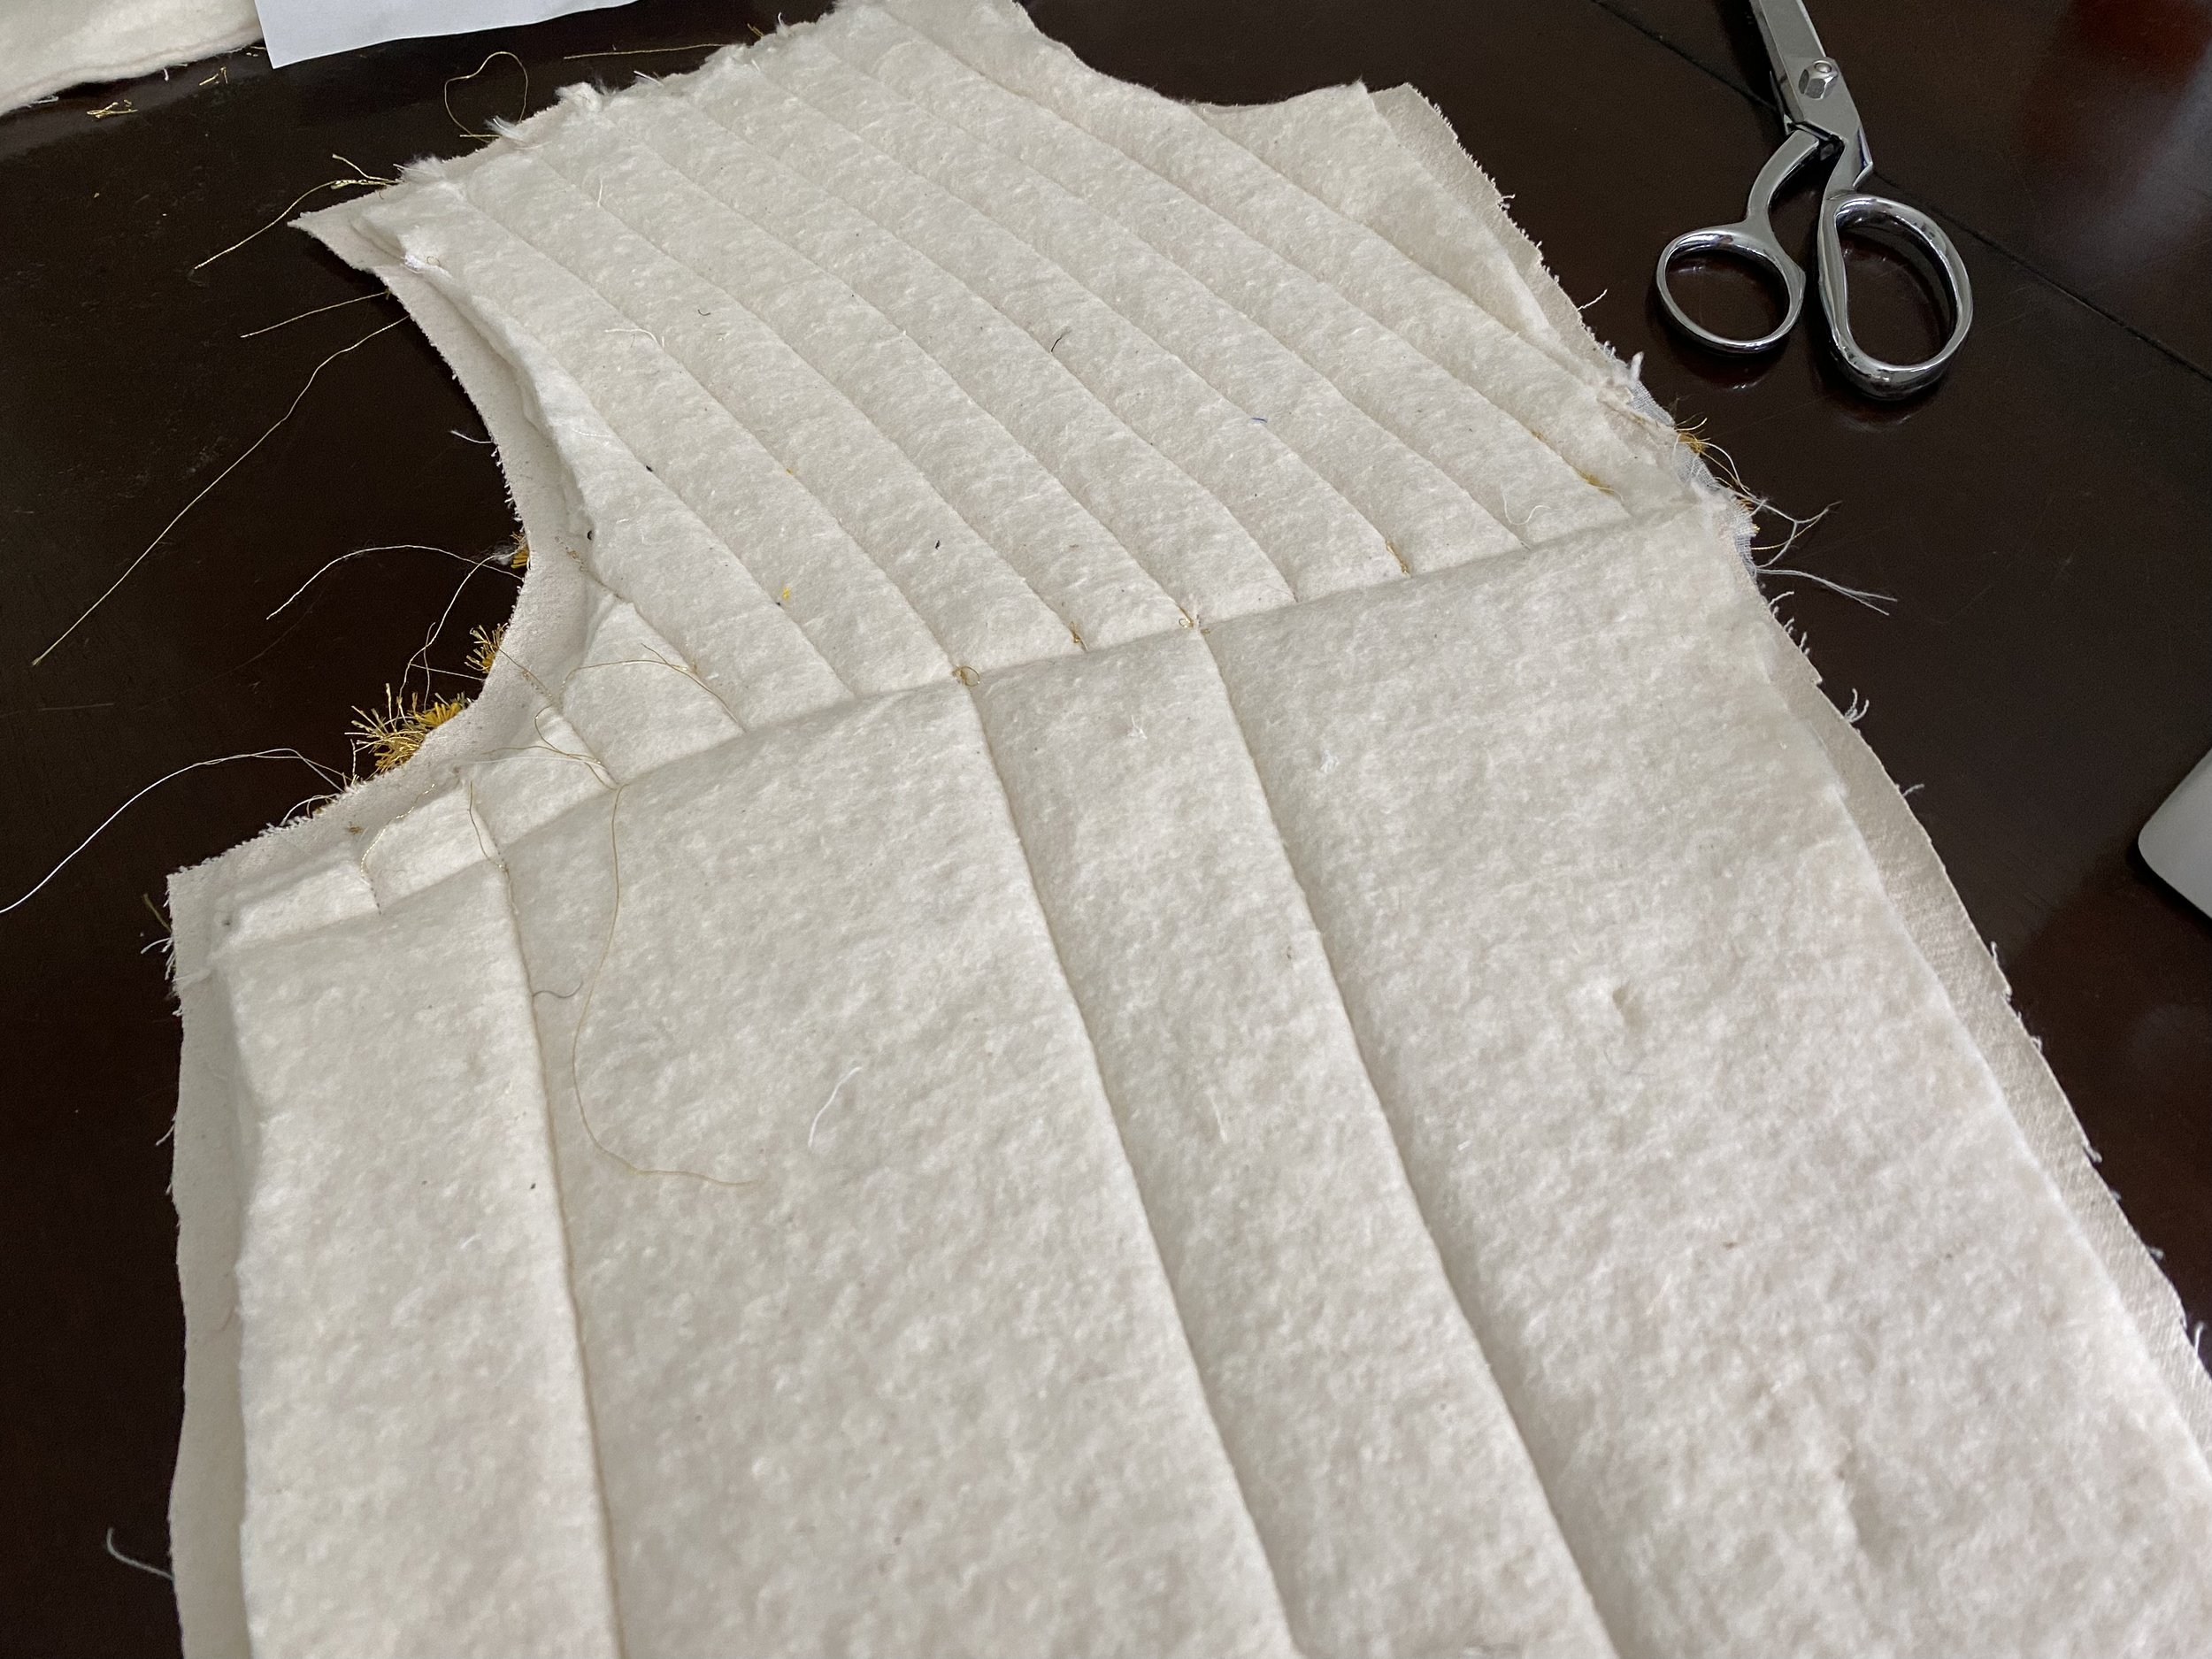
inside of the Farsetto d'Arme.
Backside of the quilting on the inside of the Farsetto d'Arme.
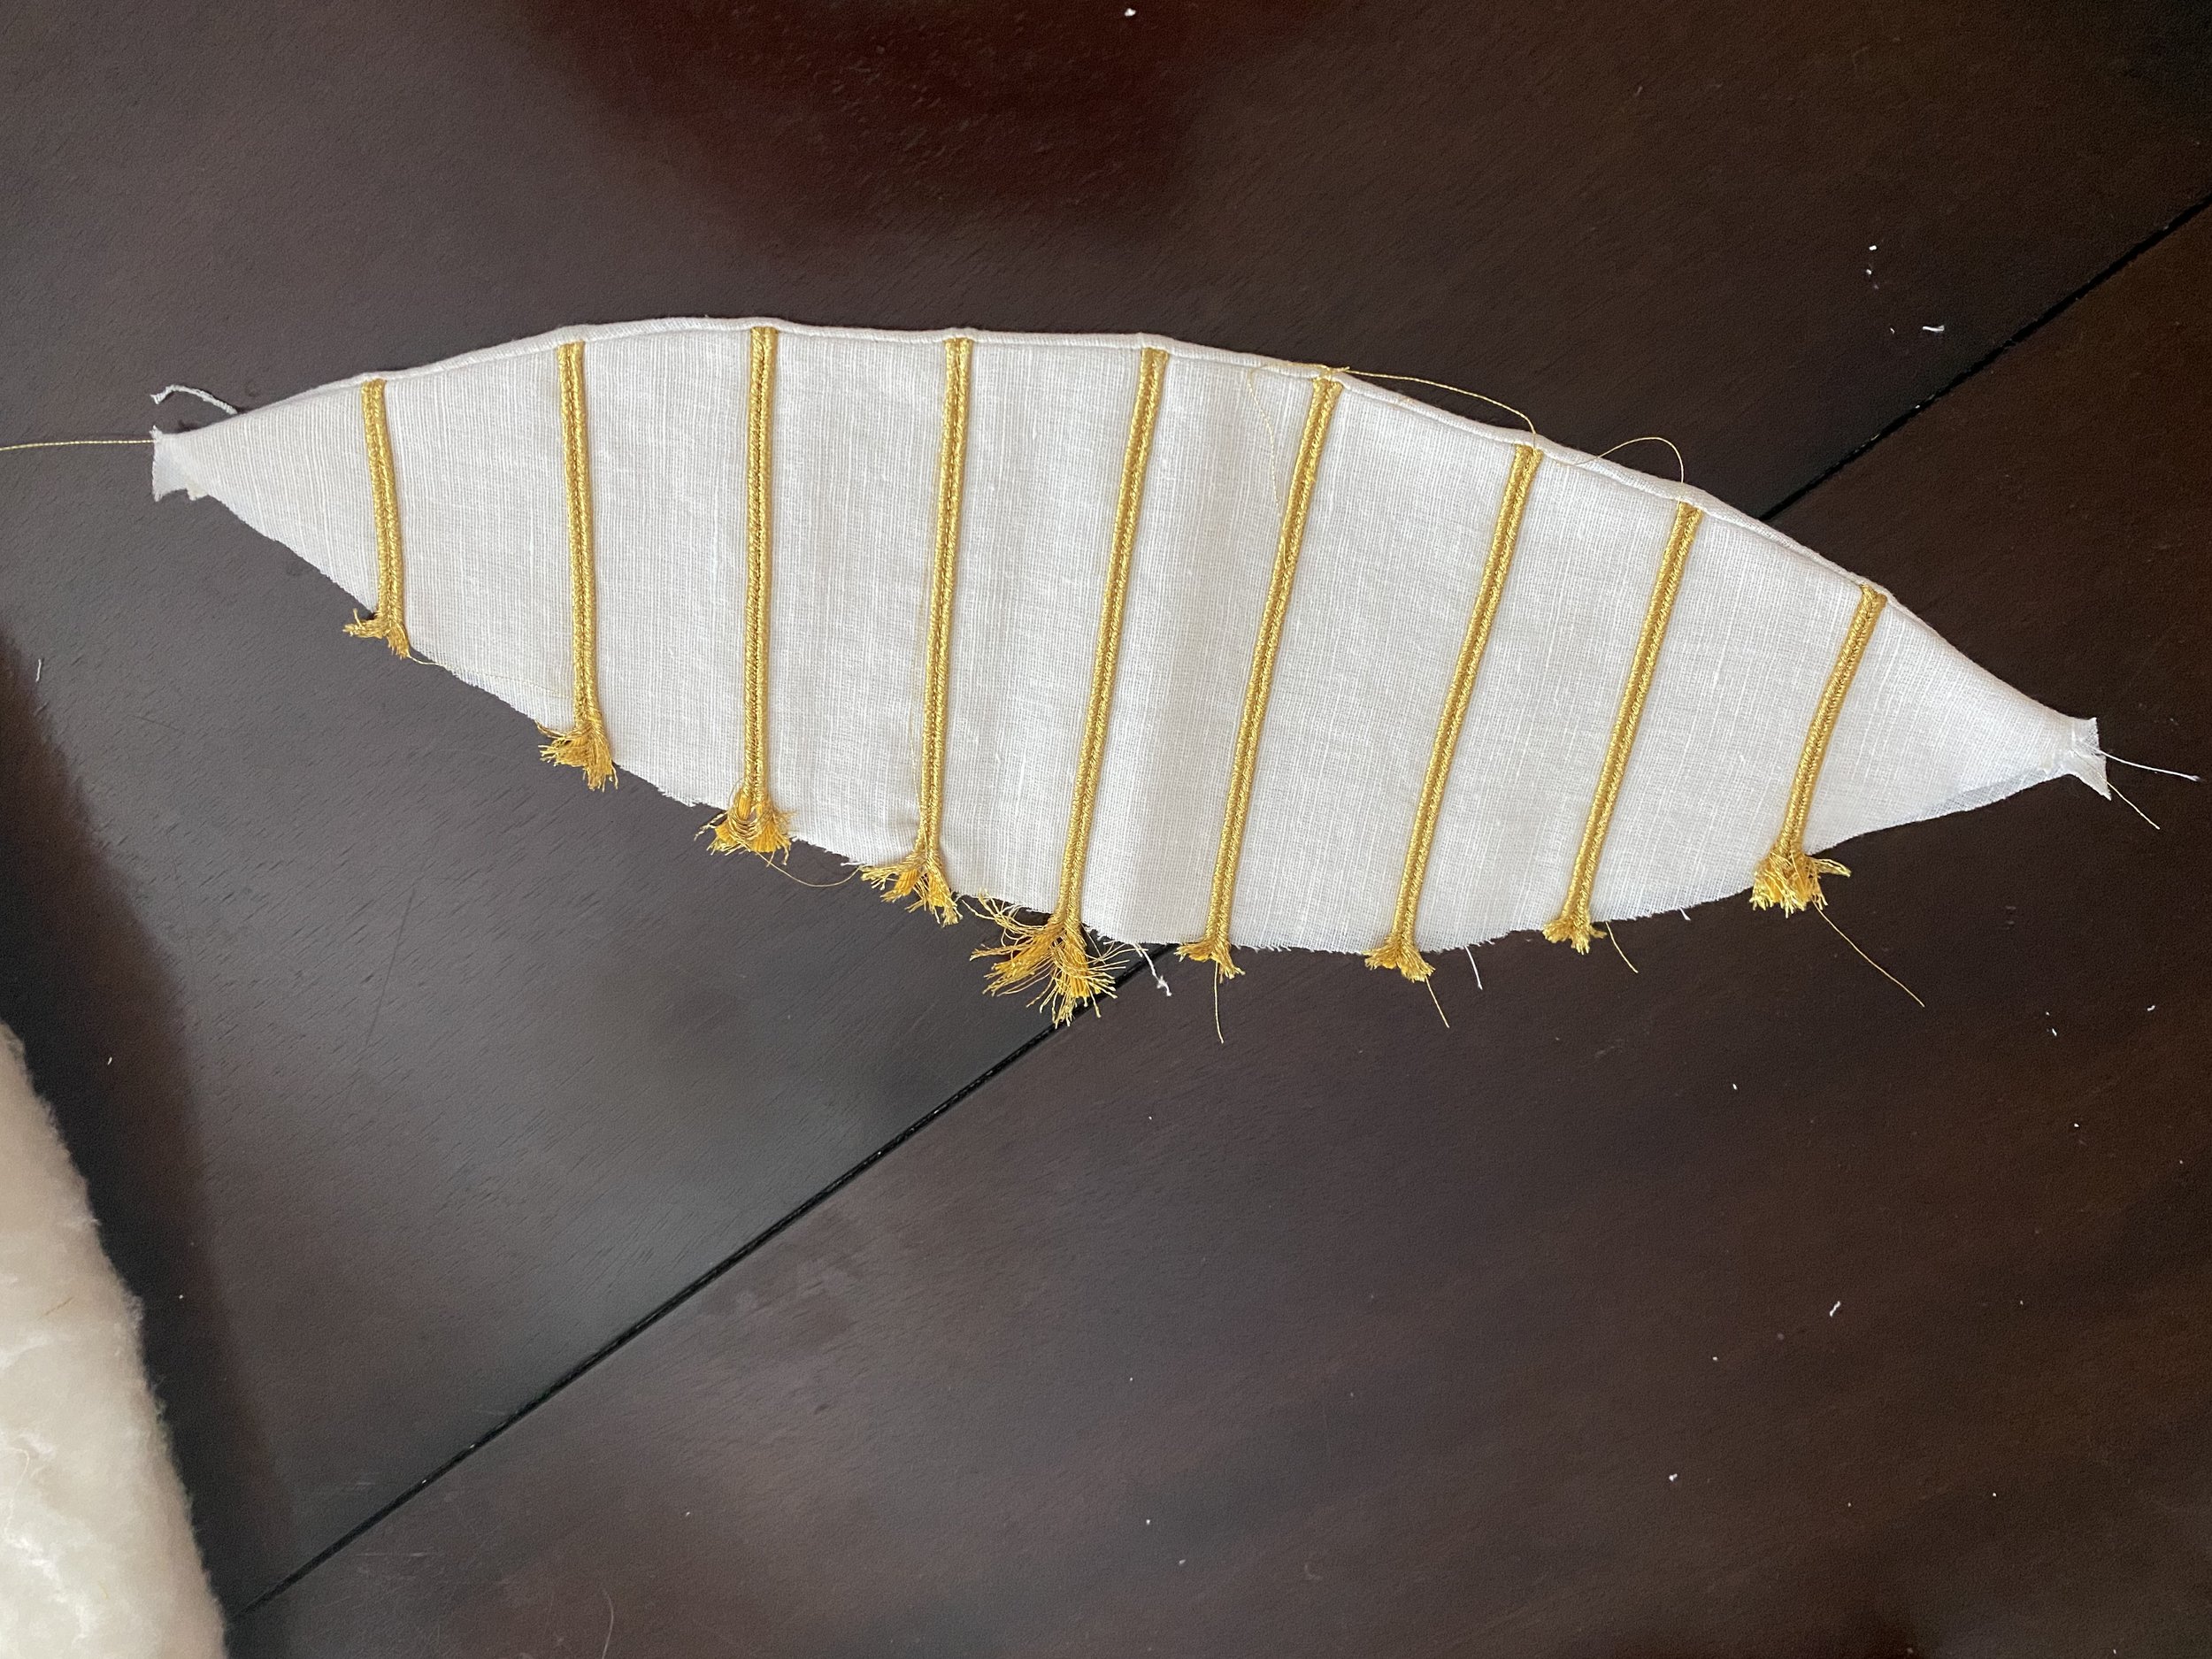
Doublet Shoulder Trim
Adding the trim to the top of the shoulder wing on the Farsetto d’Arme.
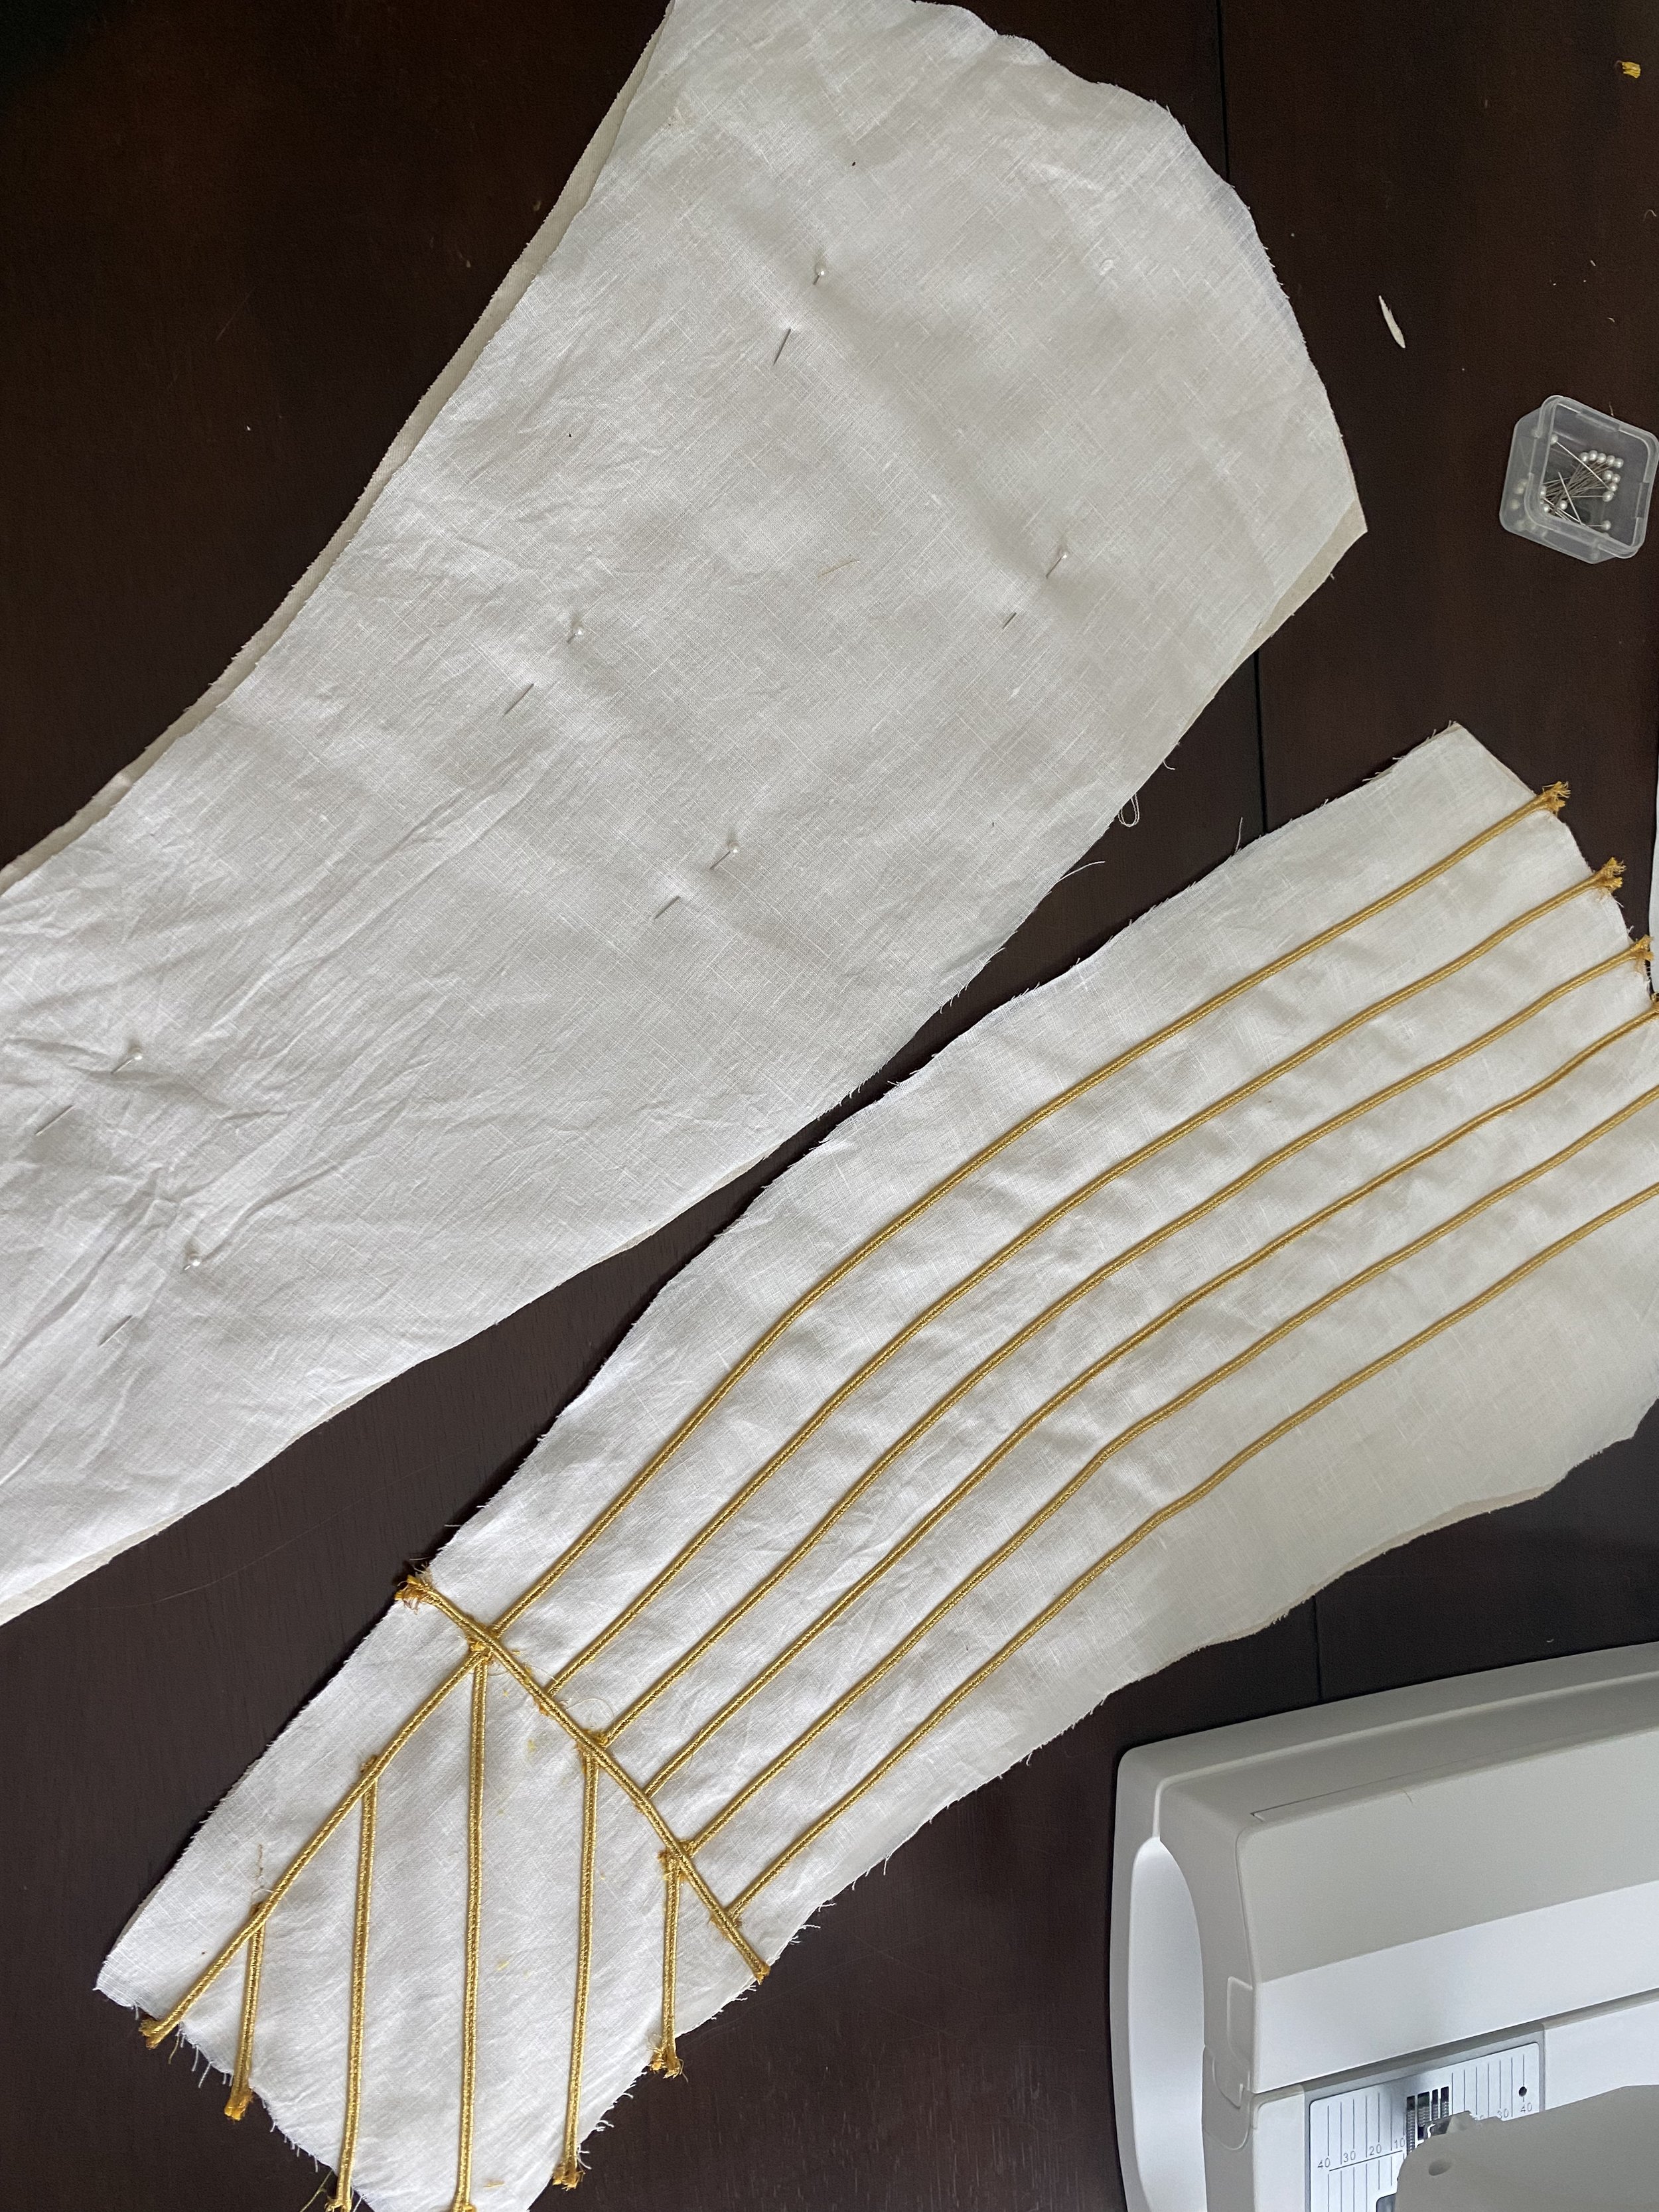
Triming the Arming Doublet Sleeves
Triming the arming doublet sleeves with metallic gold bullion.
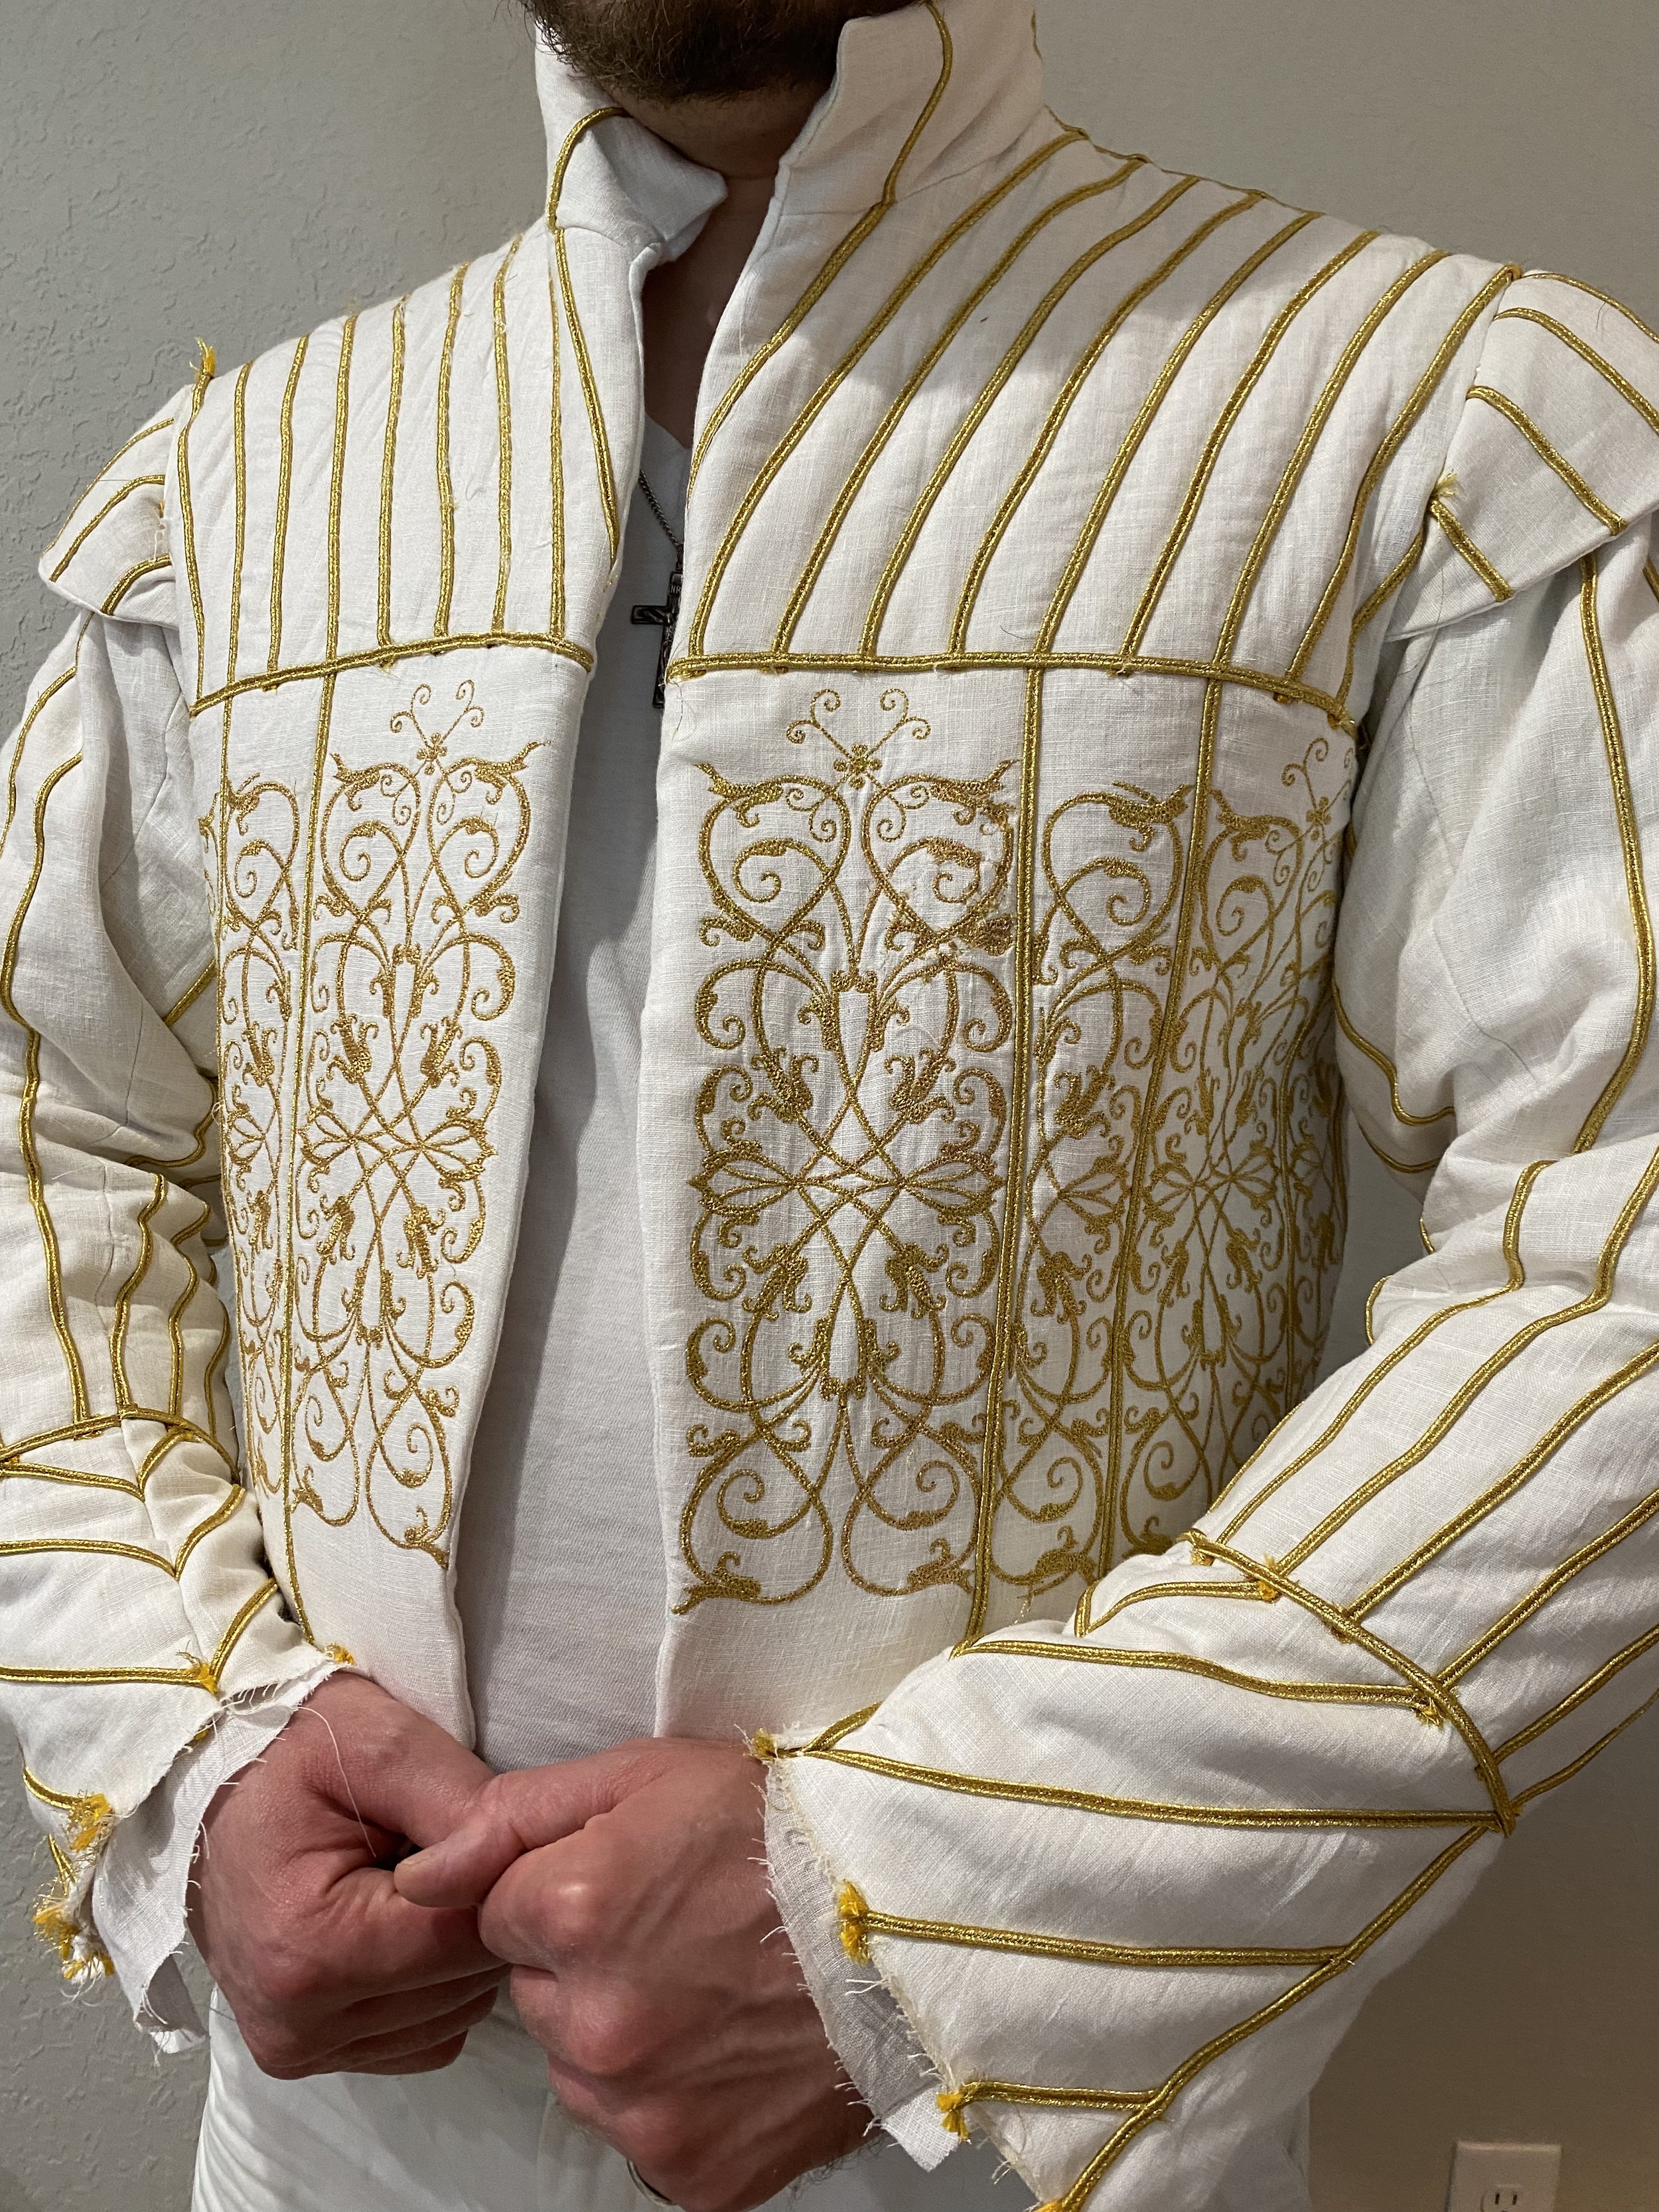
First Fitting of the Farsetto d'Arme
First fitting of the arming doublet which will be closed with eyelets and arming points.
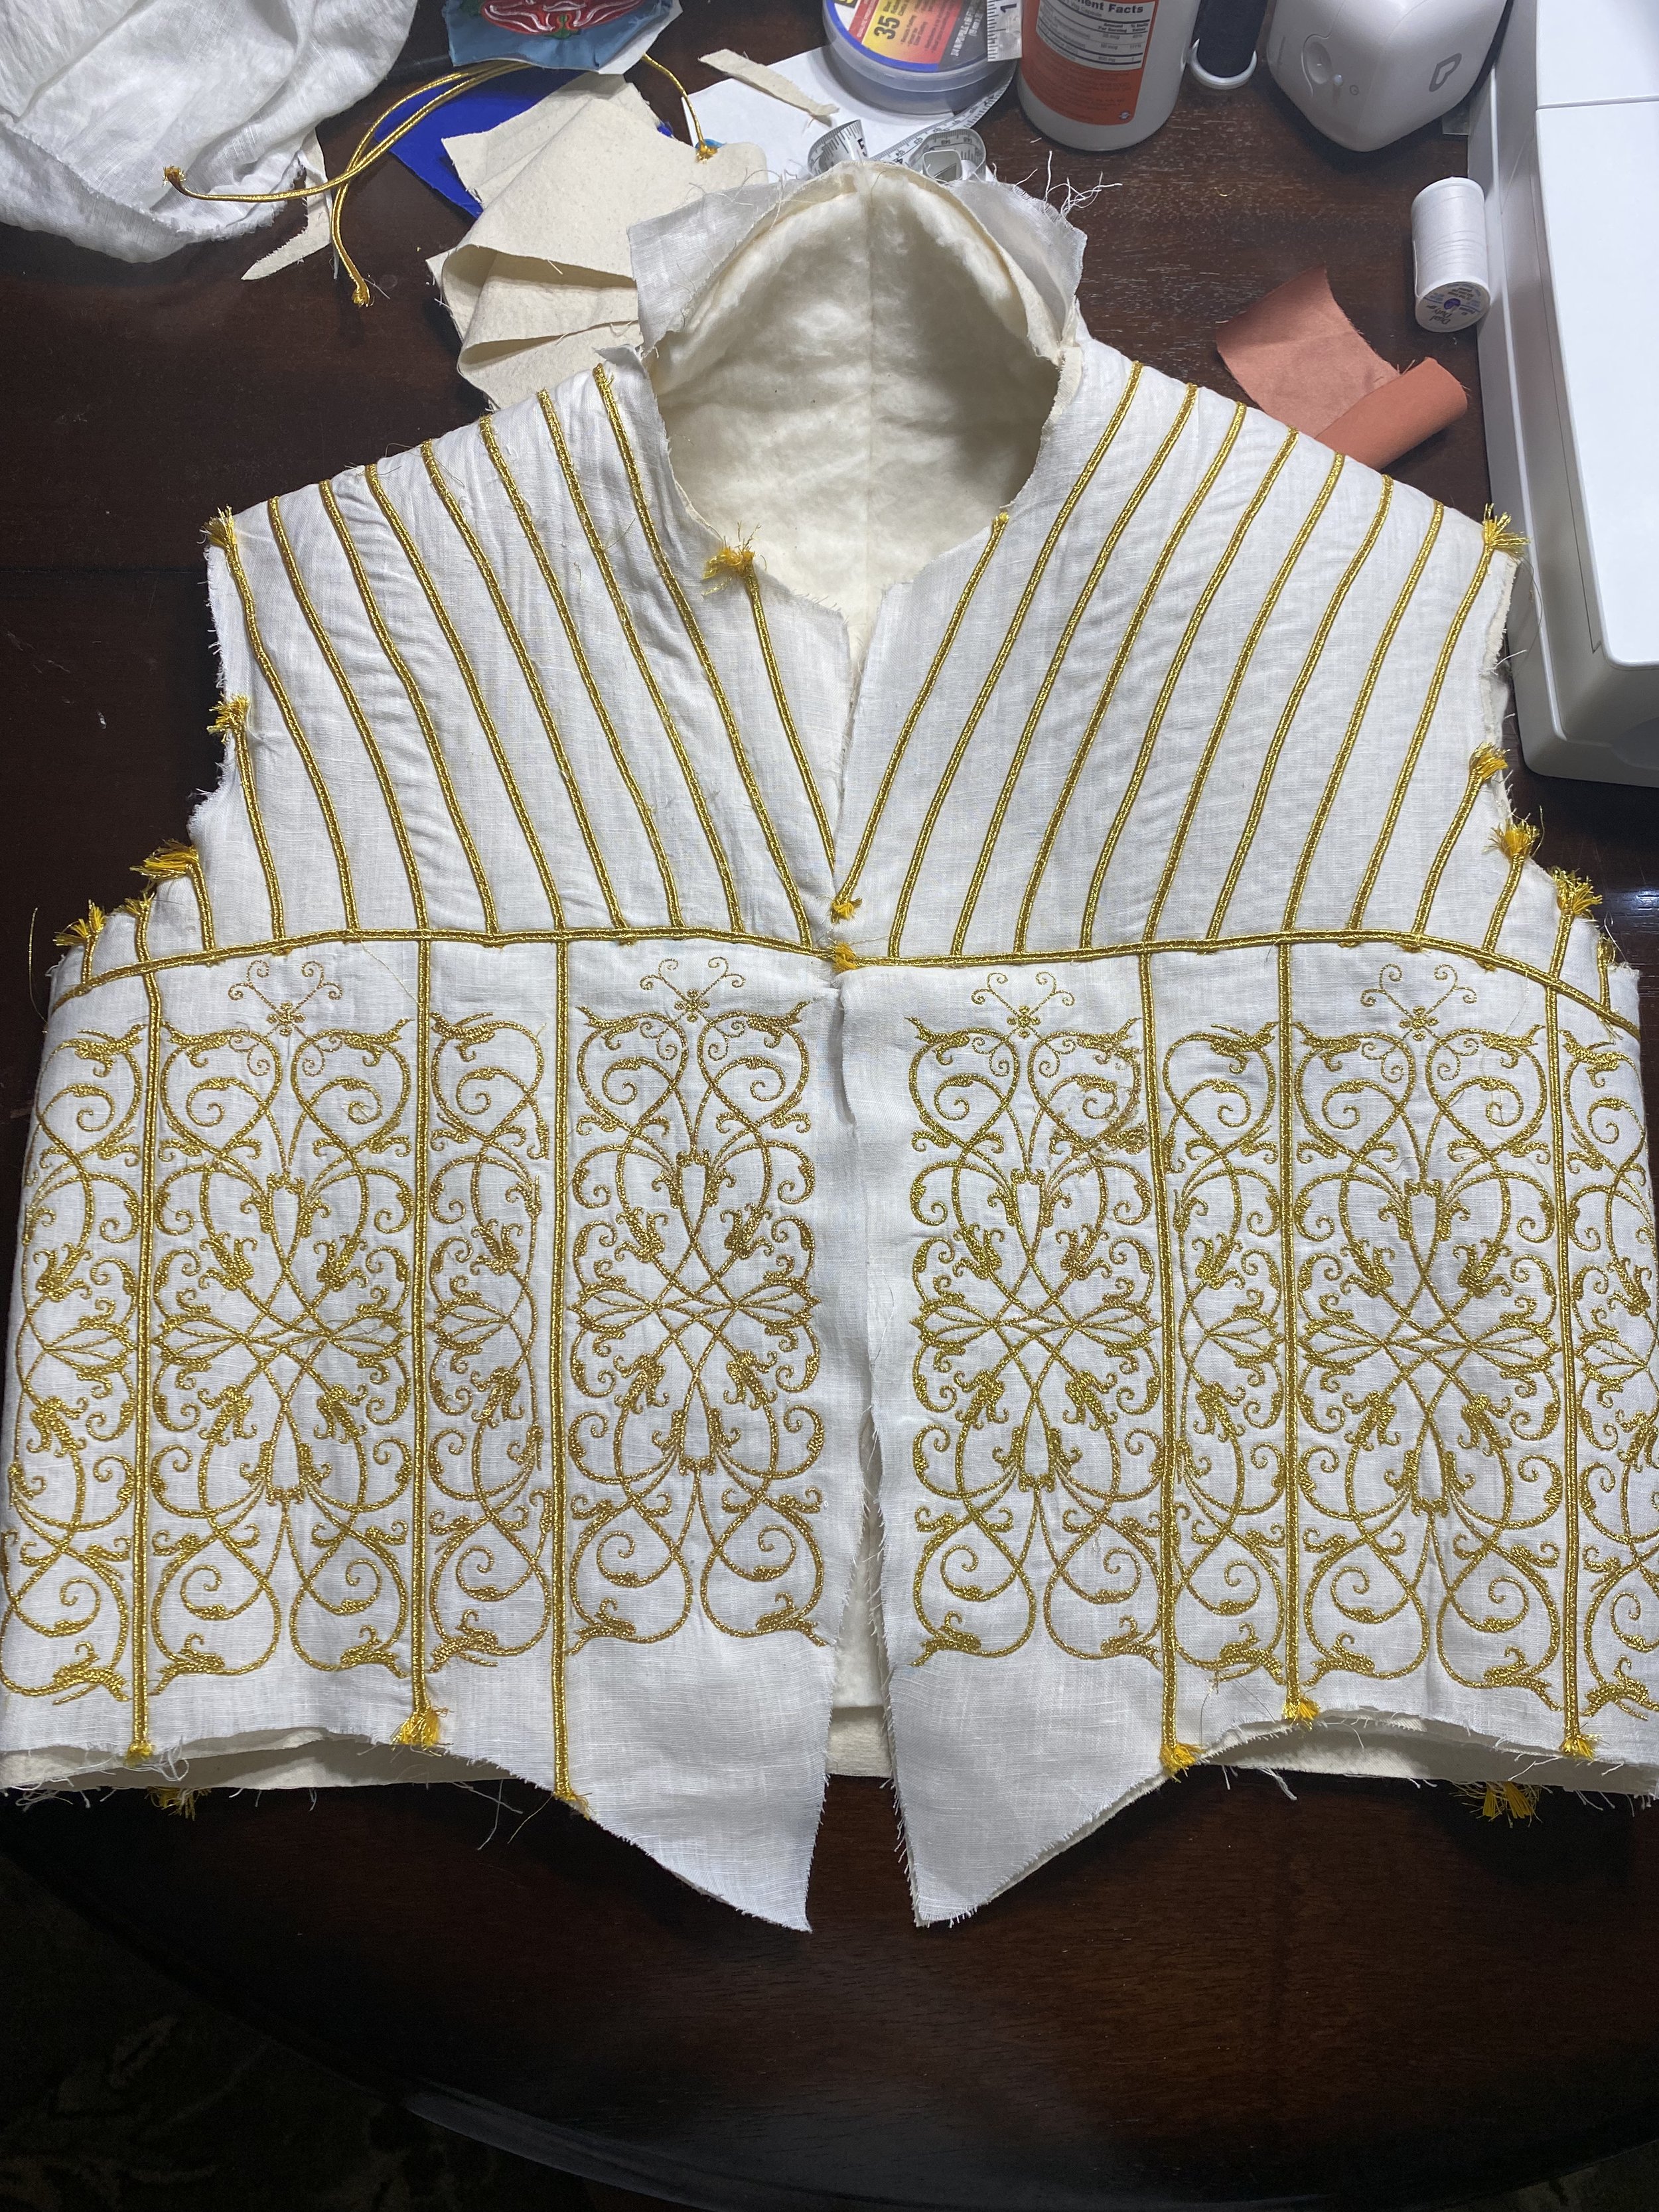
Doublet Before Adding Sleeves
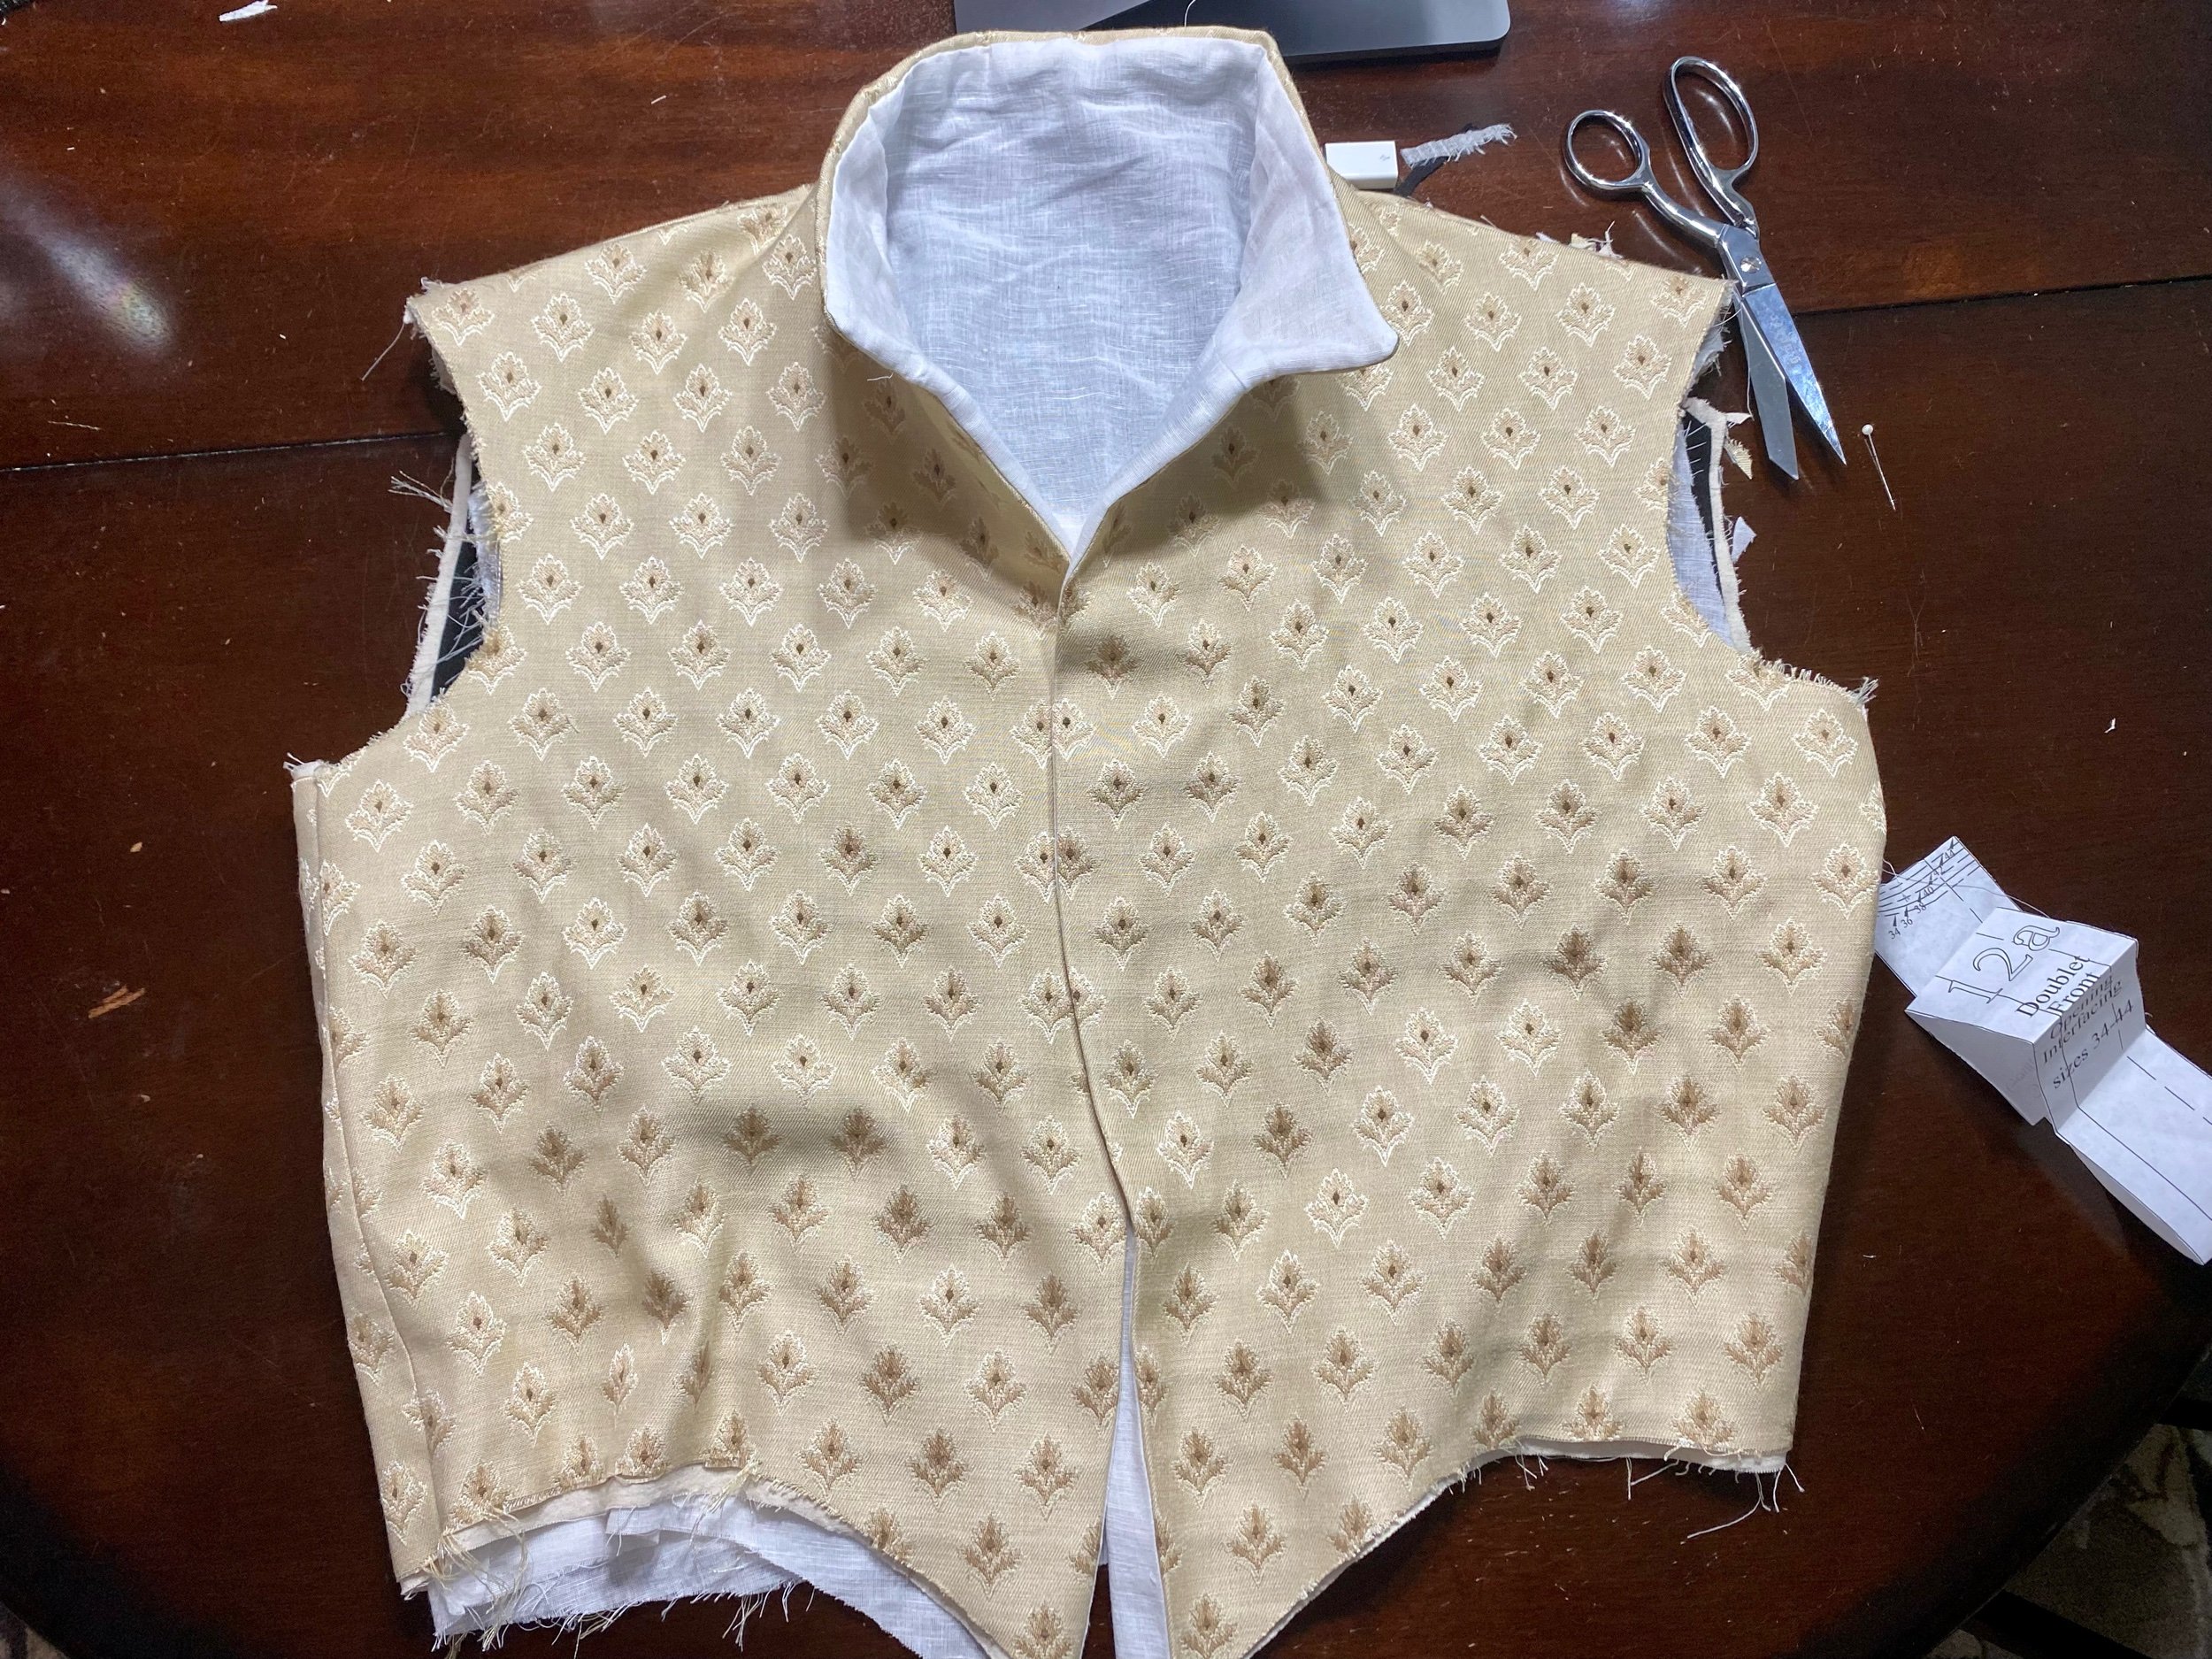
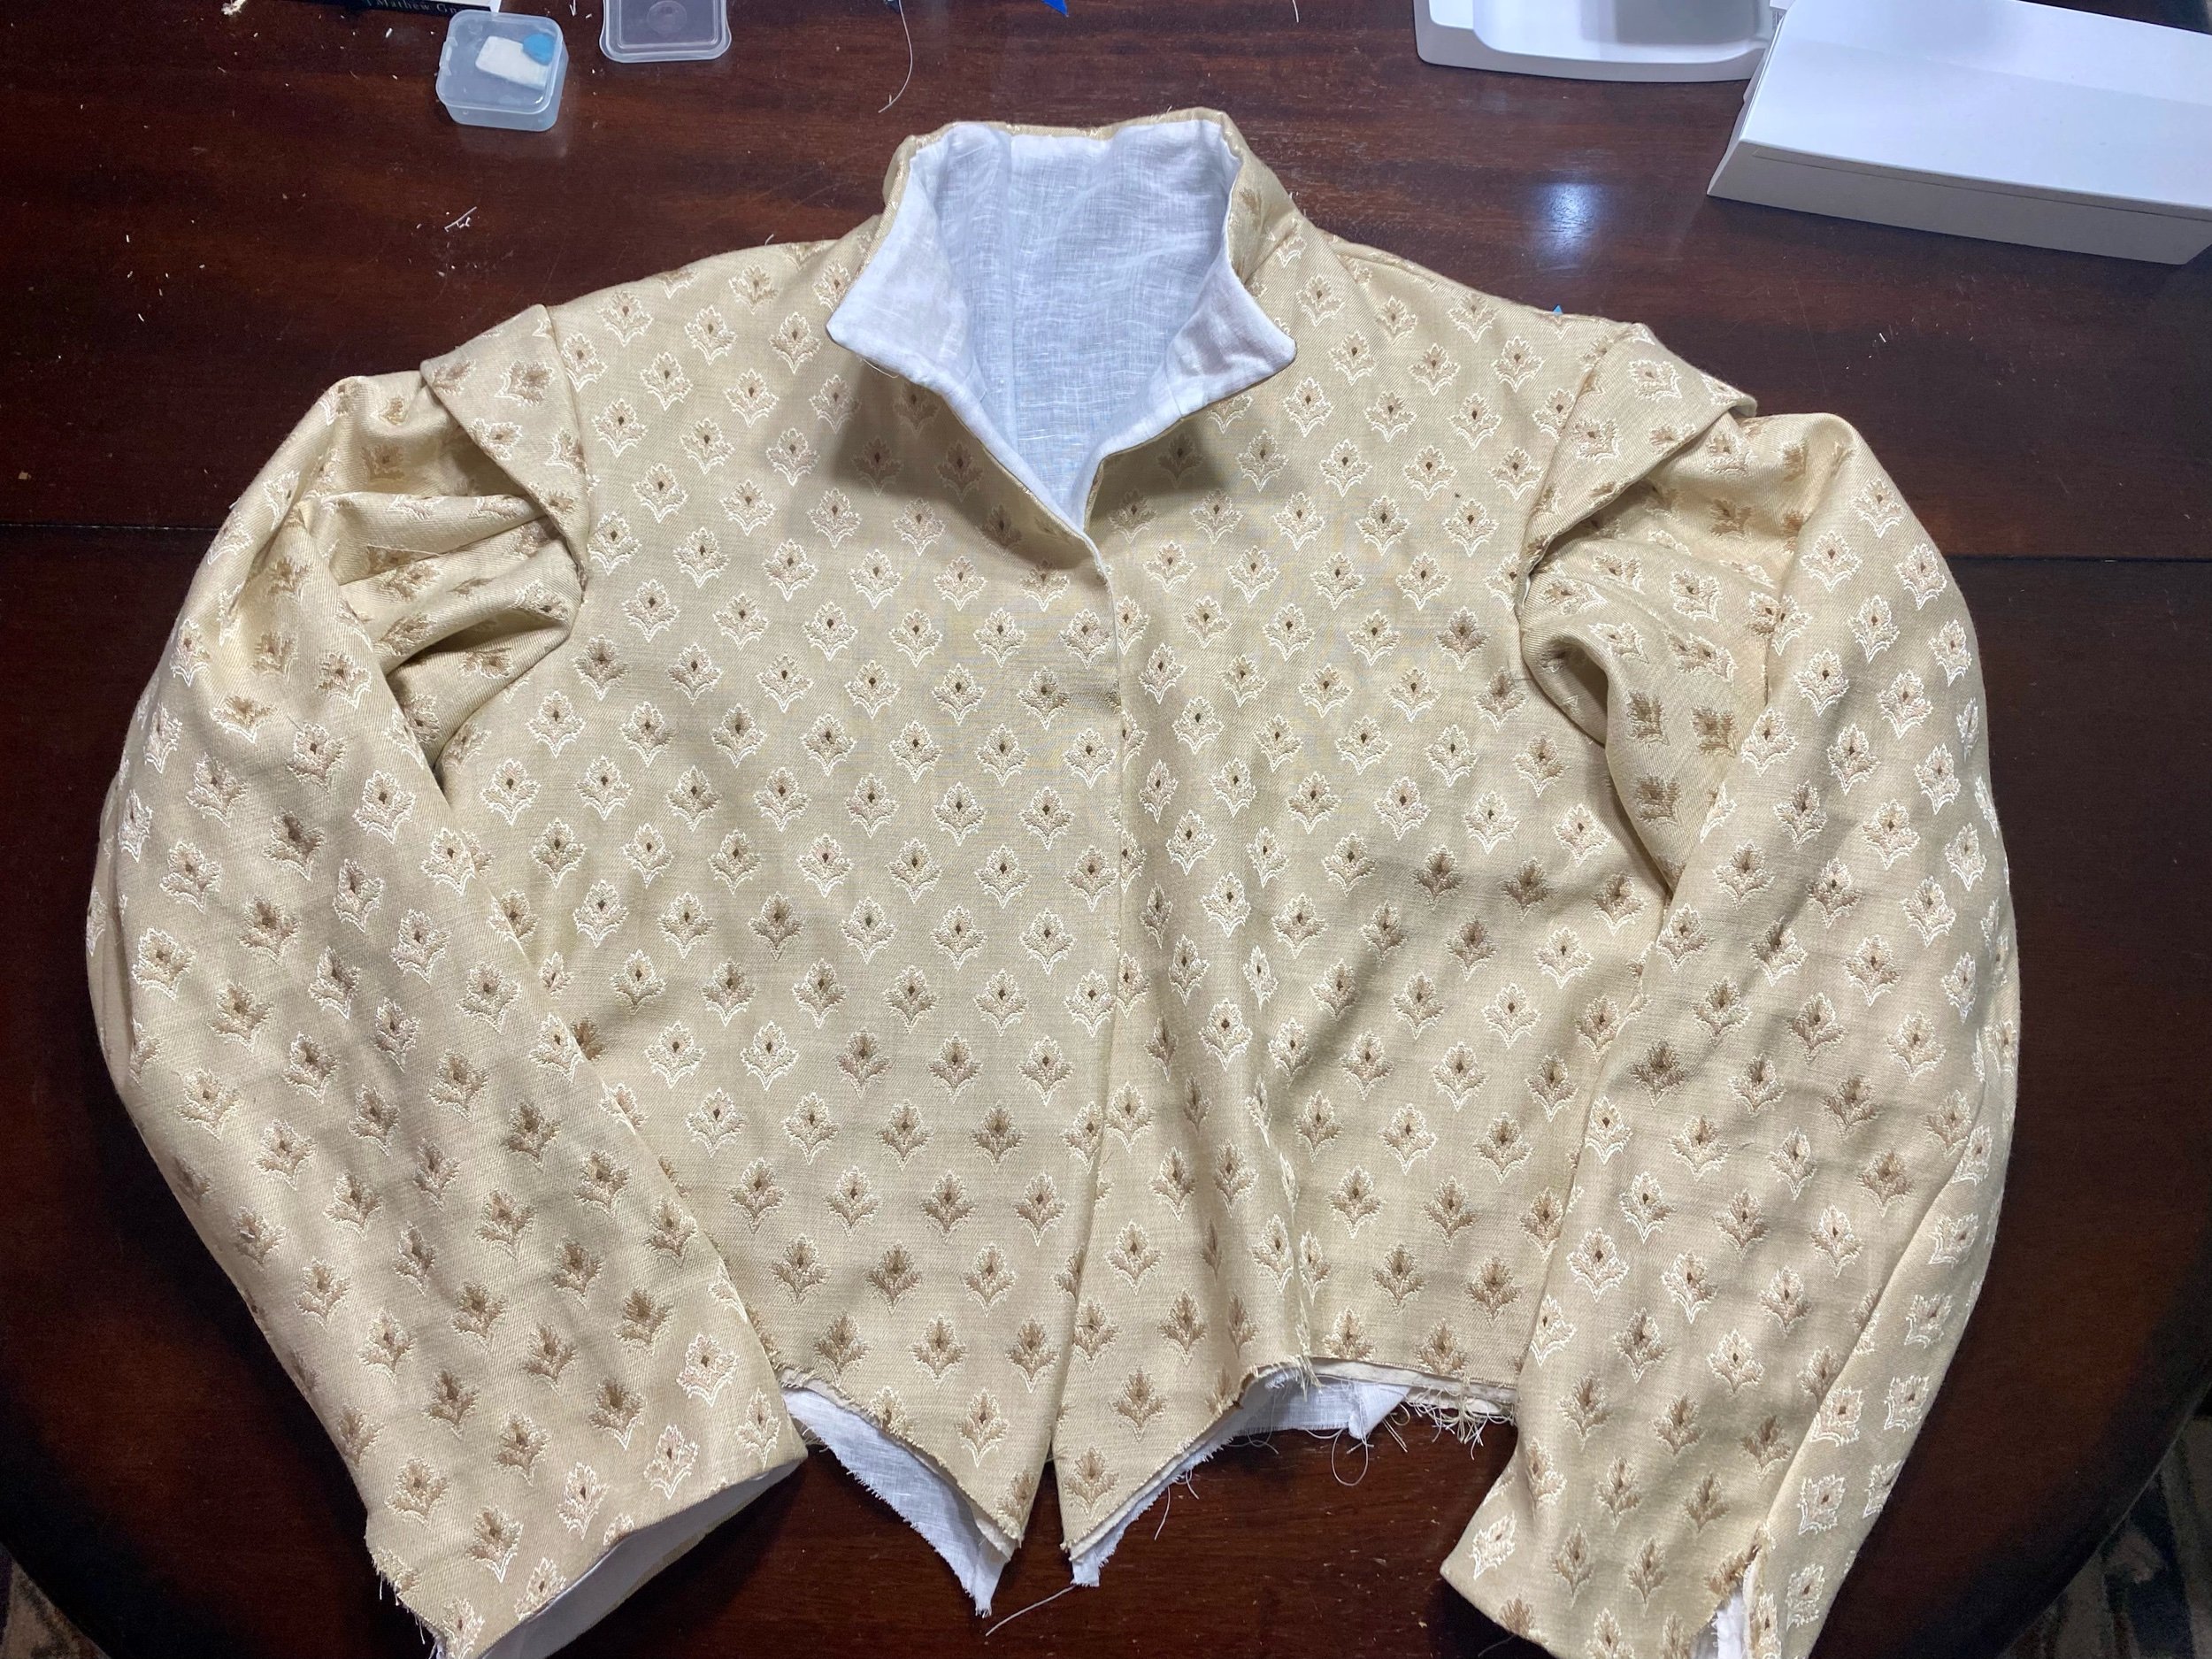
The assembled body of the Farsetto d’Arme before the sleeves are sticthing into the armscye.

Incorrect layout of the trim design on the sleeves.
When originally laid out to follow the contour of the arm the trim created line that were off on the inside lines of the arm sleeves.

Correct layout of trim on sleeves
After removing the sleeves and opening them up the layout of the trim was adjusted to start closer together at the cuff and expand toward the shoulder to match the lines on the shoulder wings.
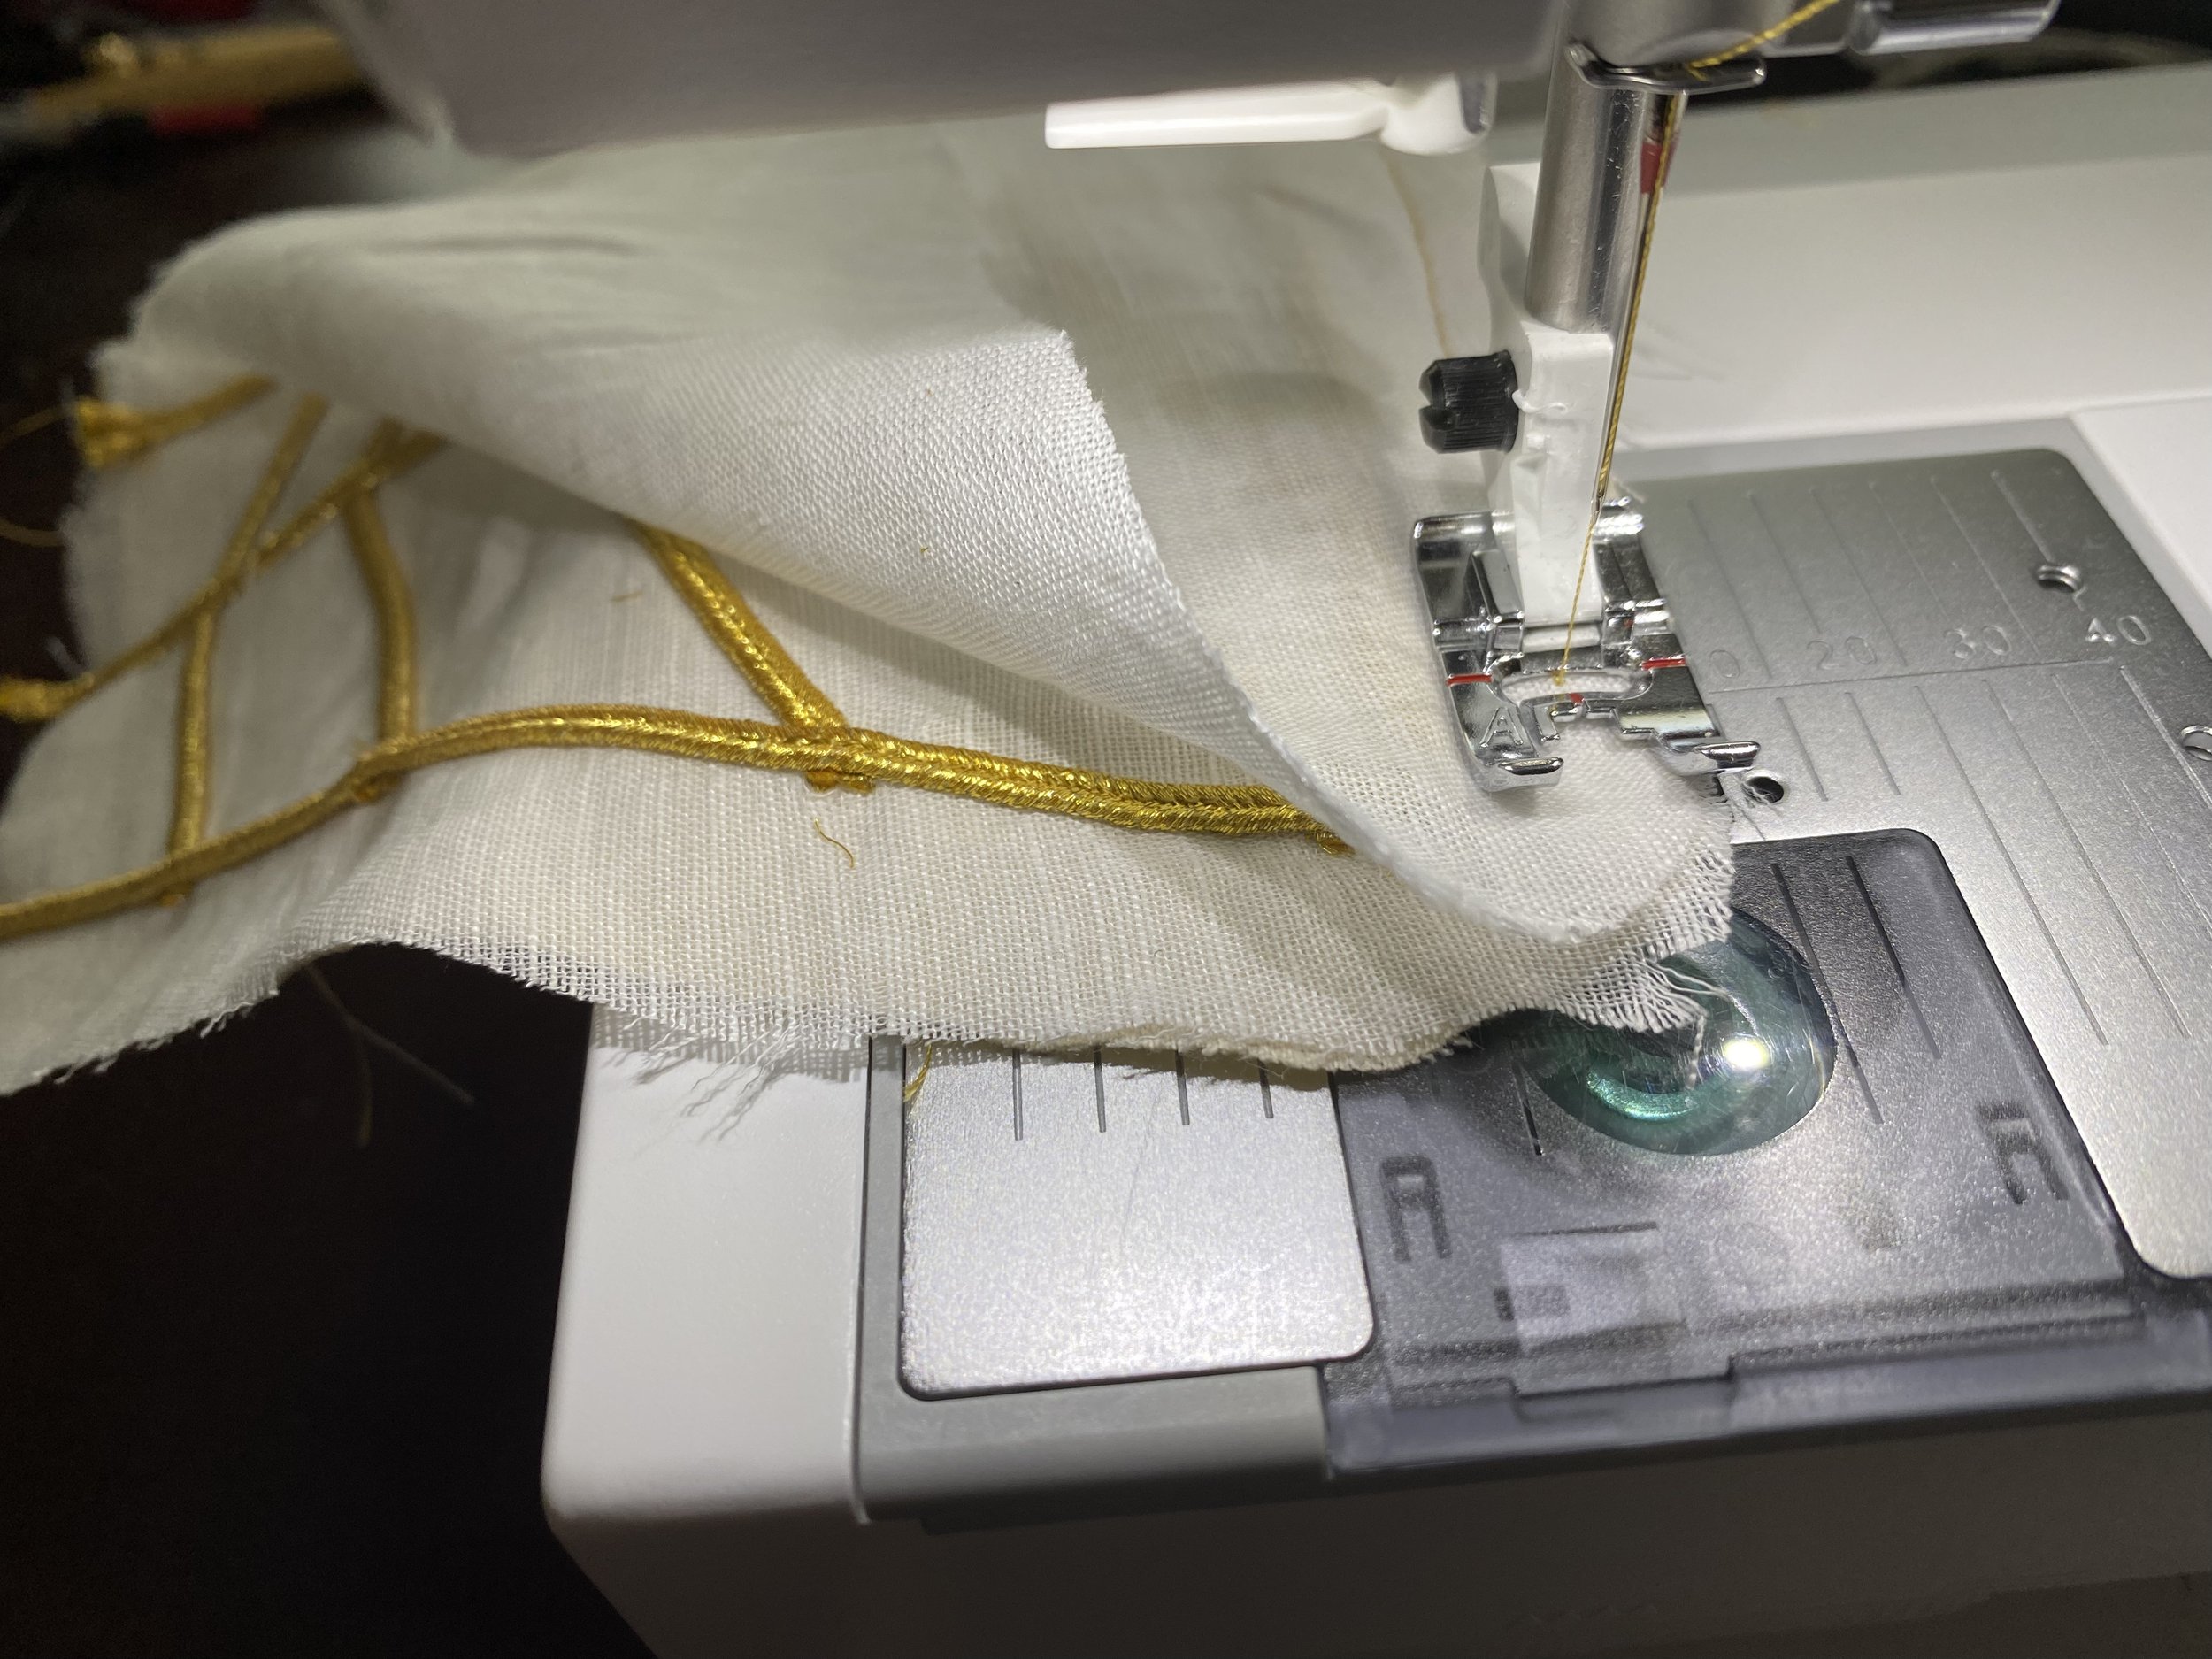
Closing the doulet skirting lining

The trim design for the doublet skirting tabs
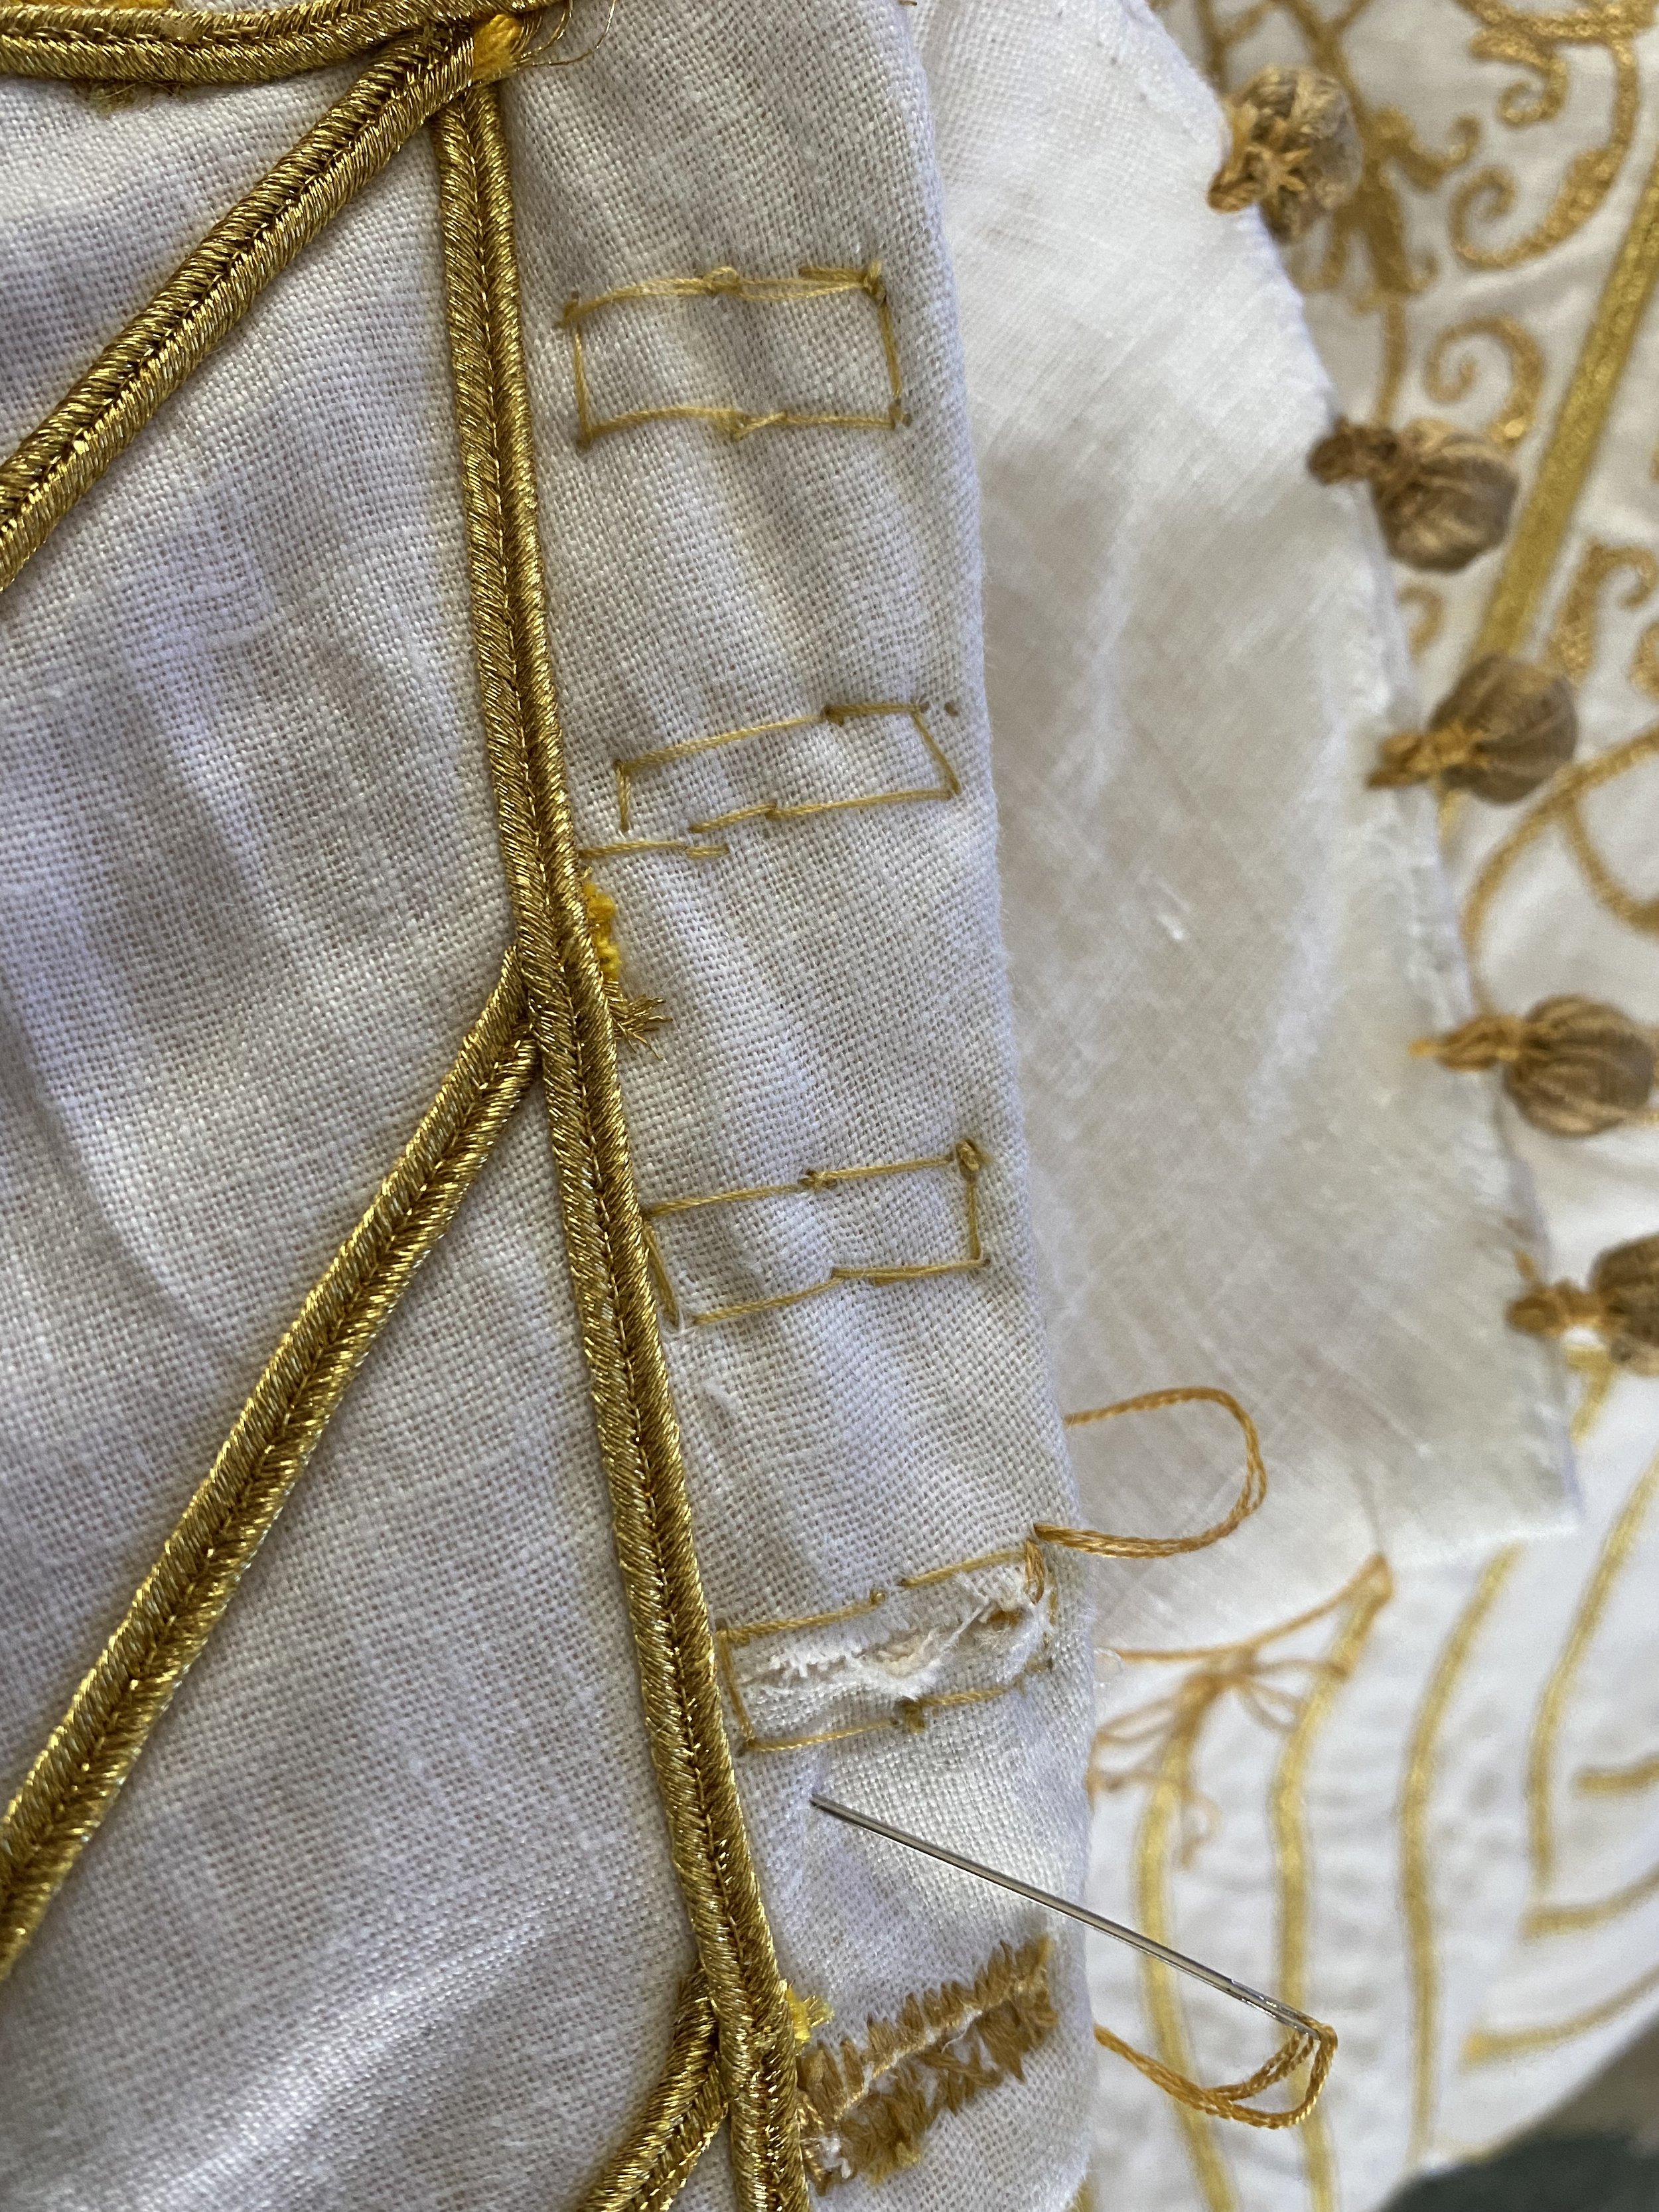
Handstiching the button holes
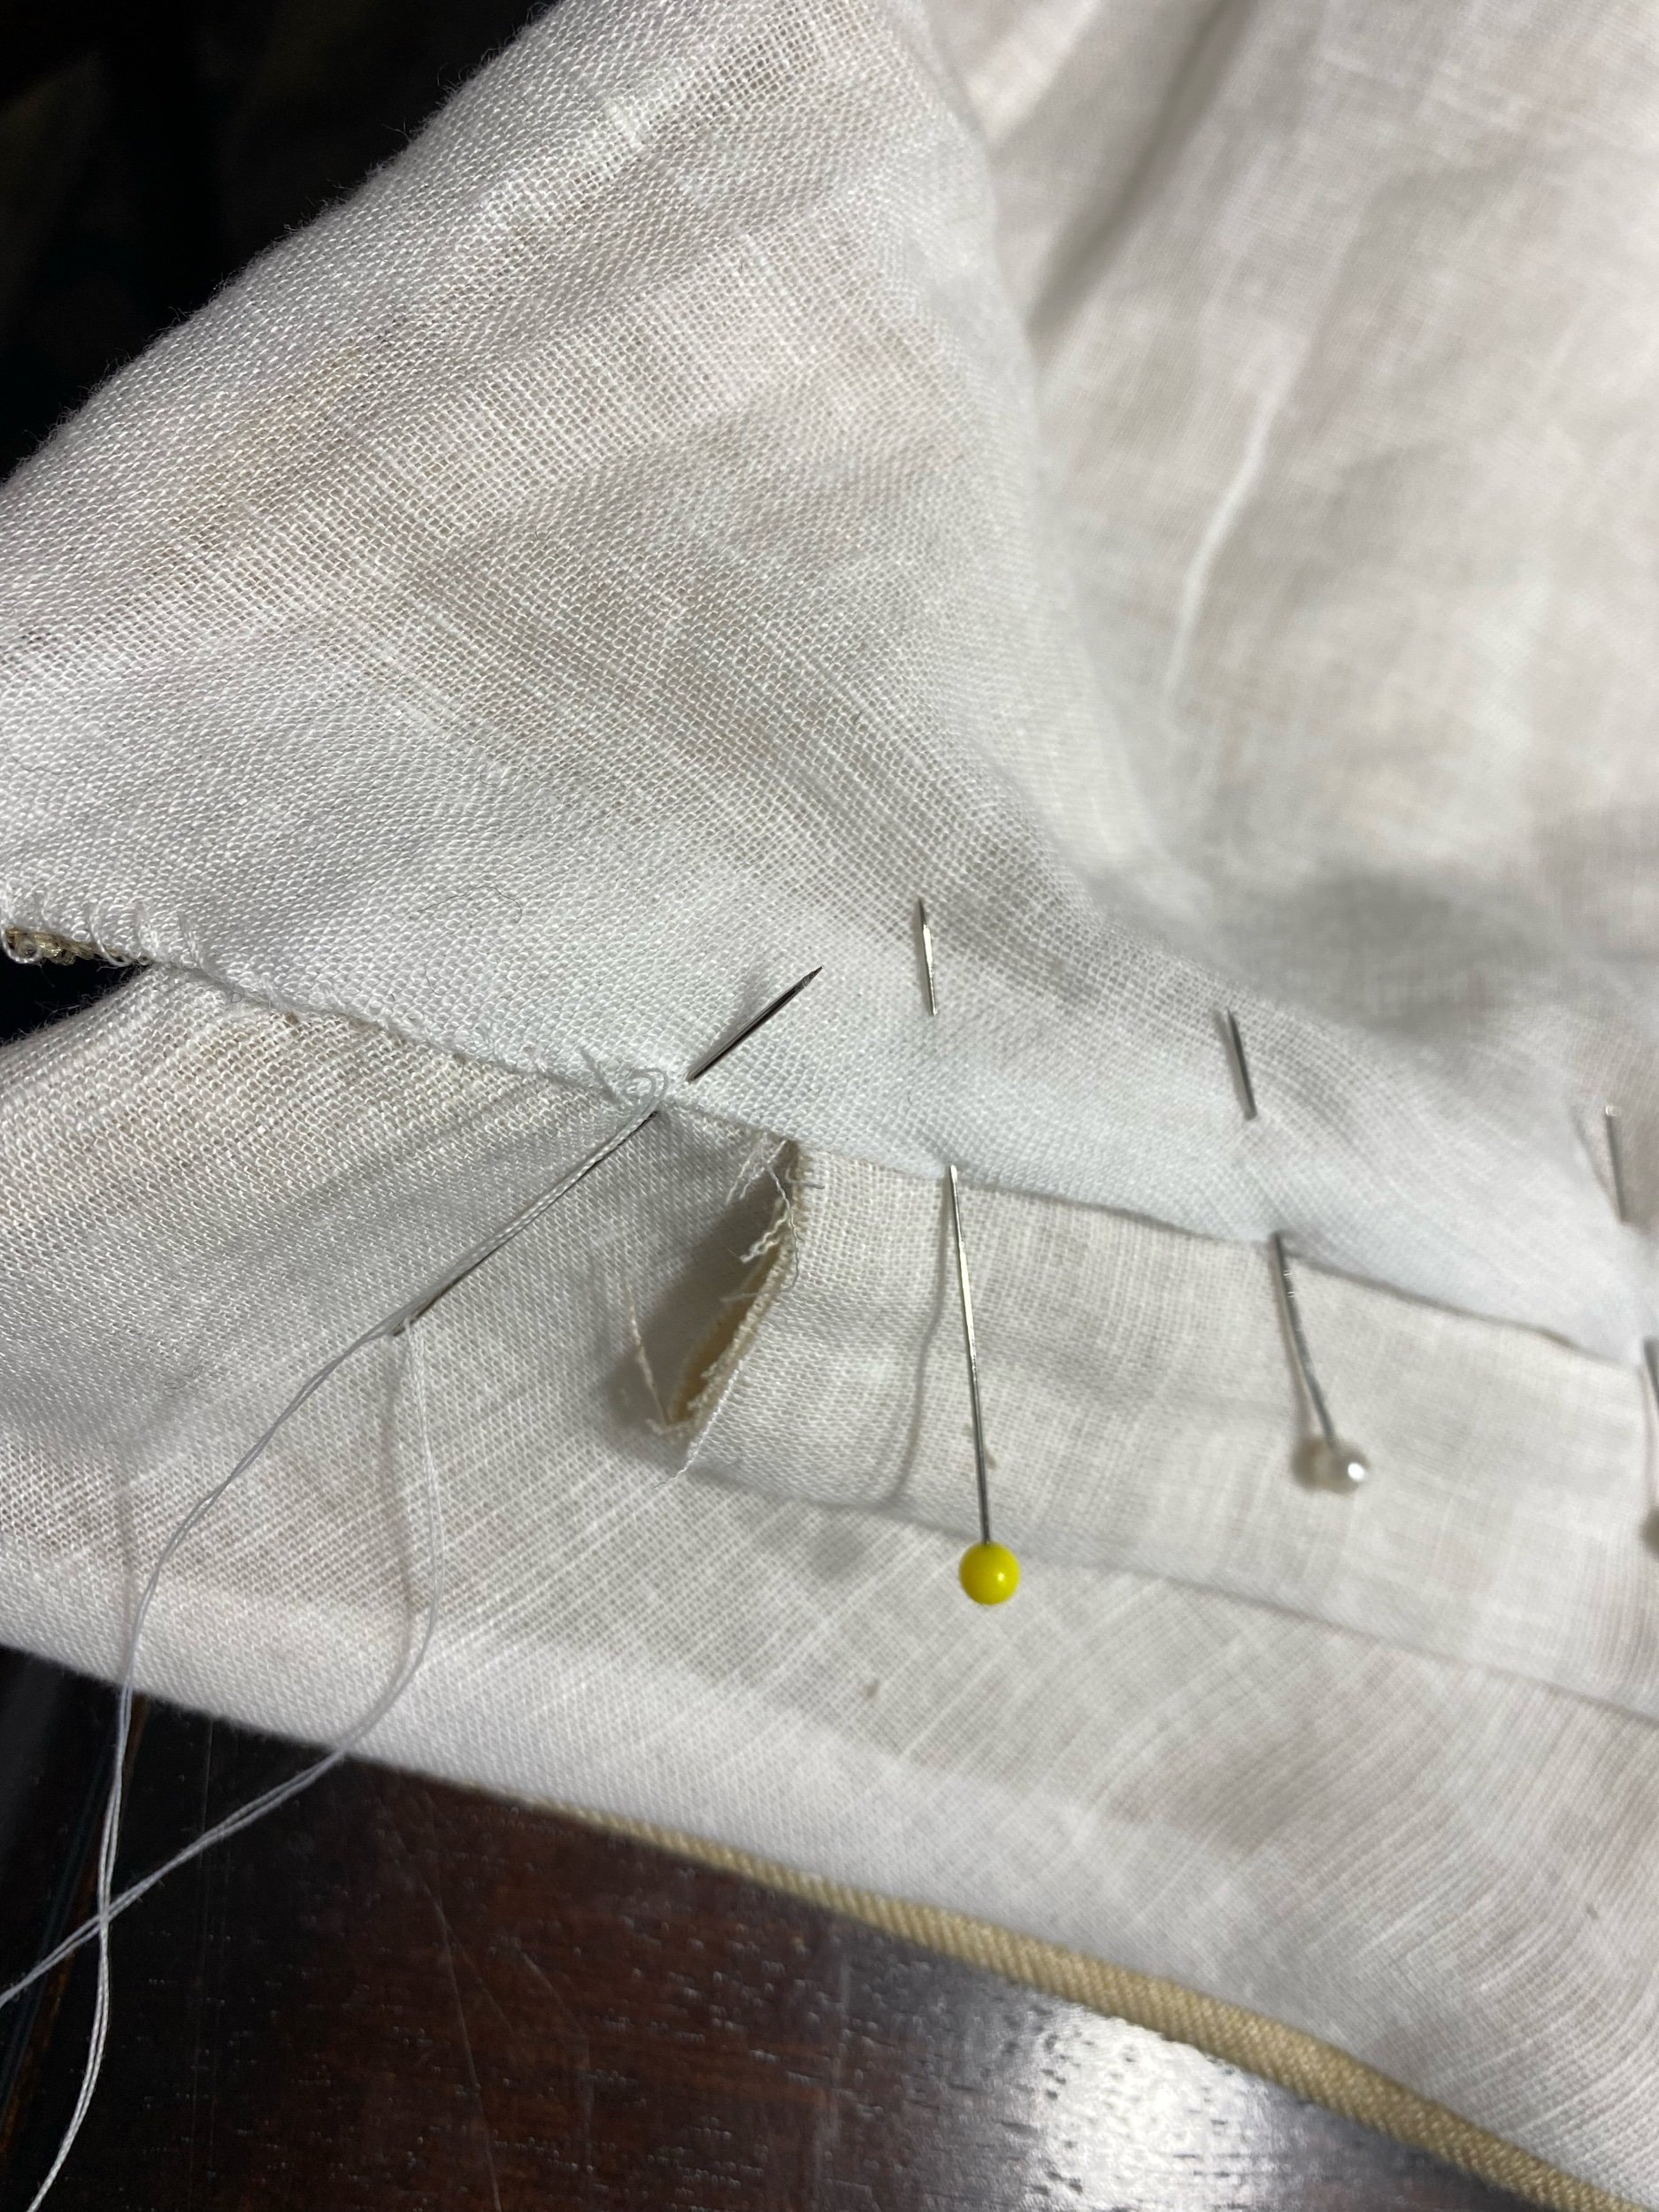
The button holes were handstitched rather machine finished to create a more authentic detail.

Collare
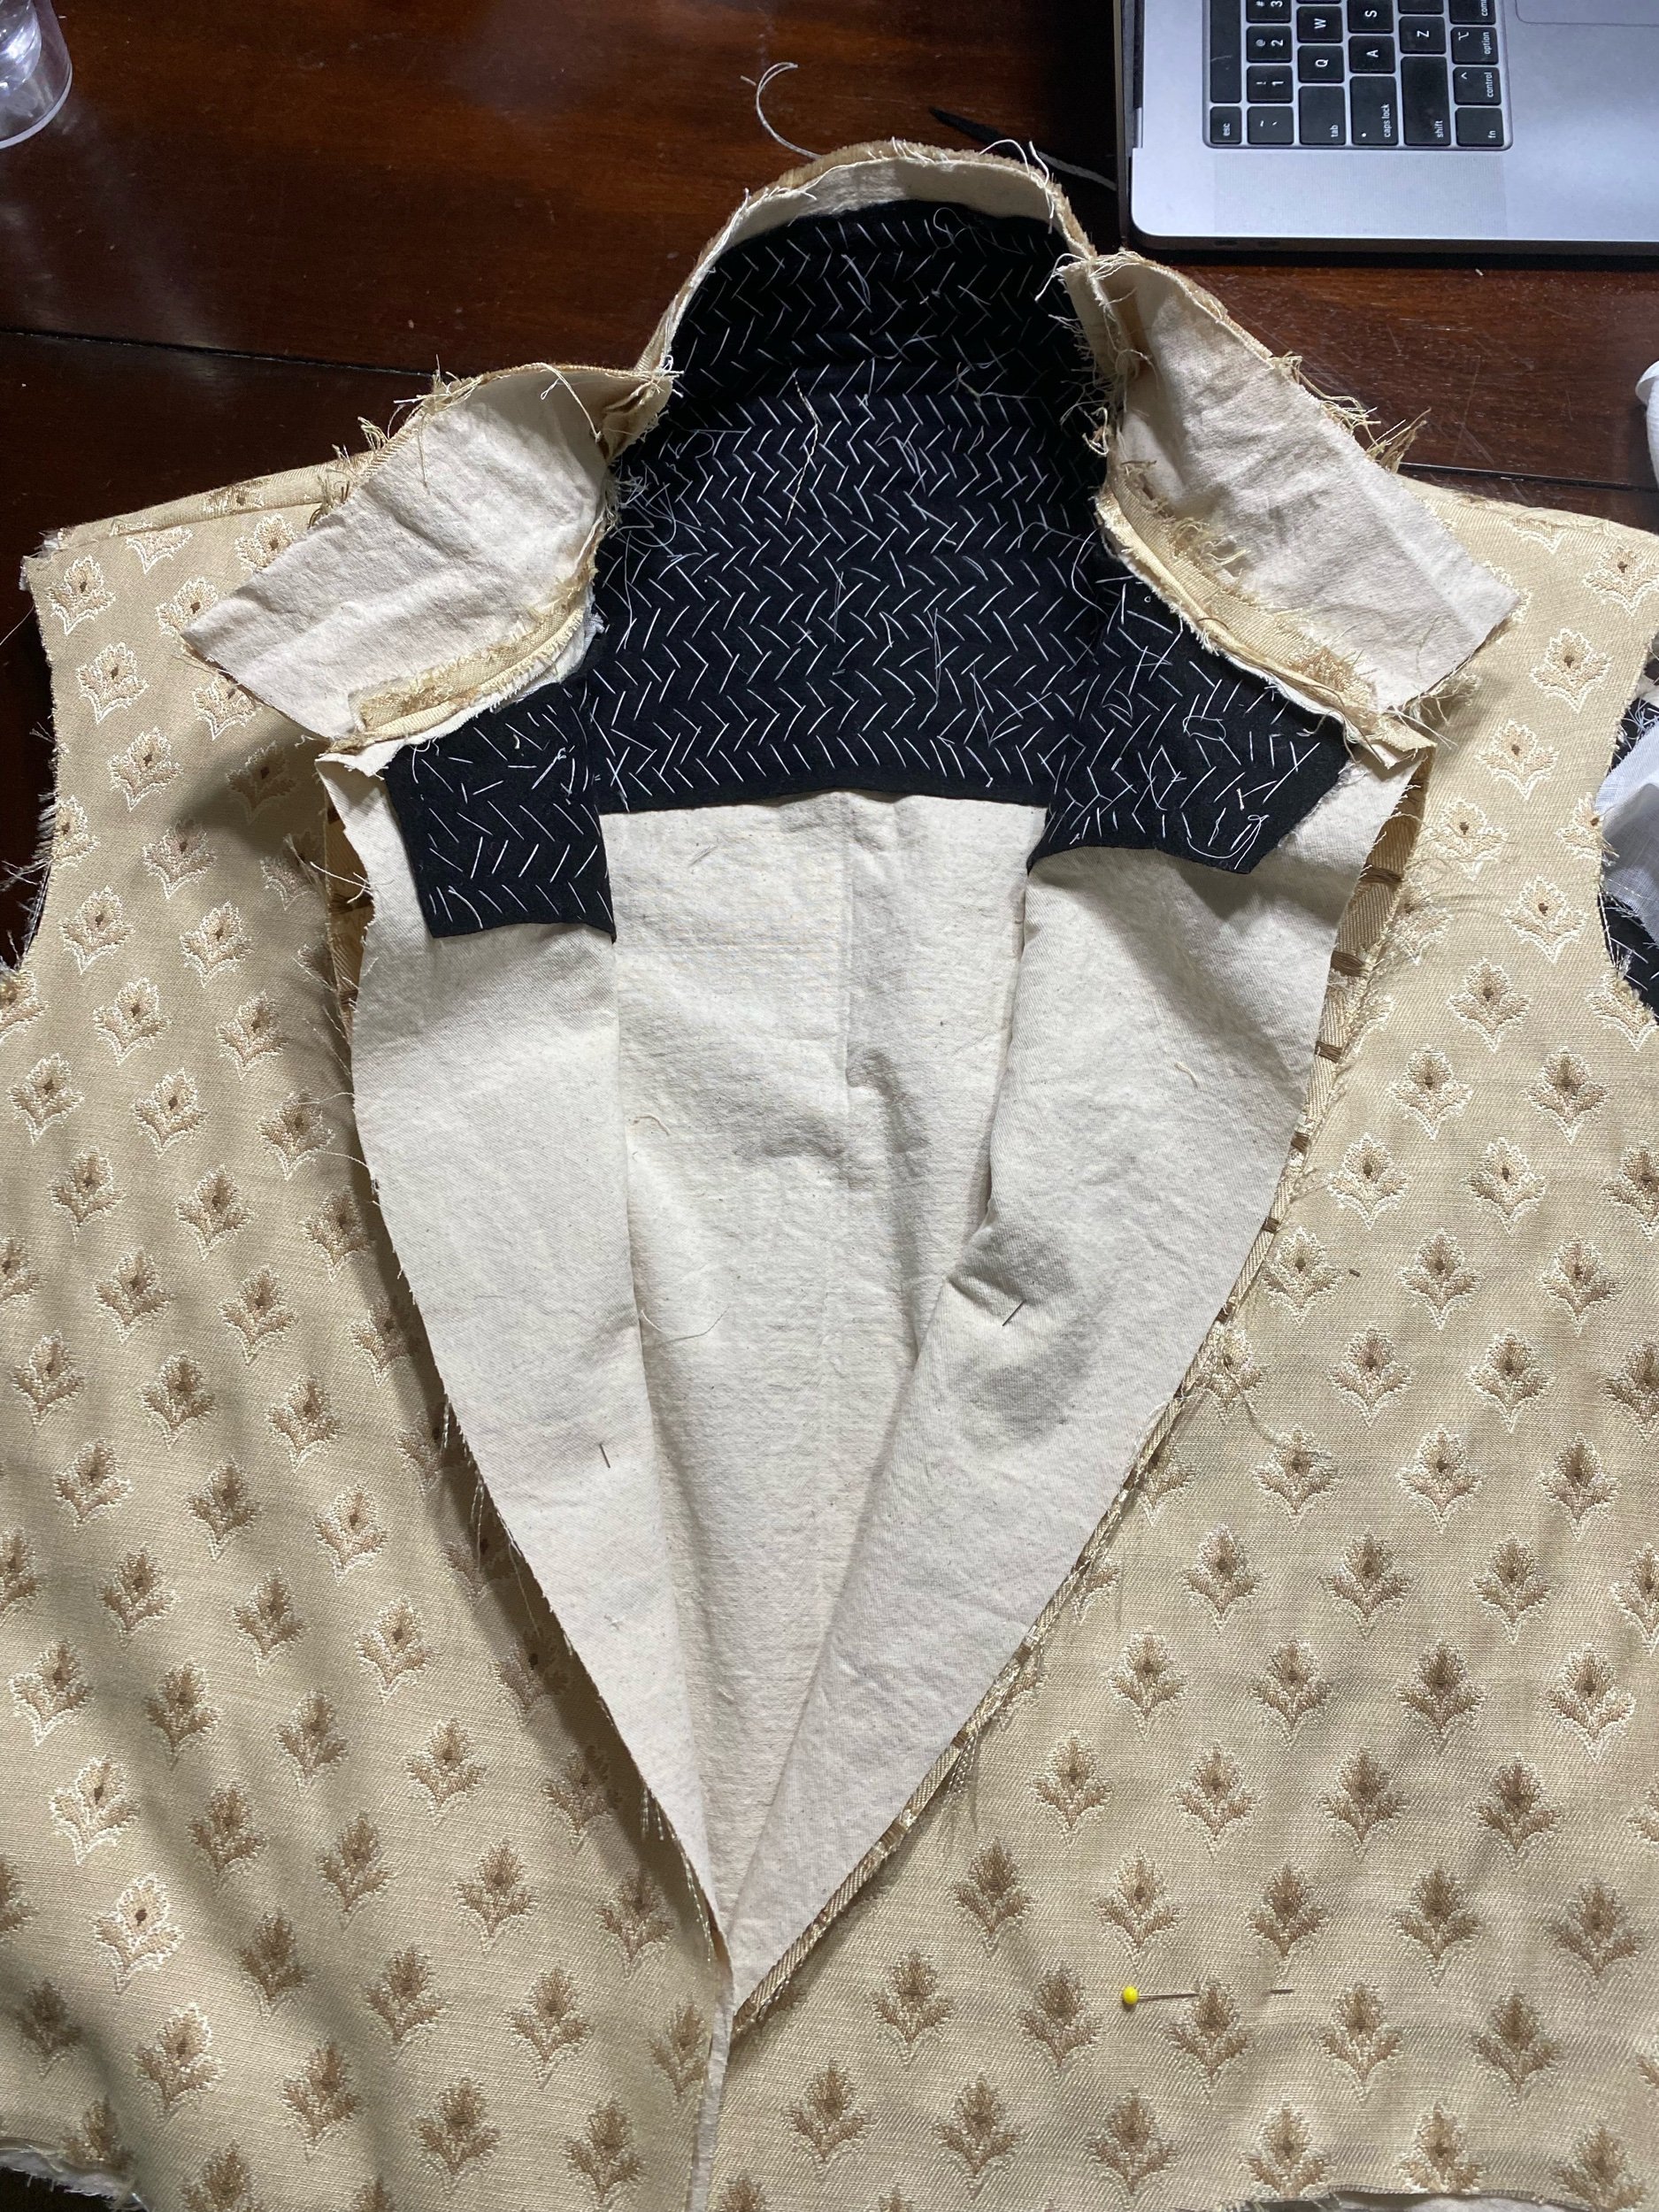
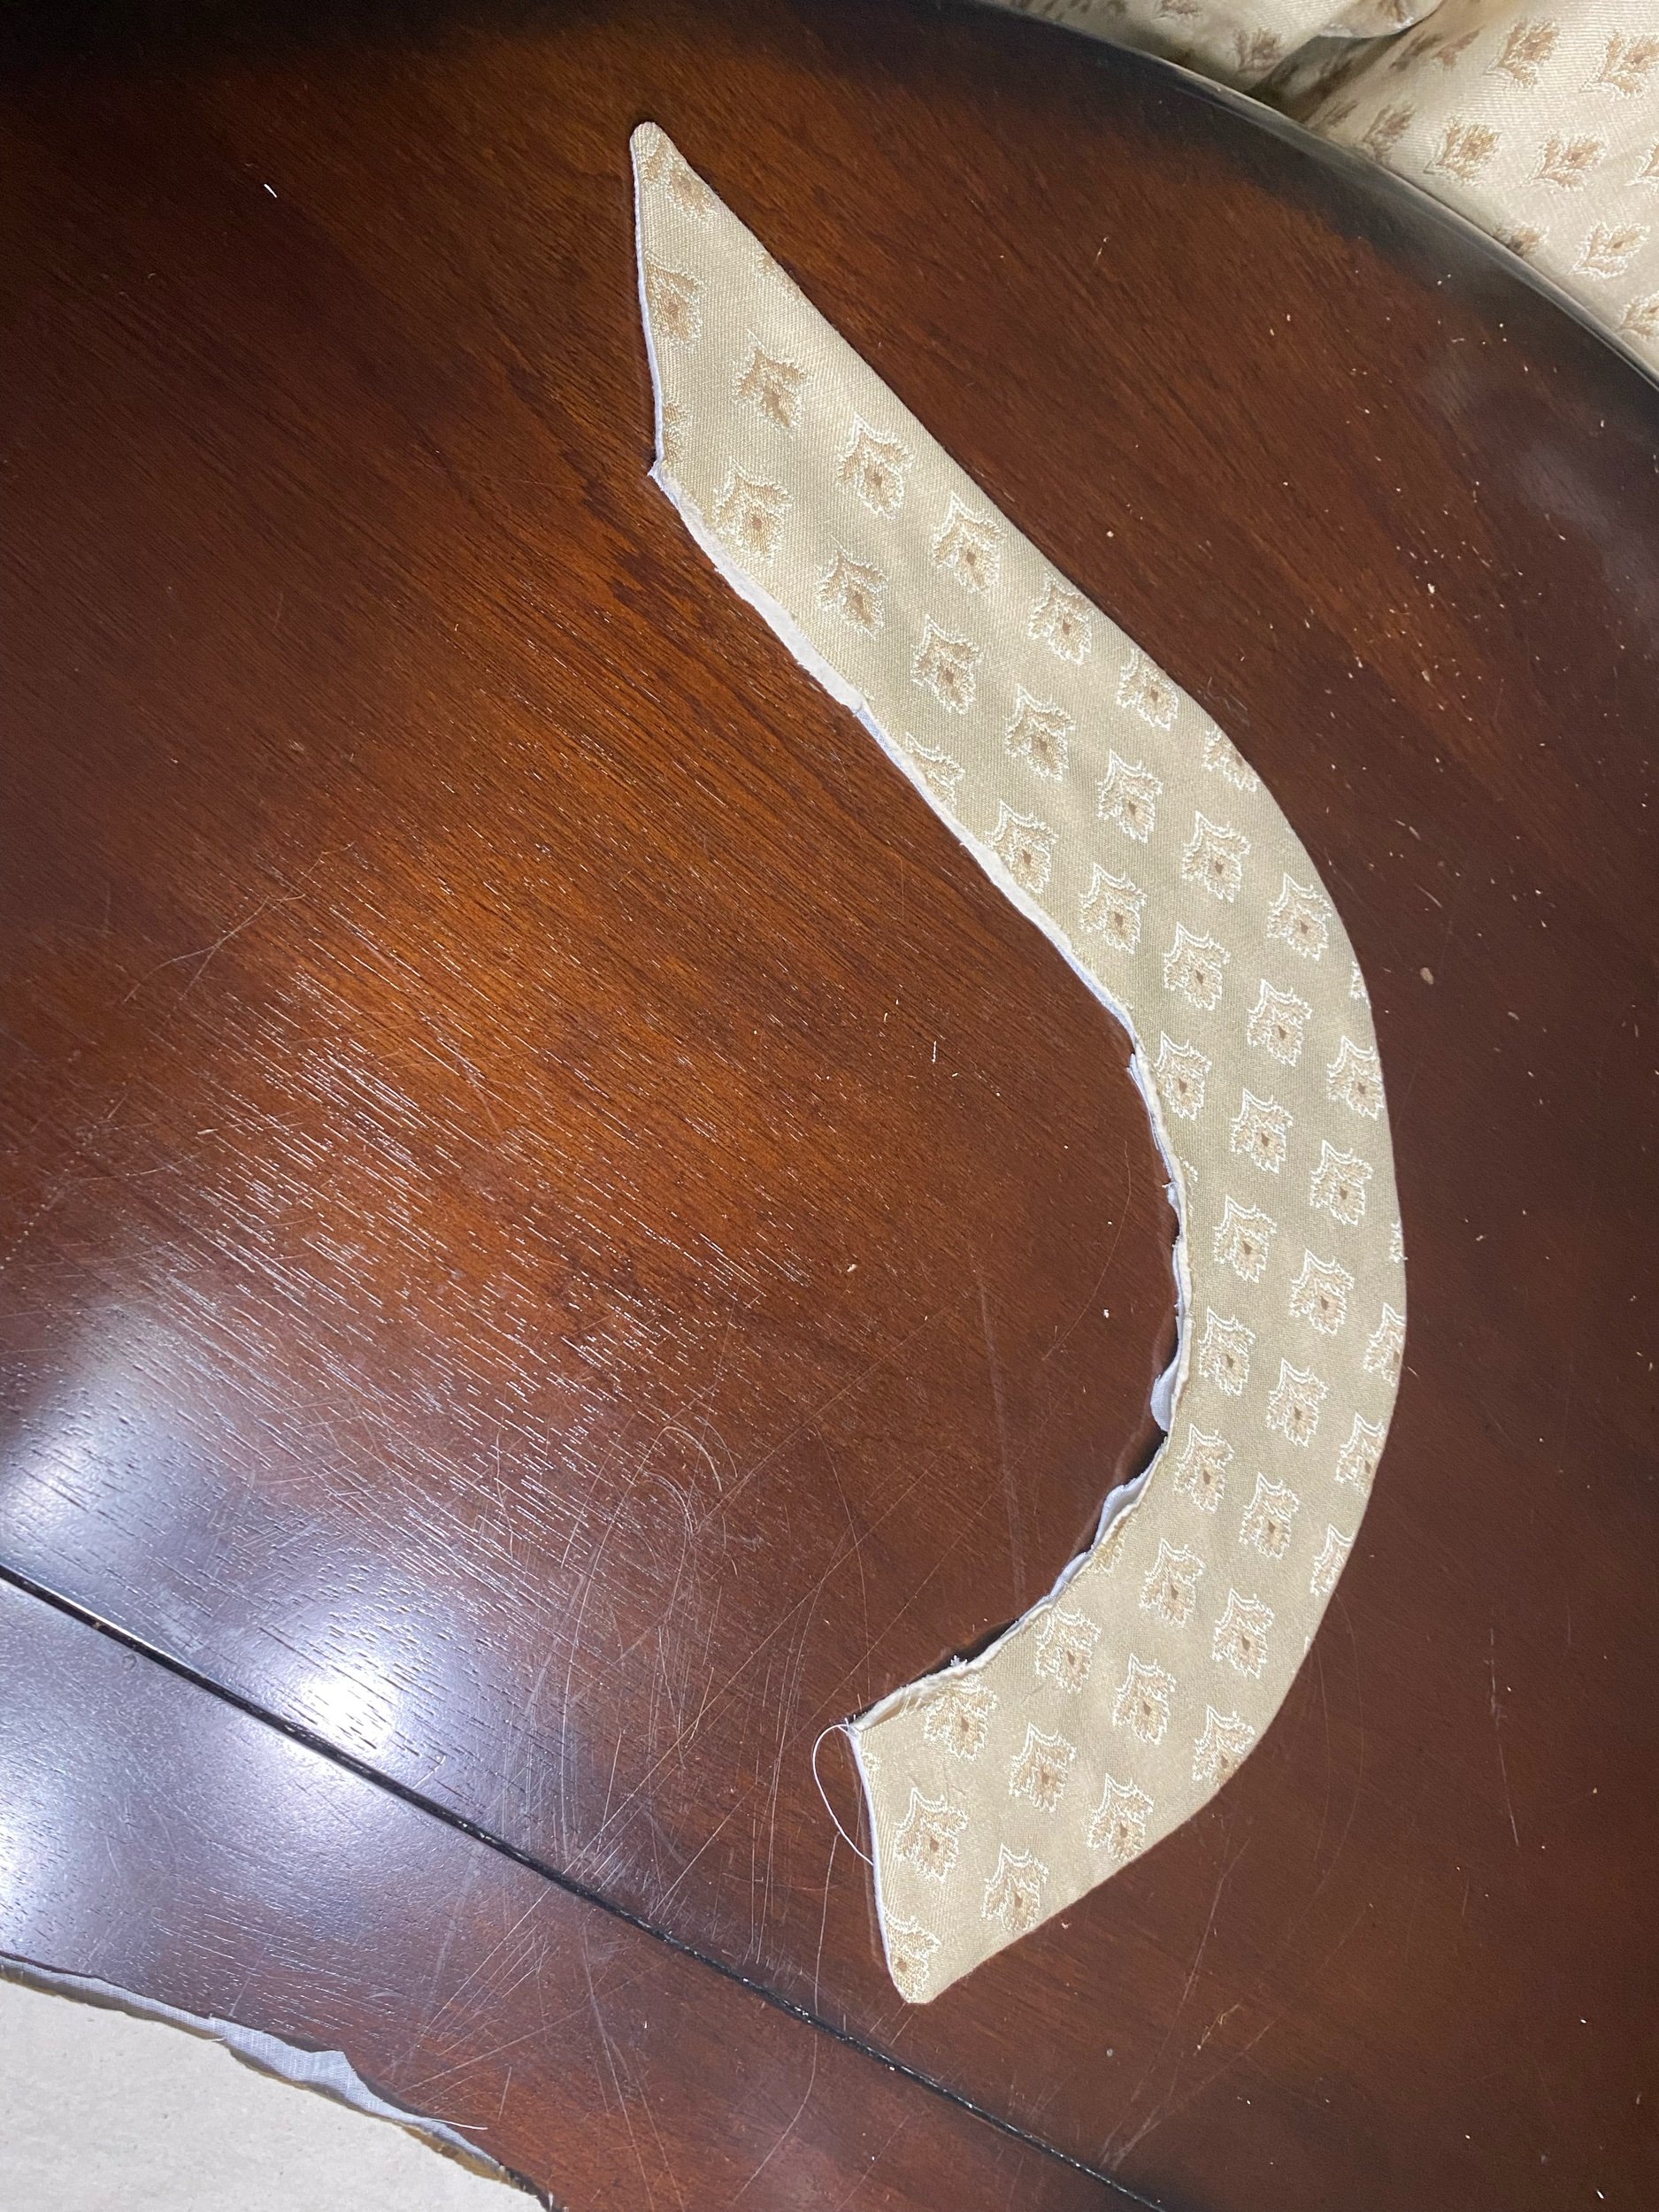
The complete collare.




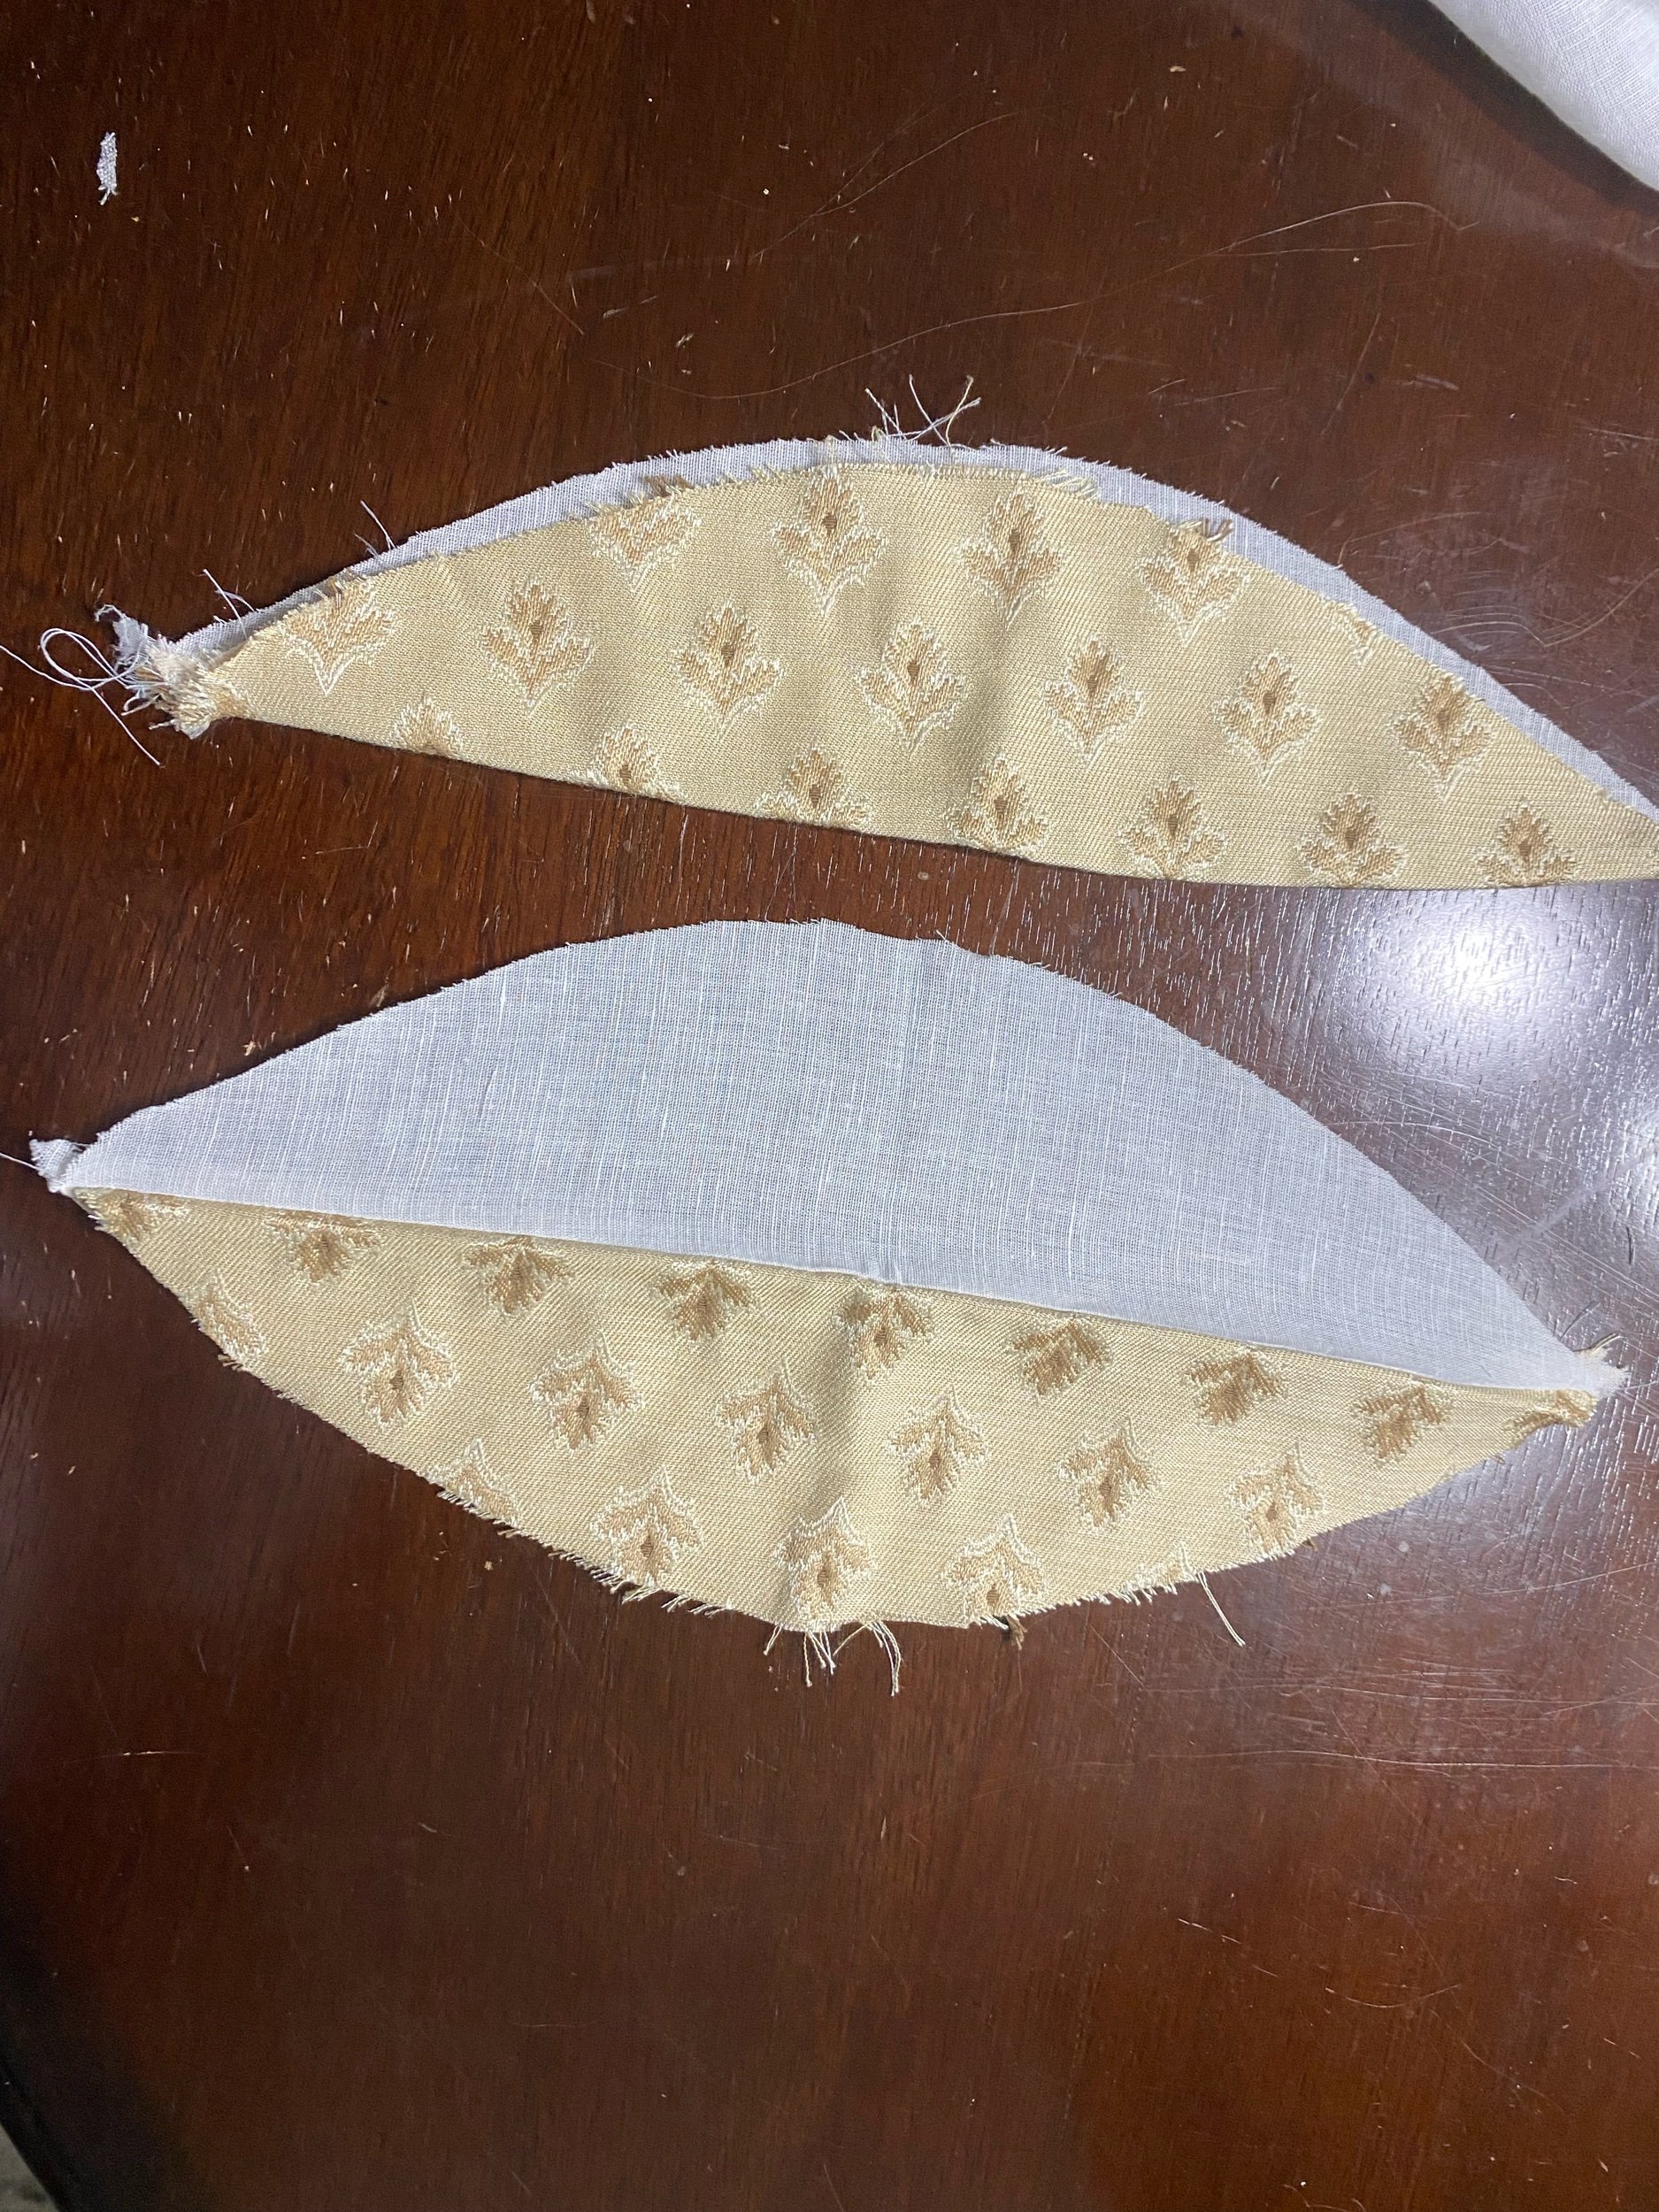
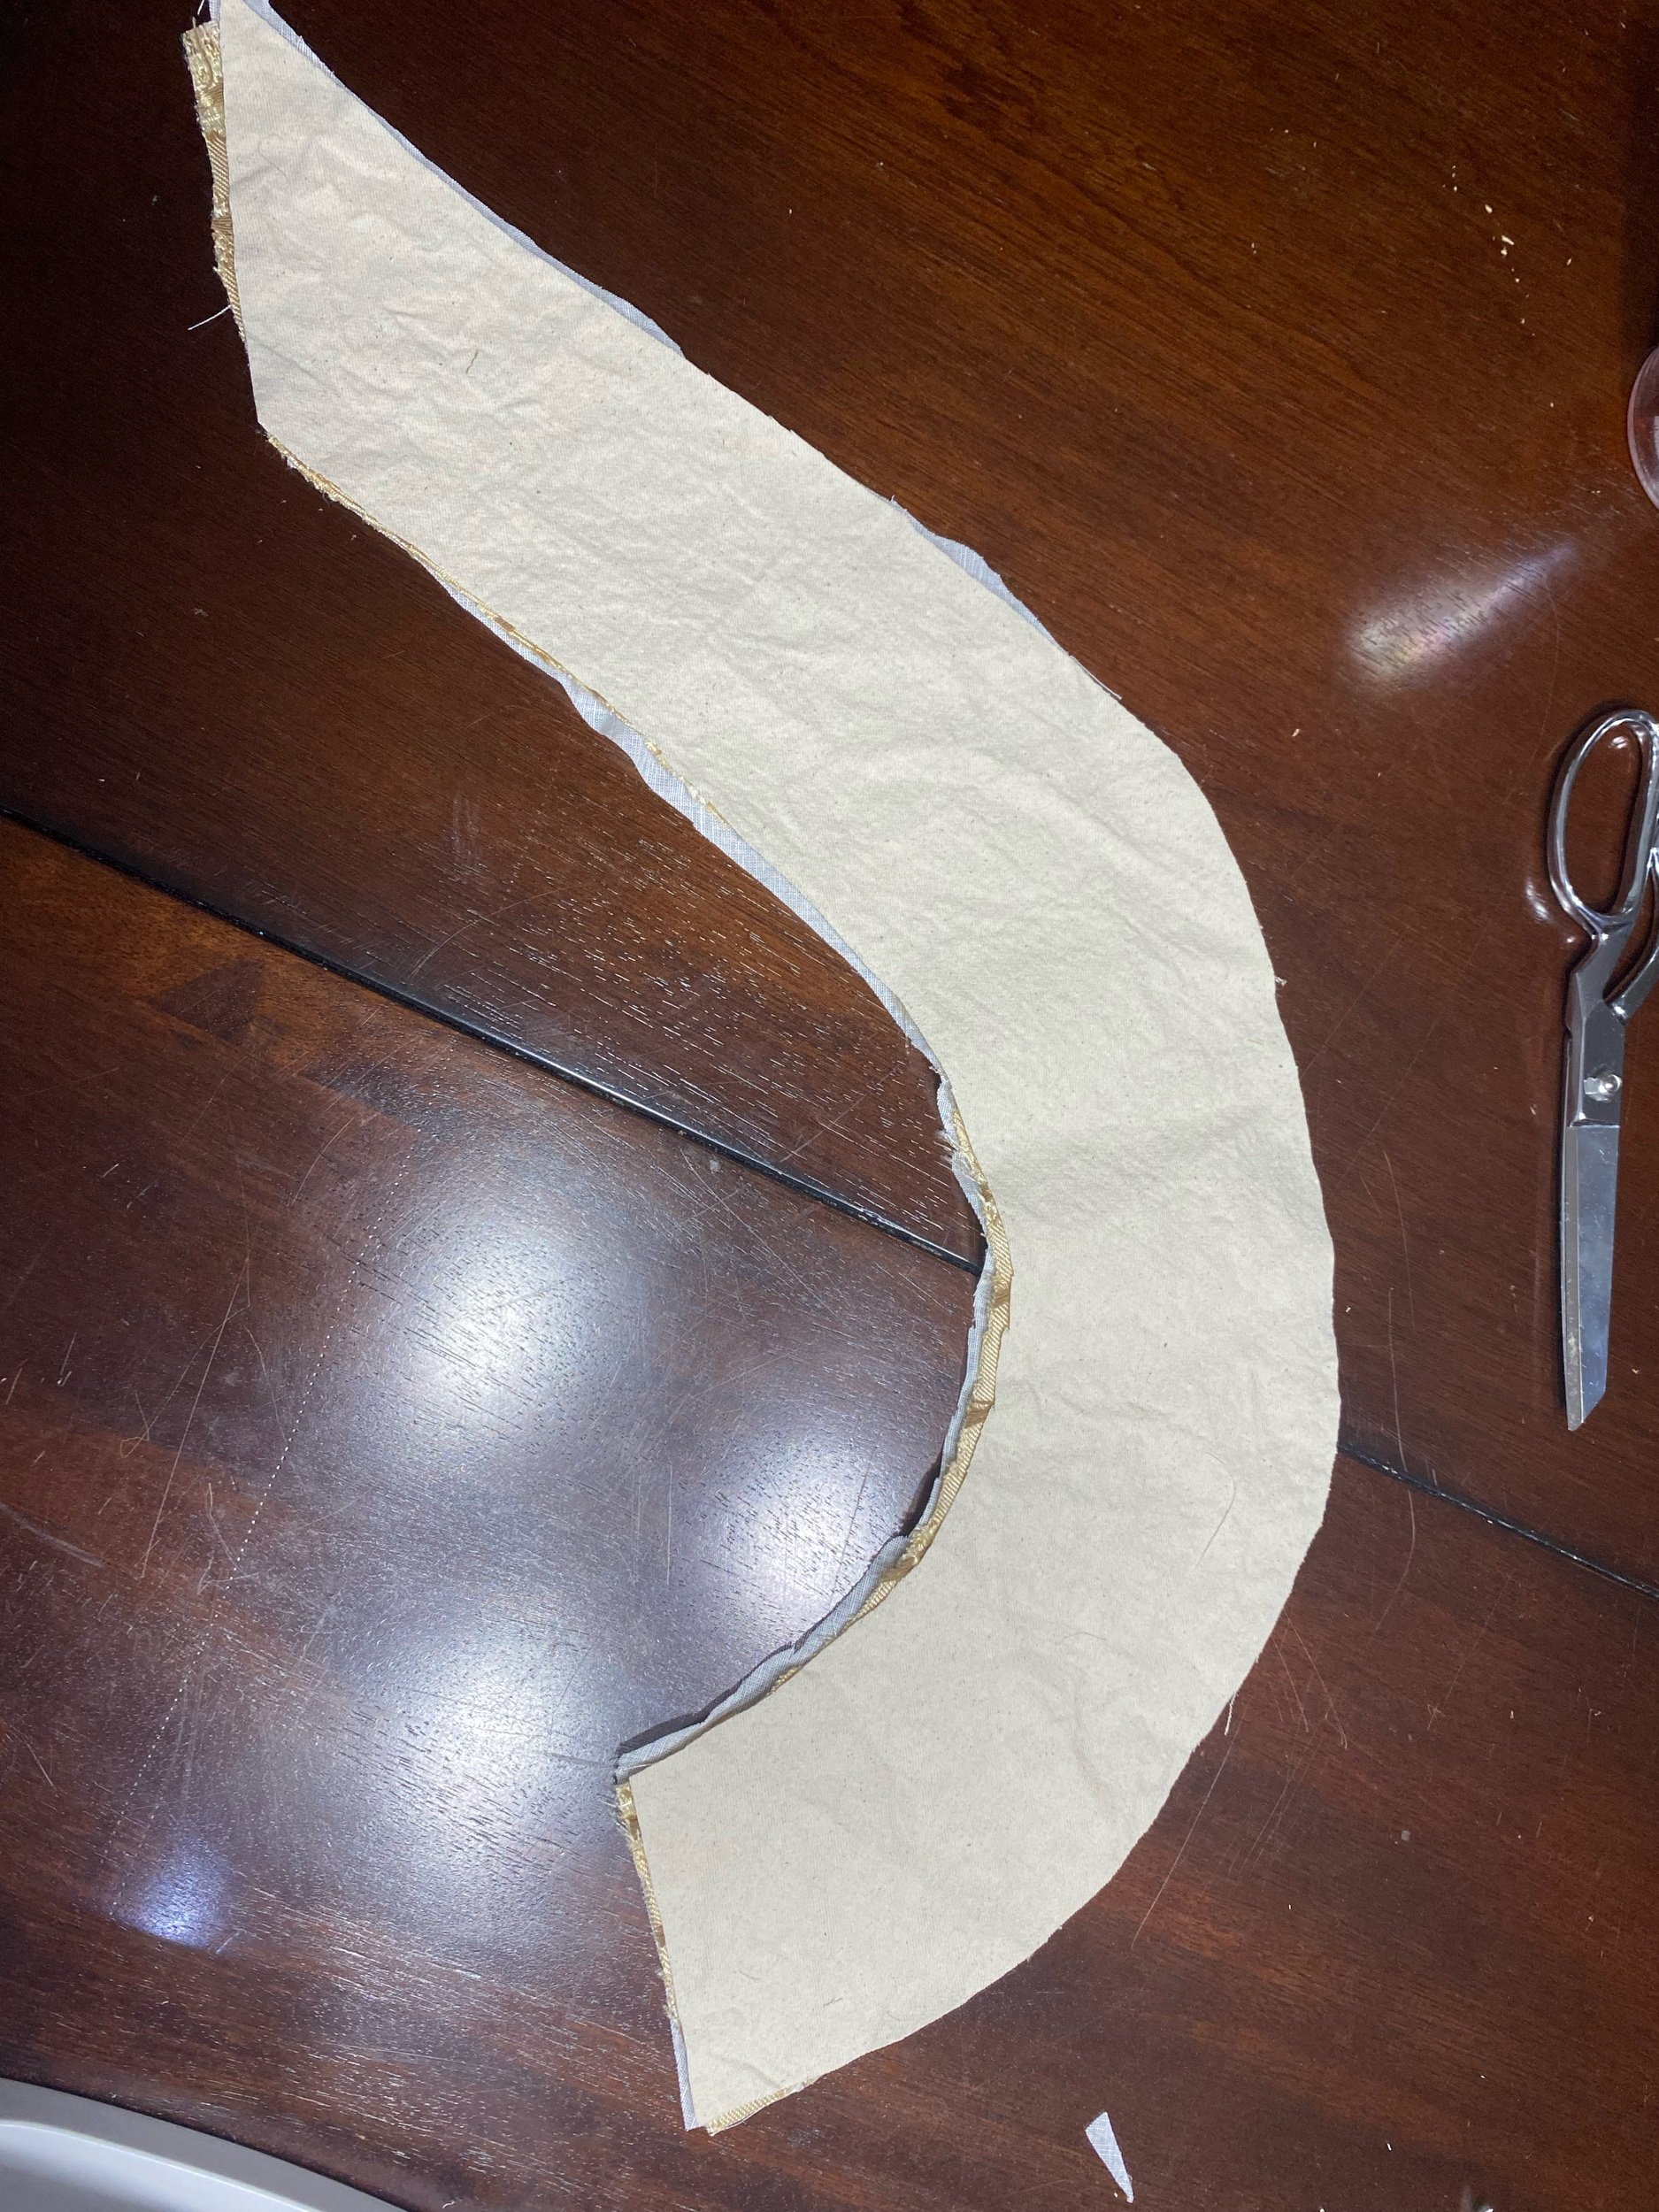
The pieces of the lining sewn together.

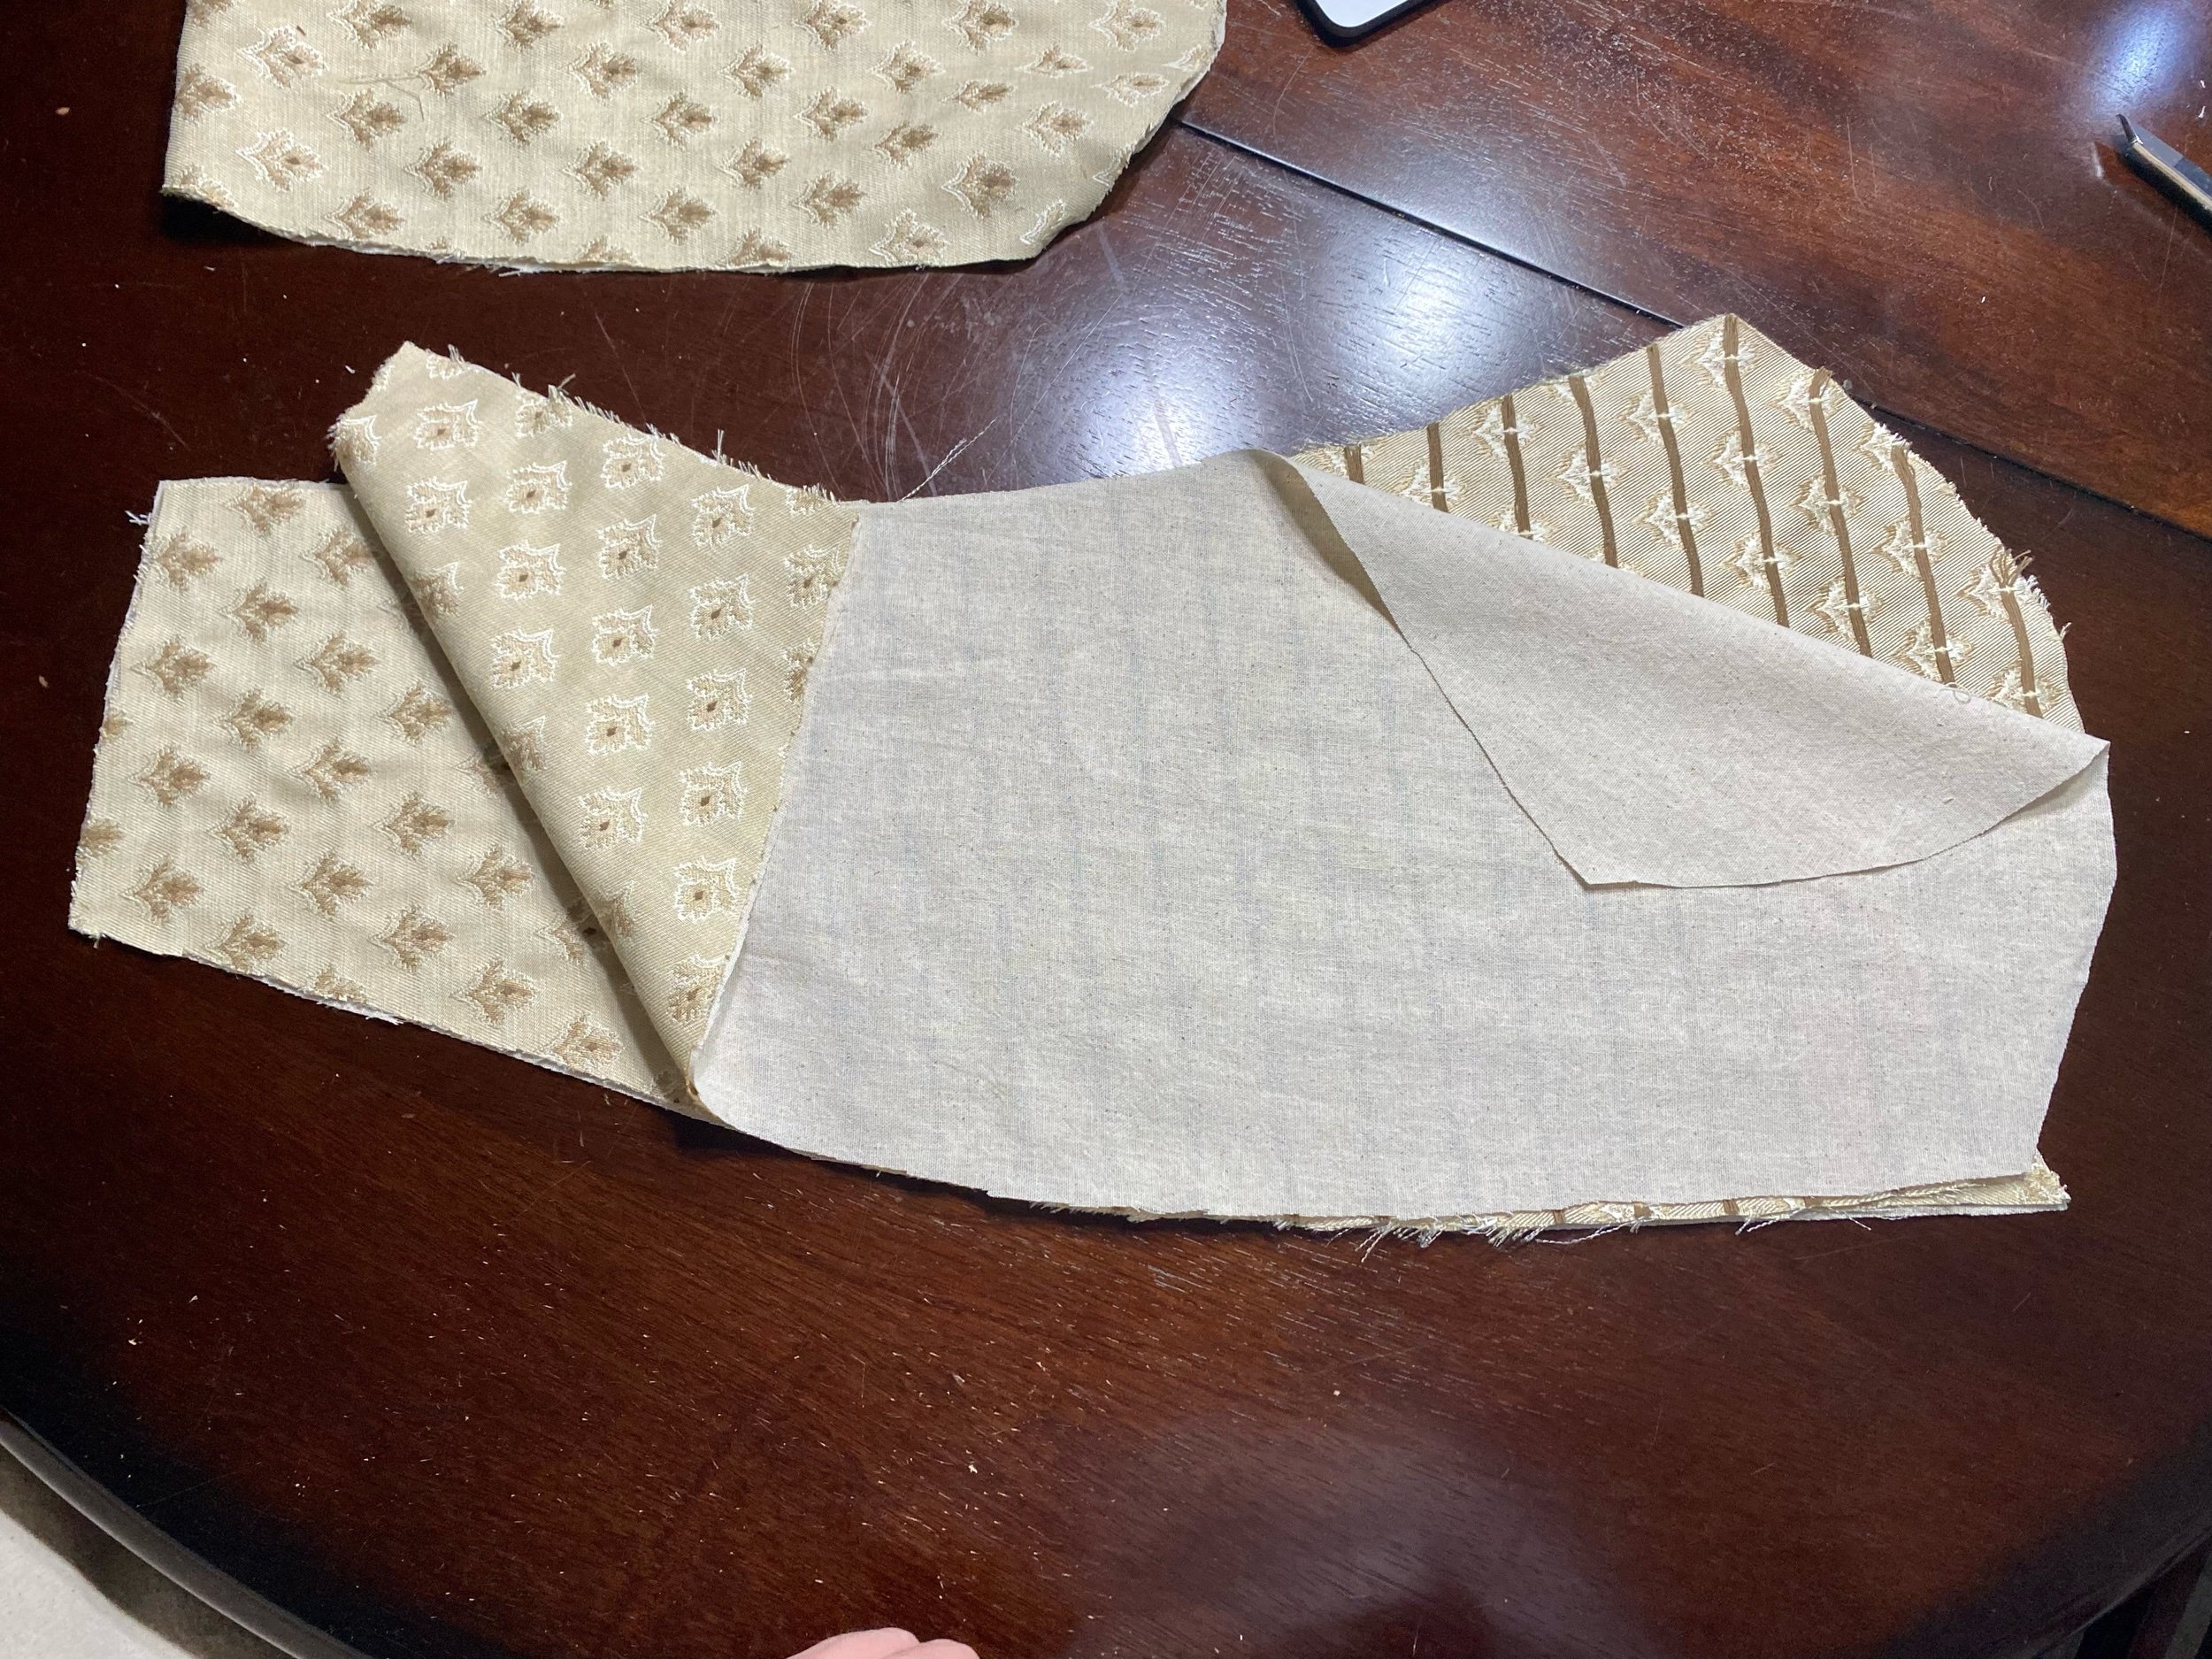
Cutting the sleeves

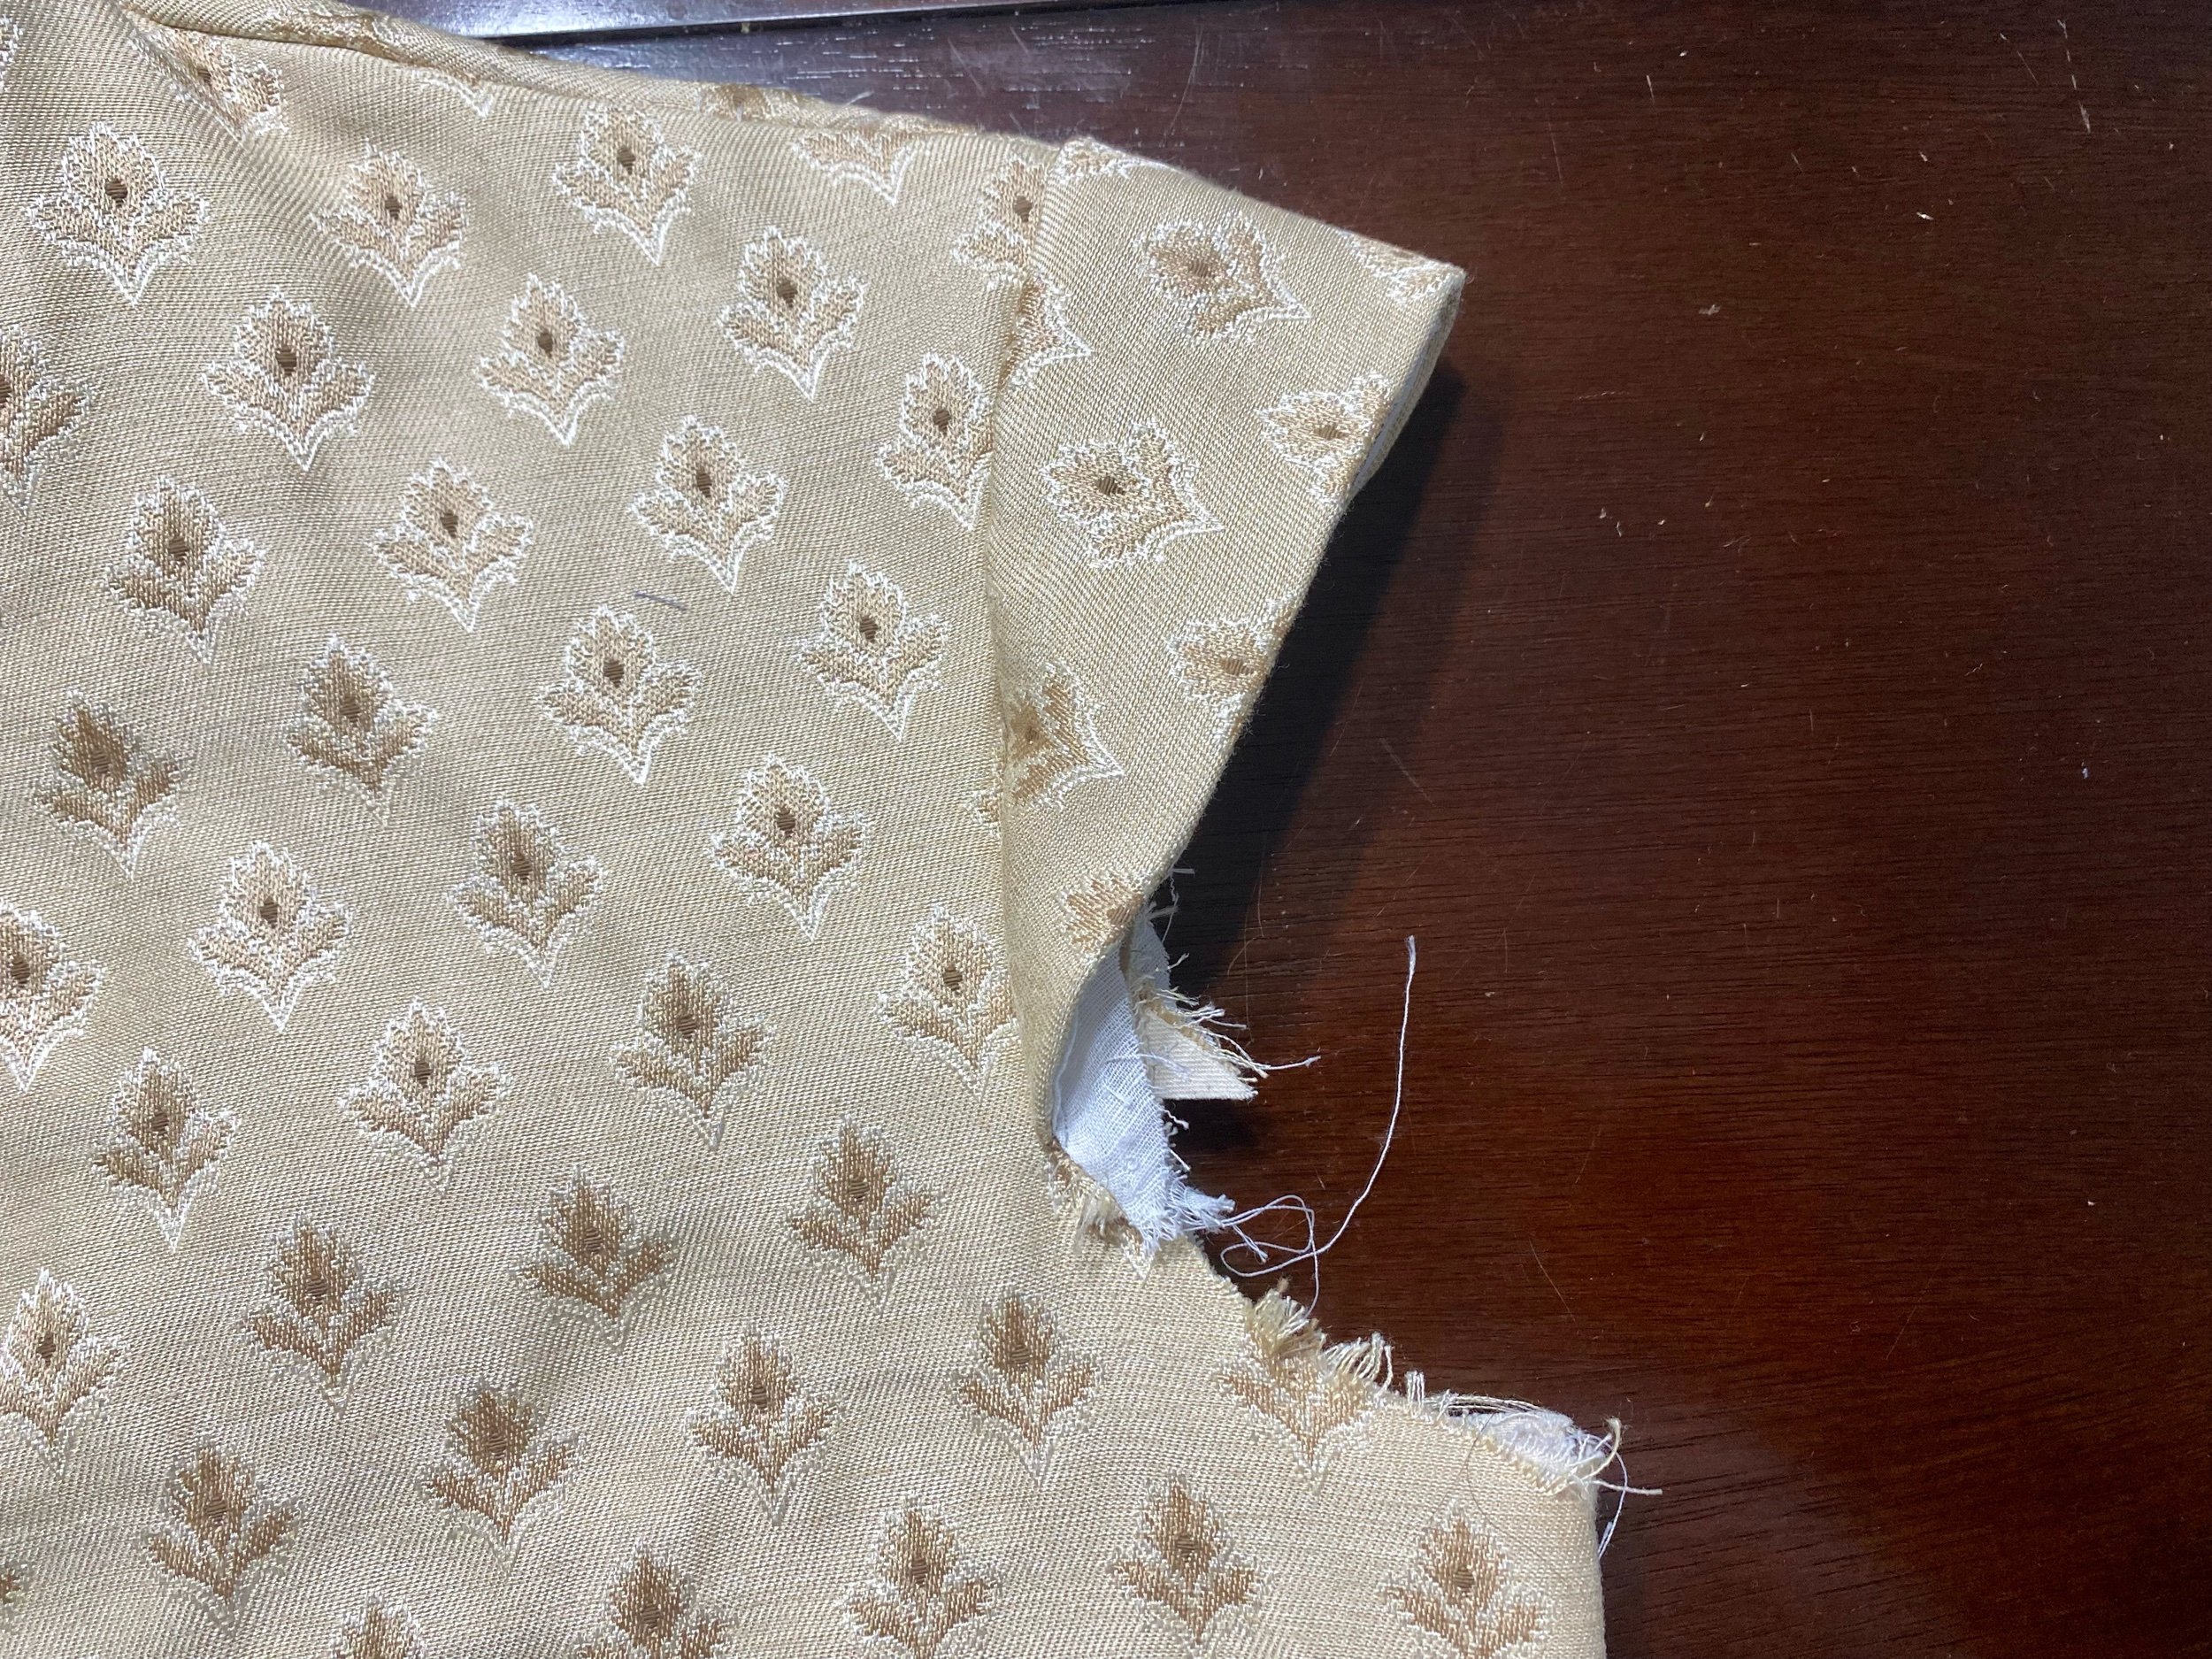
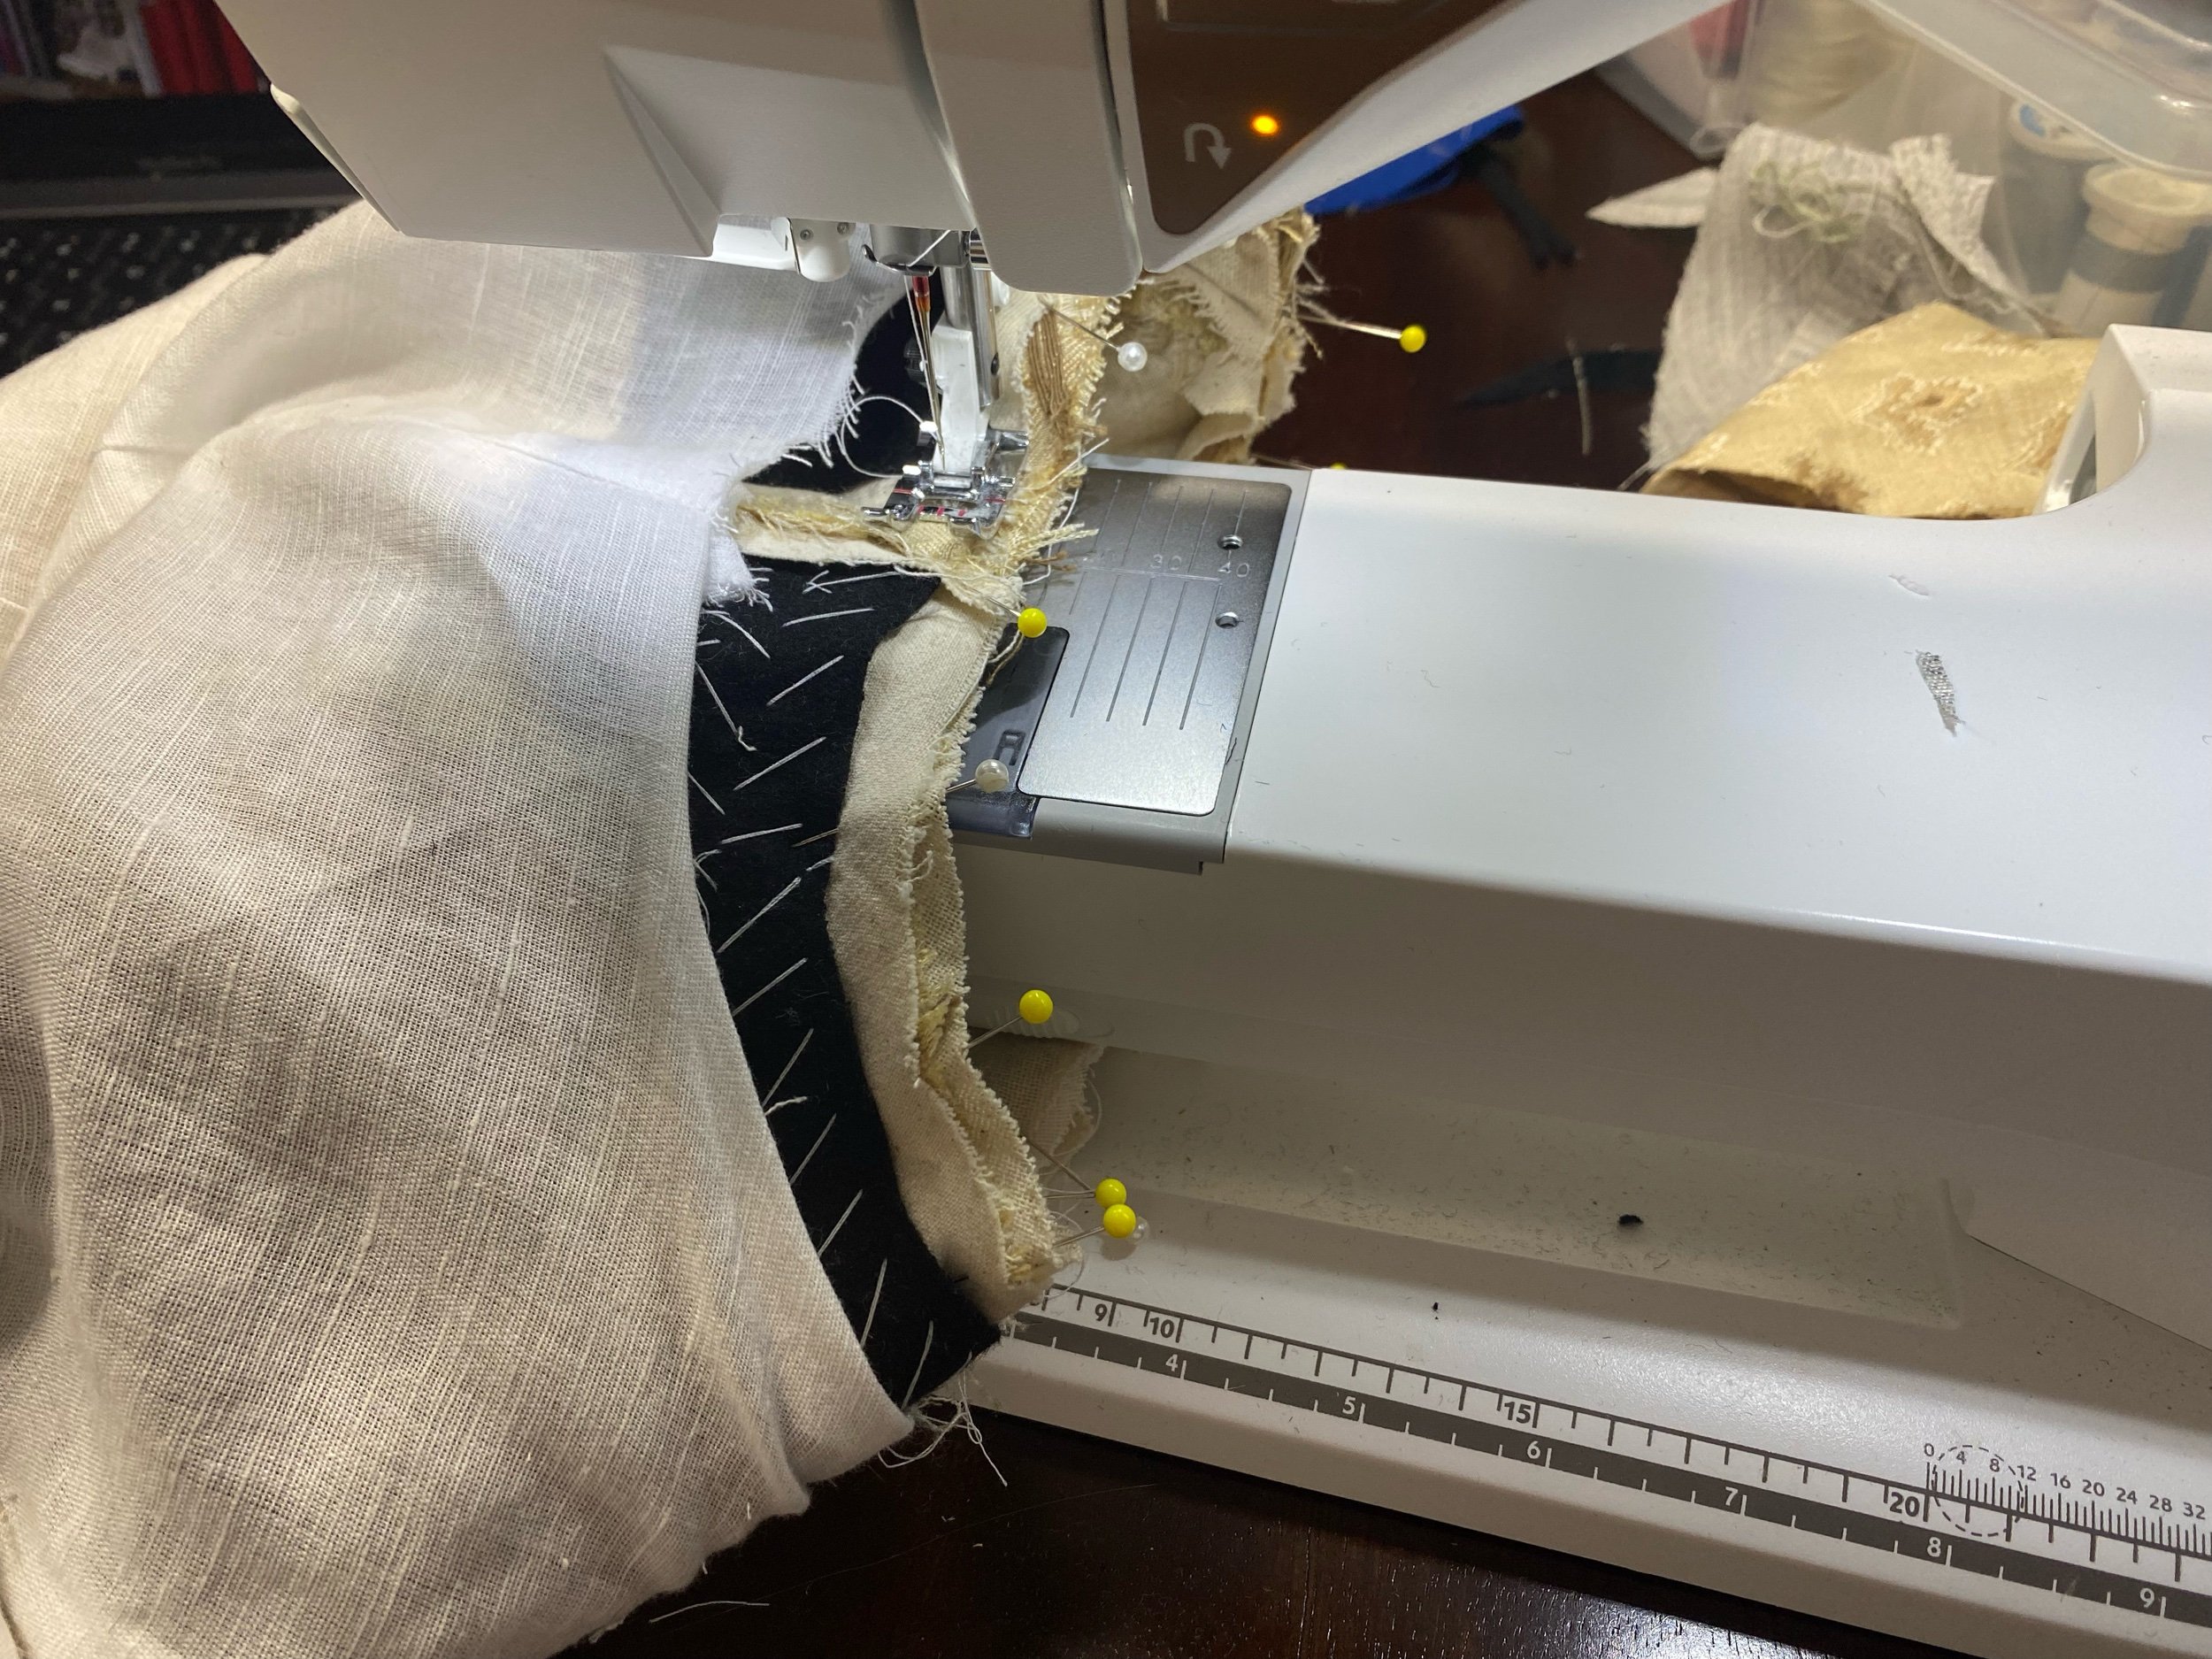
Pining the sleeve and gathering to attach to the doublet.
Buttons


