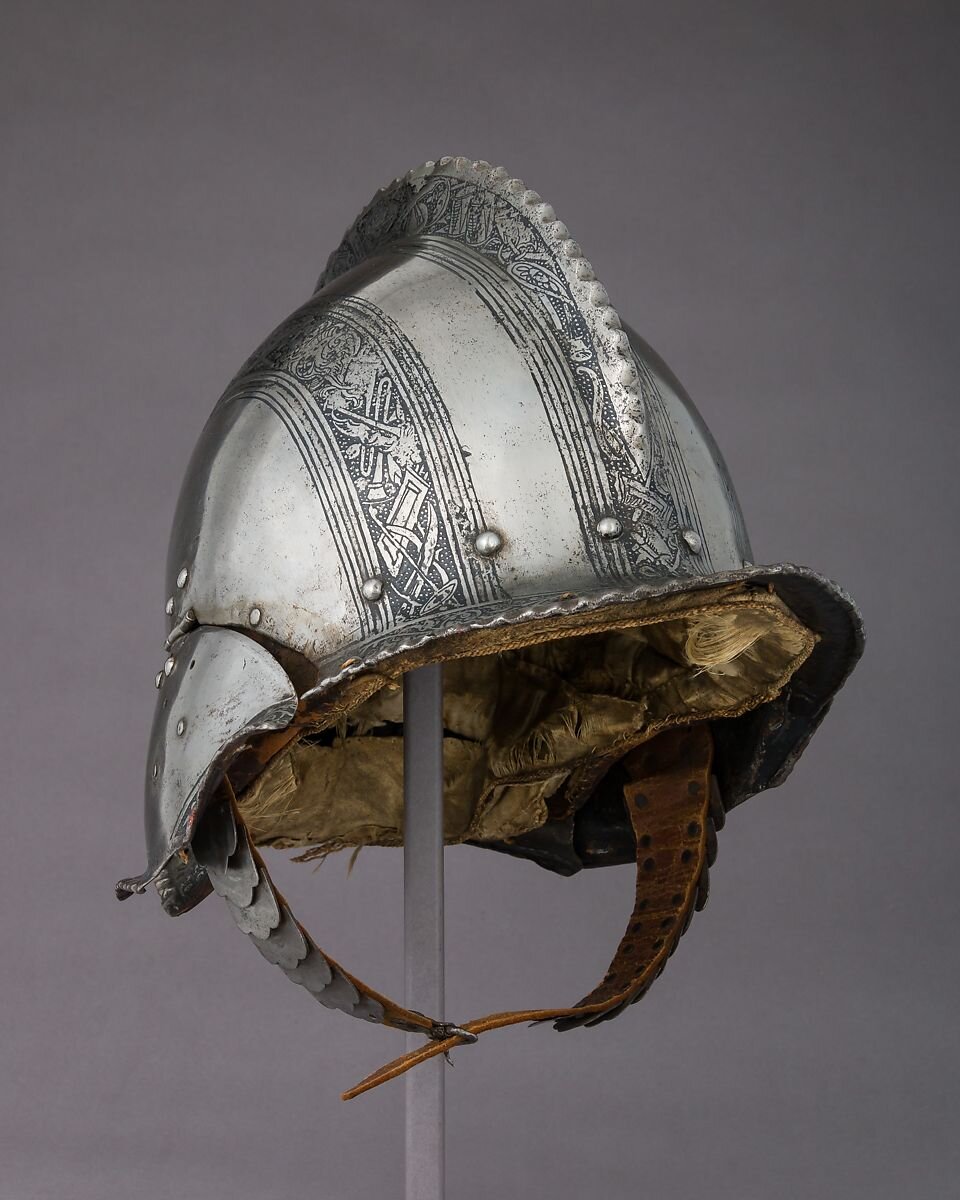
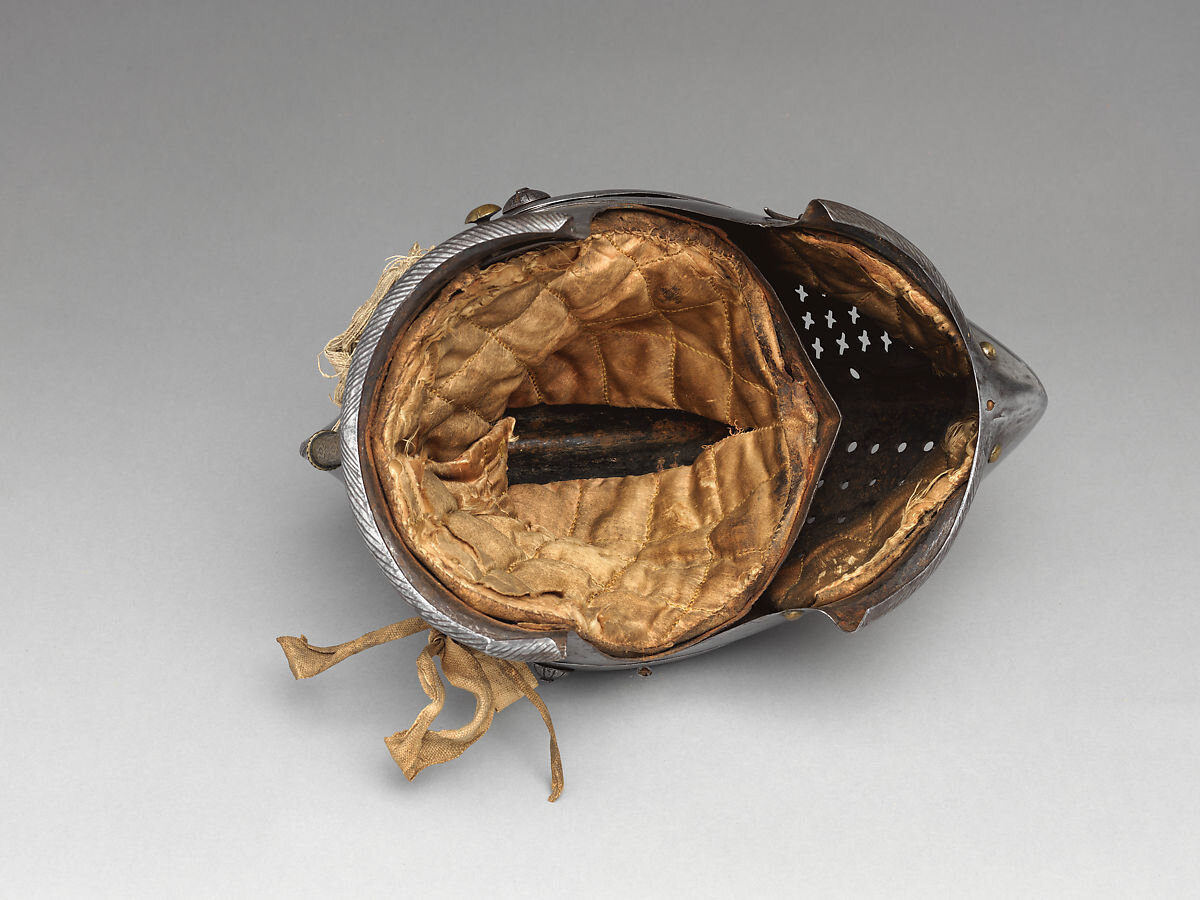
The style of padding inside of helms changed from the medieval period, in which a padded arming cap or coif was worn as a separate piece very similar to the non=padded civilian counterpart, to a cap that was riveted into the helm itself. This padding would serve as the primary buffer between and impact to the exterior of the helm and the head within.
Modern military grade padding and foam are much more efficient in mitigating the force of the blows and minimizing concussions in modern sport combat, however, there was still a desire to create something that could be worn in combination with this padding. For ease of wear and washing this cap was modeled after some arguably earlier versions, tying under the chin and as a complete separate garment from the helmet.
Ispirazione del Progetto
There are many documented examples of the capo d’arme in use with helmets.
Facendo il Progetto
Drafting a Pattern
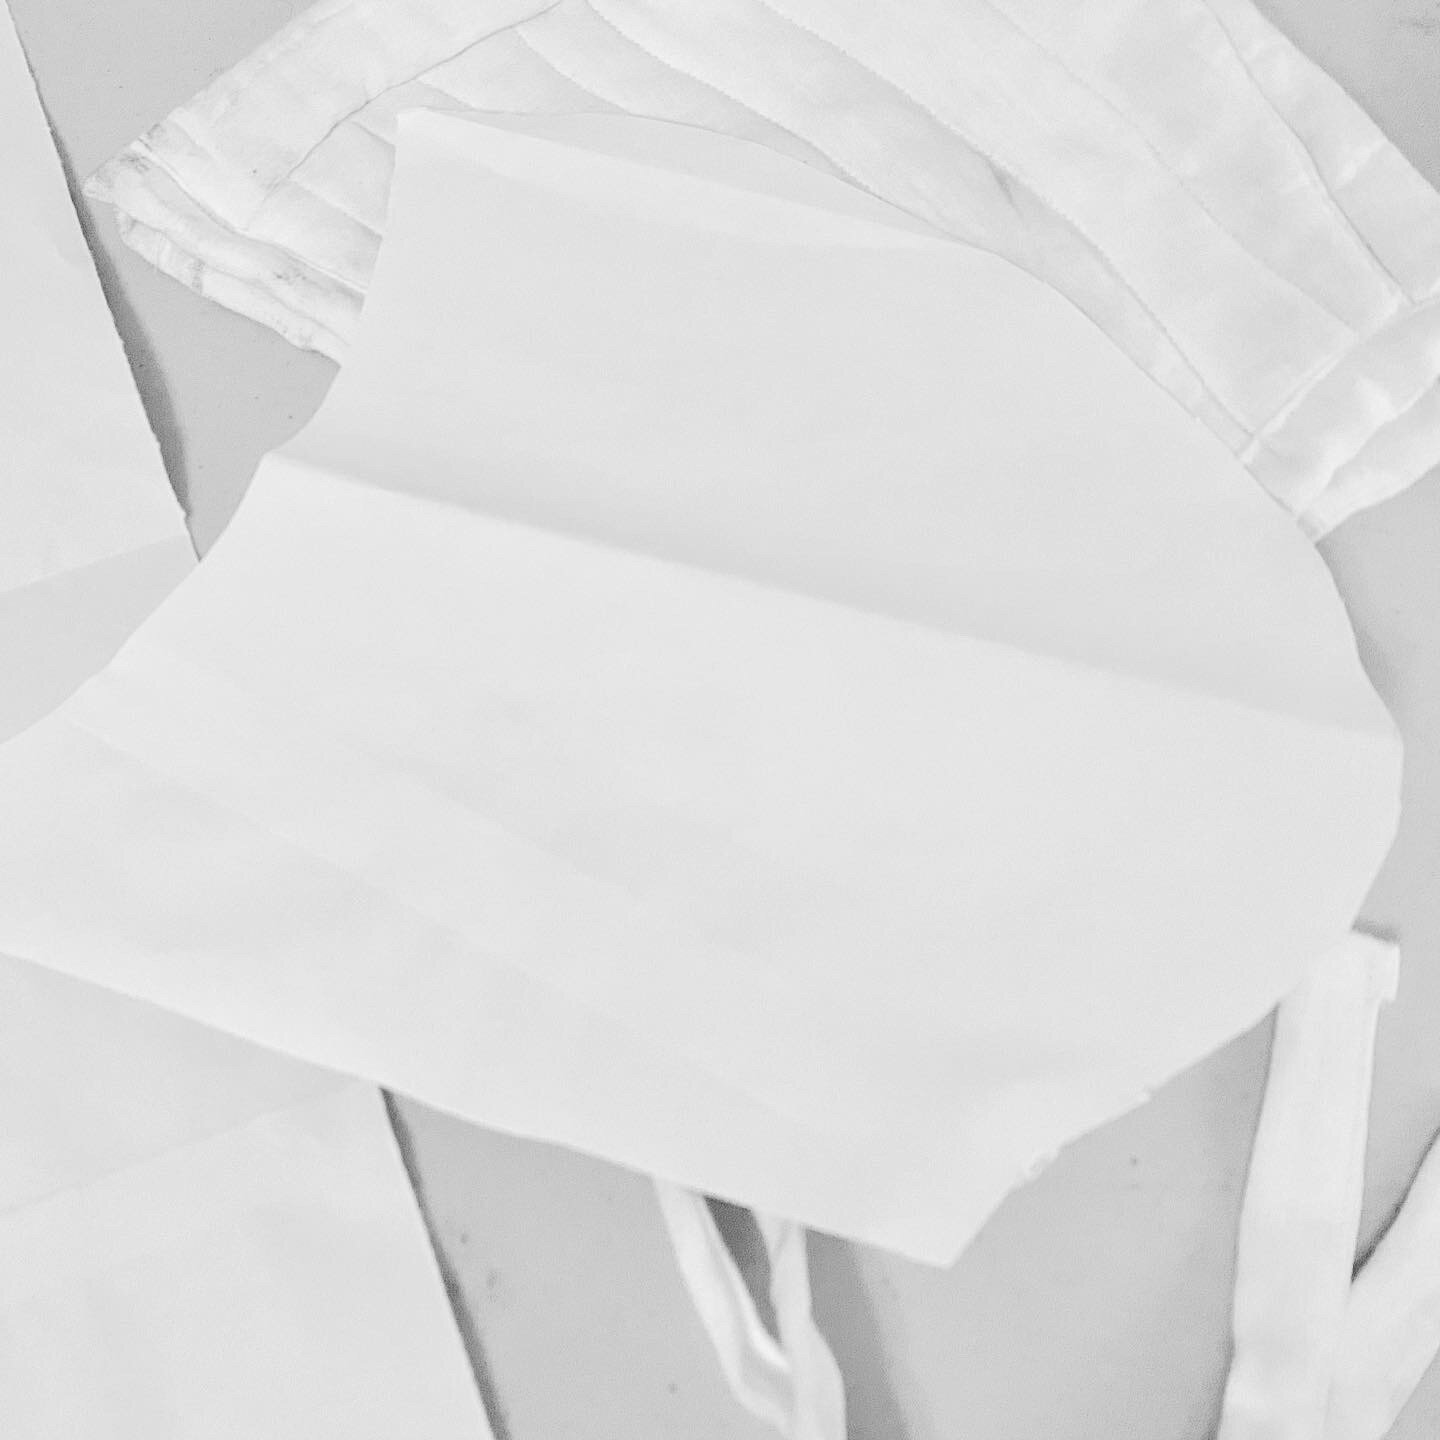
Using a rough cutout a pattern can be drafted to created the basic shape of the side of the head. The back of the pattern should be rounded following the natural shape of the back of the head and tapper near the neckline. The front edge should be cut slightly inward so that when worn the shape follow the rounded shape of the face. The center of the capo is created from a rectangular piece that runs from the front edge on the forehead over the top of the head and down to the nape of the neck.
It is best to use an inexpensive fabric such as muslin to cut out the pice and stitch a quick toile or mock-up. the stitches on the pieces can be easily remove and the pattern tweaked until the desired fit is achieved.
Cutting and Sewing
Once the proper fit is determined, the fabric for the garment pieces can be cut. The arming cap is made from two layers of cotton linen and two layers of cotton batting. More batting can be added to create larger pillows.
Pin the layers of the individual sections together and measure out the spacing for your quilting and stitch the vertical lines to hold the layers of facing and batting together. In addition to the straight vertical lines, artifacts has also shown diagonal diamond patterns. Once the the quilting is complete for the individual sections the pieces are ready to be attached to each other.
Stitch the sides to the top center piece and check for fit. Make any necessary adjustments. Once the garment is fitting nicely, whipstitch the unfinished seam open on the inside of the garment. Using a double-folded, pressed tape of linen cut from the same material, stitch the tape along the bottom edge of the garment, enclosing both the unfinished seam inside the tape. Leaving enough length on both sides for the chin straps ties, run another piece of tape along the front of the garment. Starting on one side stitch from the end of the strap up and over the front and down to the end of the other strap enclosing the unfinished edges of the front of the garment and closing the tape for the straps.


