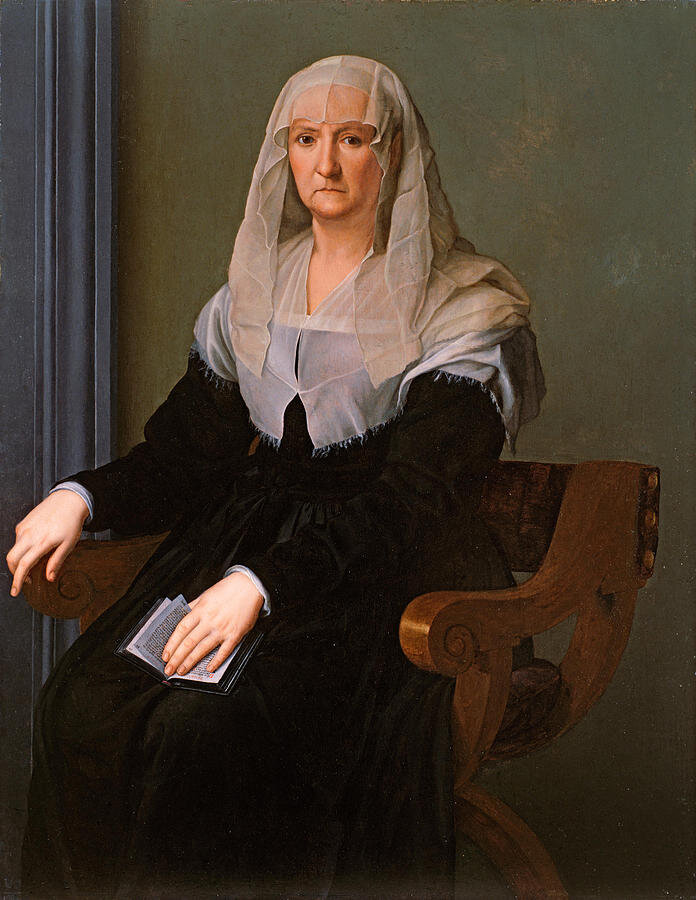
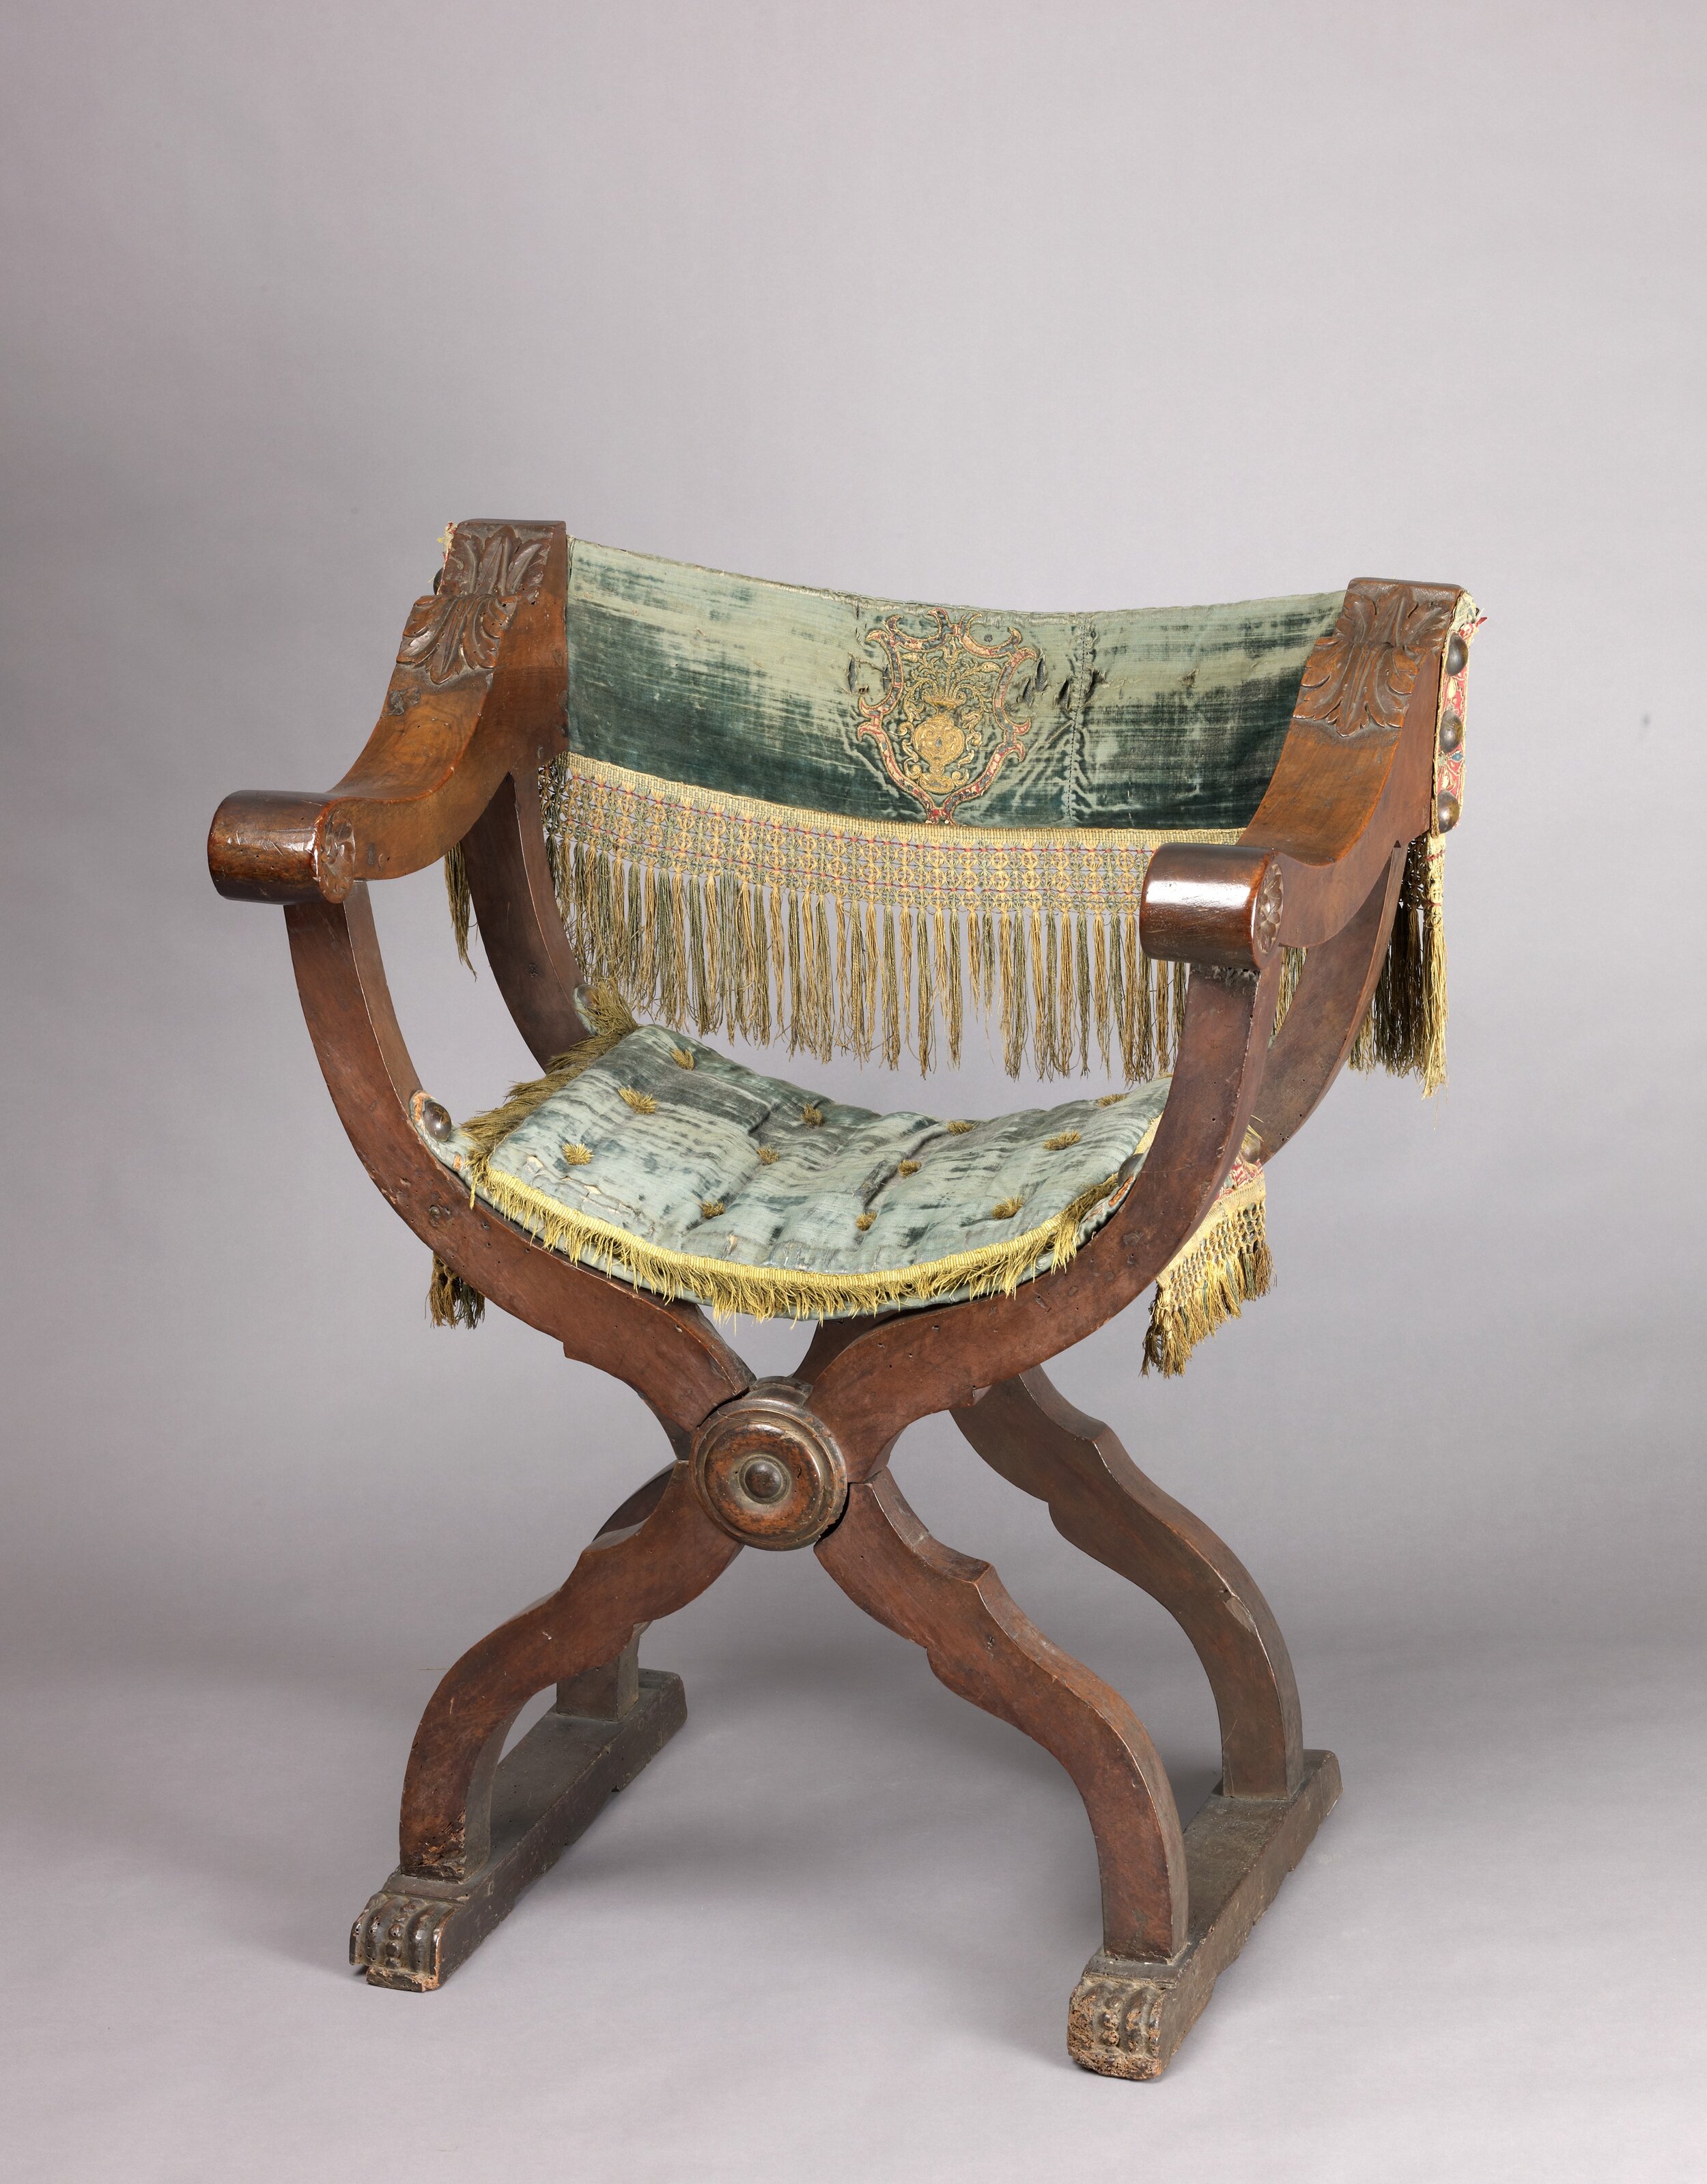
After trying to find a reasonably priced curule or dantesca chair it was time to take on another project. This time it was a venture into period furniture. The dantesca chair was a popular style of chair in italy during the 16th century, and the variations that folded were particulary apealling for transport to events.
Ispirazione del Progetto
There are many documented examples of the the curule and dantesca designed seats.
Facendo il Progetto
Patterning and Cutting
After cutting out the pattern for the legs and arms, it was laid out out the planks and traced for cutting. The slight bend in the legs fit diagonally on a 2x6 piece. The arms were also cut from the same 2x6 piece, however, it was necessary to cut out 4 pieces for the arms since a 4x4 piece was not avaible.
Building the Legs
The legs had been cut out from the patterns and were ready to work. The legs including the detail on darts on the bottom of the legs are rounded and sanded before moving on to the center cutouts for the legs to join together.
Space needed to be created where the two side would join together. To do this a circle traced in the center of the legs. It was important to ensure that the circle was the same on both pieces so that the the legs would be even when put together and one side was not taller than the other. Once this was checked the cutting could begin.
The legs were secured to the workbench and cut with a router set to half the depth of the leg. This was important to get right: To much left in the middle on the joining legs would mean that they were not flat in teh center when placed together the legs offest from one another by that distance or conversly if too much was remove they would be inset too much and the legs would still be offset.
Another consideration for this was that in the removing of material the force of the tools could cause the wood to split. Since the weight of the chair is distributed directly through this point when sat in it is very important that this joint be solid in construction. While it should not be necessary, after cutting out the material for the joint in the legs, later it was reinforced on the outsides with dowels, glue, and a hard wood cover just for extra stength.
Finally the two opposite pieces are put together to and drilled in the center. The bolt is run trough the middle and set with a locking nut. the legs are checked once more for symetry when opened and closed and between the front and back pairs.
The supports for the seat cushion and crossbars on the bottom of the chair legs are made using 3/4 inch squared dowels cut to the length of the depth of the seat. The leg pairs are marked for were the holes need to be made to recieve the dowels and checked on the both the front and back pairs to ensure that everything is correct for the placement. The dowels should be 90 degrees from the ground when the chair is opened and flat on top, not angled.
Once the placement has been checked the holes are cut in to the legs using a forster bit to receive the dowels no deeper than helf the width of the leg. The corners are cleaned up with a chisel and the hole sanded. Once completed the dowels are glued on both ends and placed into the legs to join the front pair to the back pair. They are clamped and left to cure overnight.
Building the Arms
In order to create the right shape and thickness for the arms two of the arm pieces were then fastened together. Matching holes were drilled on the inside edged of the peice to be joined together as one piece. The holes were dowelled and glued along with the inside edges of the two pieces and then gently hammered together and clamped overnight to ensure a solid structure.
Once the arms pieces had dried they we cleaned up on the edges and sanded. Extra detail was given to the front edges of the curved arms where the hand would rest when sitting. The other area that was checked was the slop of the arms from the hand grip in the front to the back support. It important to check for that the slop was even across the width and did not sloop downward toward the outside of the chair or inward toward the seat, and was flat to an arm resting on the chair arm while sitting. The two pieces were also compared to wach other to ensure that they were even for both side of the chair.
Once the arms were shaped and sanded they were turned over measured to the legs marking where the holes need to be cut into the bottom to recieve the legs at the front and the back. The area to cut was a measured rectangle that was centered and marked on the arm. The cut was made using a forster bit with the edges of the bit lined up with the inside edges of the marked area. A chisel was used to clean up the corners and parts missed by the bit. The holes were sanded and the arms placed aside to attached to the legs.
Connecting the Arms
The top edges of the legs that will fit into the opening on the underside of the arms are trimmed down and sanded and check for a fit. Fit into the arms should be snug and the piece were not put completely together just checked for the right fit. Once the fit was checked the parts were glued and the arm tapped unto the legs with a rubber hammer.
Risorse del Progetto
I was fortunate enough to find an artisan in the Society of Creative Anachronism who had made a blog post about this chair design.


